Tabs

home aboutme homedecor recycle sew organize gallery
Showing posts with label Home decor. Show all posts

Thursday, April 23, 2020

Little Projects for my Little One Part-3

Hello all, Hope you are all doing good. I missed blogging so much in the past few years. I had to take a break to shorten my to do list and keep myself sane for a bit. But it turned out keeping myself busy is what keeps me sane. Isn't that funny? Let me continue from where I stopped. I was sharing the little projects that I put together before my baby arrived and this part 3.

DIY little girl's Jewelry Chest, Baby Photo Frames, Pink heart Pillow cover, Floral Basket, Baby Nursery Projects, Nursery Crafts

How cute is this little jewelry chest? I saw a similar one in Etsy listing but they were all sold out. Later when I saw this empty wooden chest at Michaels I had to grab it. I painted it in white and shades of pink Ombre style. Decorated the top 2 drawers with flowers and second row with simple polka-dots using nail art dotting tools. The third row I wanted to paint tiny hearts so I used my cricut to cut out a customized stencil to get a perfect finish.

DIY little girl's Jewelry Chest, Baby Photo Frames, Pink heart Pillow cover, Floral Basket, Baby Nursery Projects, Nursery Crafts

The picture above gives you a glimpse of how I painted it.

DIY little girl's Jewelry Chest, Baby Photo Frames, Pink heart Pillow cover, Floral Basket, Baby Nursery Projects, Nursery Crafts

I love hearts and I had this heart shaped pillow that I got from my husband as a gift. But it's bright red looked out of place and I wanted to cover it in pink to go with my theme. I got this pink rosette textured fabric from etsy and sew this simple pillow cover similar to my patio pillows except this one is cut in heart shape and I just added a Velcro piece for closure.


DIY little girl's Jewelry Chest, Baby Photo Frames, Pink heart Pillow cover, Floral Basket, Baby Nursery Projects, Nursery Crafts

It was a quick project and I heart how it turned out.

DIY little girl's Jewelry Chest, Baby Photo Frames, Pink heart Pillow cover, Floral Basket, Baby Nursery Projects, Nursery Crafts

I saved little scrap wood pieces from DIY Coat rack project and this scrap wood photo frame was a simple project to put them to use.
DIY little girl's Jewelry Chest, Baby Photo Frames, Pink heart Pillow cover, Floral Basket, Baby Nursery Projects, Nursery Crafts

I covered the wood pieces with scrapbook papers using modpodge and added wood dowel pieces to the back to make them stand. For the pink one I just mounted the picture using double side foam tape. For the grey color one I decided to add those little clips to make it extra cute. And I had grabbed that oval shaped frame from Michaels Dollar bin long ago. I just spray painted that one white.

DIY little girl's Jewelry Chest, Baby Photo Frames, Pink heart Pillow cover, Floral Basket, Baby Nursery Projects, Nursery Crafts

I found this cute basket at Target for 3$ and thought it would be perfect to fill it with diapers next to the changing station. 

DIY little girl's Jewelry Chest, Baby Photo Frames, Pink heart Pillow cover, Floral Basket, Baby Nursery Projects, Nursery Crafts

I made these easy felt flowers and stuck them to basket using hot glue. You can refer my easy gift bag tutorial if you want to see how these flowers are made. I love how girly the basket looks now.

Hope you enjoyed reading this post. Let me know what you think about these simple projects. Would love to hear your comments. Thank you for stopping by.

Wednesday, October 18, 2017

Sreemantham Decoration (South Indian Baby Shower Decor)

Hi there, its been more than a year and I am finally getting back to my blog. Life is busy with baby, I am glad I had my family and a loving husband all through the though times. Okay life aside lets get back to the Sreemantham decor I did for my own Sreemantham a year and half ago. Sreemantham is a traditional South Indain Baby Shower.

       Here is a detailed video I made recently with clear explanation.
                                    

Sreemantham Decoration, DIY South Indian Baby Shower Decor Ideas

I planned this backdrop way ahead. I wanted something traditional, simple and definitely have a god idol or symbol on the backdrop. I wanted to take it easy and go with age old maroon and cream color combination. This flower Ganesha from a wedding picture that I saw long back on Pinternet was my inspiration. However I didn't want to use fresh flowers because it can be overwhelming to do things on the celebration day. So I went ahead and ordered these fabric flowers from this etsy store they took around 15-20 days to reach me.


Sreemantham Decoration, DIY South Indian Baby Shower Decor Ideas

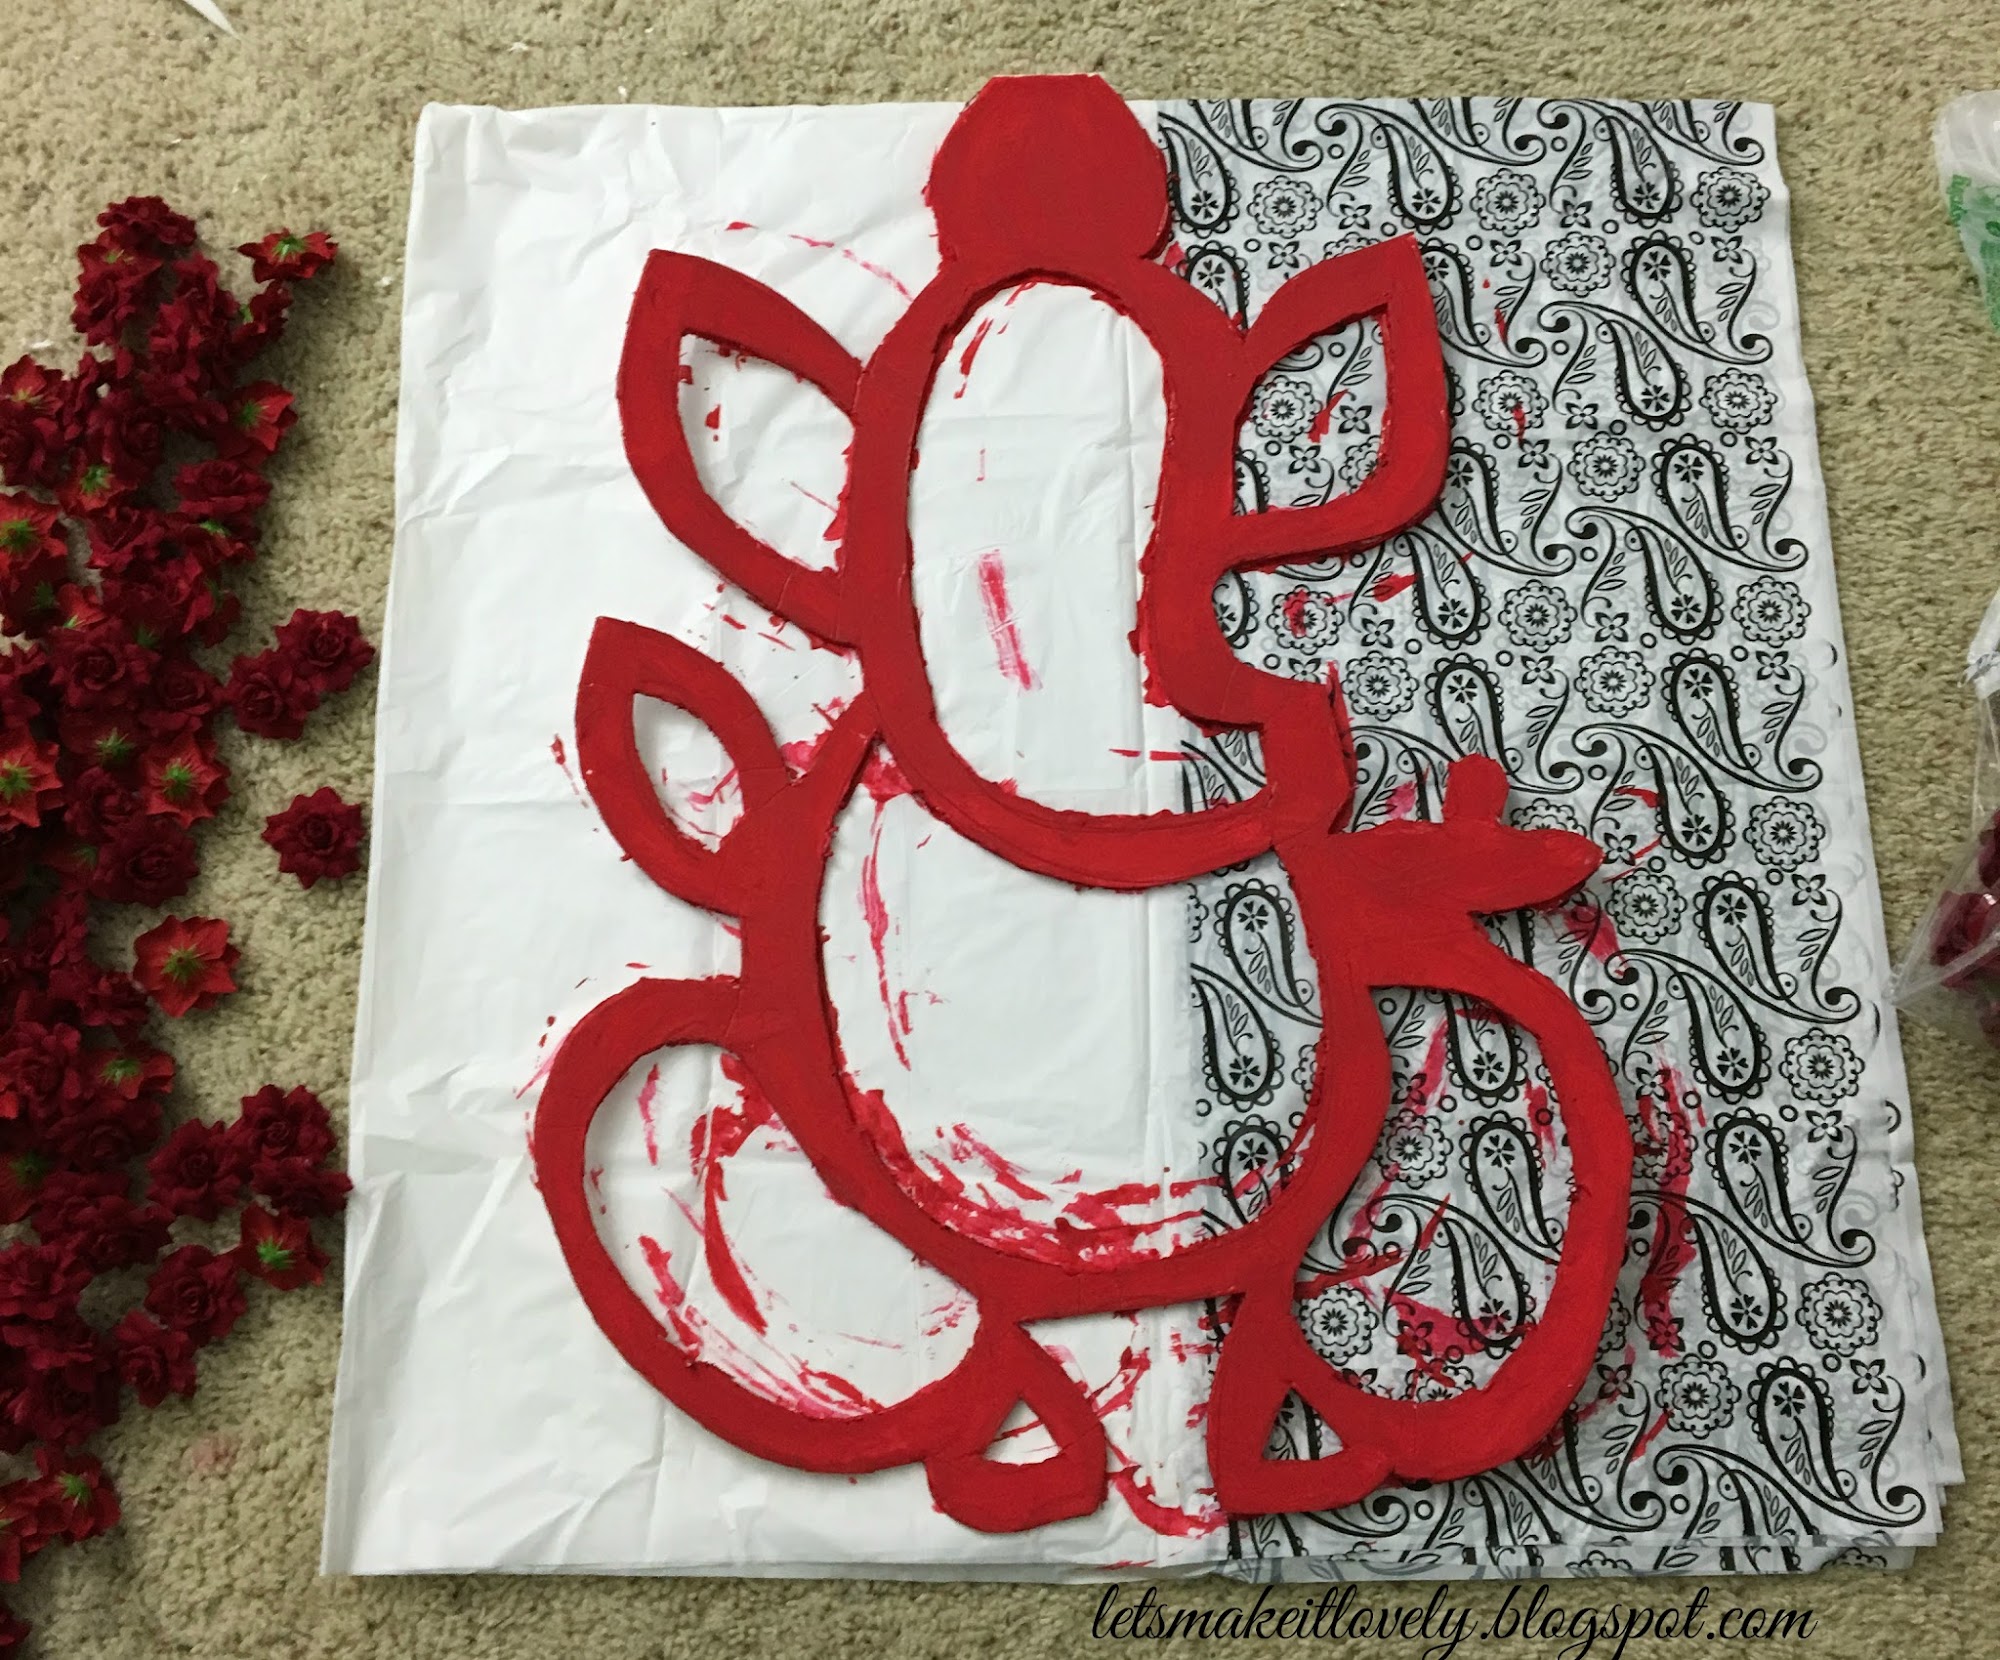
I used dollar store foam board and started roughly drawing outline of Ganesha. I kept everything (hands, legs of the idol) connected unlike my inspiration image to make it easy for hanging on backdrop. I would recommend using thick cardboard instead of foam board if you have patience and energy to cut it. As foam board wears out easily once painted. Foam board will survive for one time use though.


Sreemantham Decoration, DIY South Indian Baby Shower Decor Ideas

When I felt satisfied with the outline I used an exacto knife to cut along the outline.


Sreemantham Decoration, DIY South Indian Baby Shower Decor Ideas

I painted it with red acrylic paint to match the flowers so that the white board won't peek through red flowers.

Sreemantham Decoration, DIY South Indian Baby Shower Decor Ideas

Using hot glue gun I stuck fabric flowers as close as possible to each other all along the cut foam board. I had to cut the plastic stalks under the flowers to make them stick properly.

Sreemantham Decoration, DIY South Indian Baby Shower Decor Ideas

Using a piece of yarn I hung it on the backdrop stand. I reinforced the back of Ganesha cutout with few more foam pieces and hot glue to make it little strong at joints.

Sreemantham Decoration, DIY South Indian Baby Shower Decor Ideas

For the backdrop, I bought satin cloth and backdrop stand on amazon. I stitched a huge curtain using cream color cloth with pocket at top to insert rod. I followed this video from youtube to put up my backdrop stand and fabric. I tied a rope from top left corner to top right corner of backdrop stand to add the bead strings that my mom got from India. For top center I used artificial flower thoran I had on hand.

Sreemantham Decoration, DIY South Indian Baby Shower Decor Ideas

For Sreemantham table its a tradition to fill 5 or 9 plates with variety of fruits, nuts, sweets and savories. I borrowed the steel plates and diya stands from my friend. My sister in law is so sweet, she took all the pain to bring my favorite sweets all the way from Atlanta to Tucson. And my mom made few at home. We added a simple 2 tier cake to the table though its not Indian custom.

Sreemantham Decoration, DIY South Indian Baby Shower Decor Ideas

Bangles and flowers are the important things on Sreemantham table. Every guest adorns mom to be with bangles and blesses mom and baby. I chose pink and green bangles to match my saree.

Sreemantham Decoration, DIY South Indian Baby Shower Decor Ideas

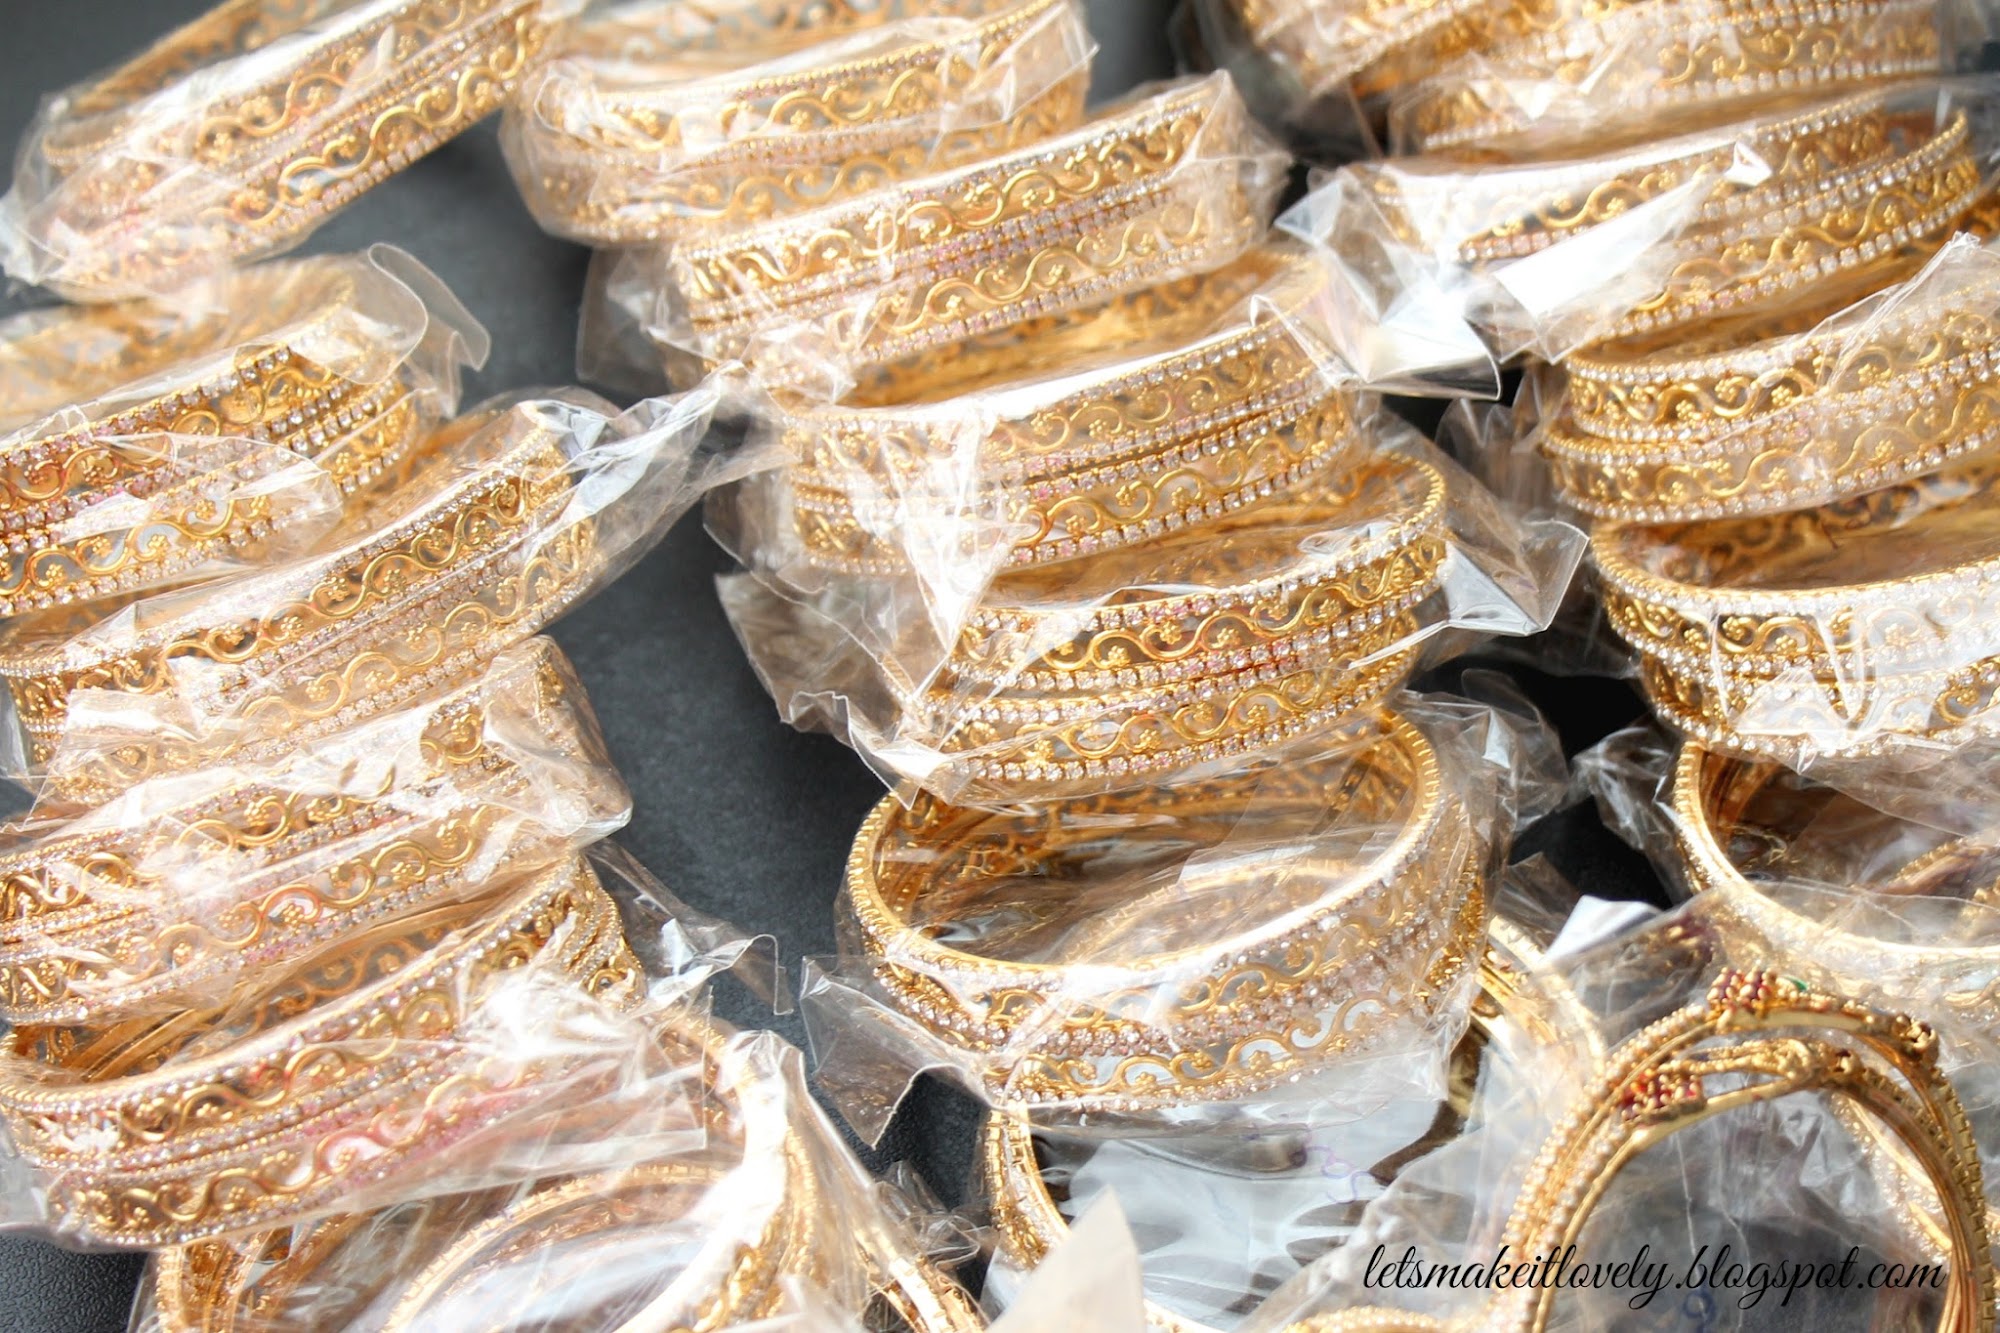
For return gifts I shopped these pretty bangles from India. I roughly estimated hand size of each friend and wrote names on the bangle cover to make it easy to give them in party.

Sreemantham Decoration, DIY South Indian Baby Shower Decor Ideas

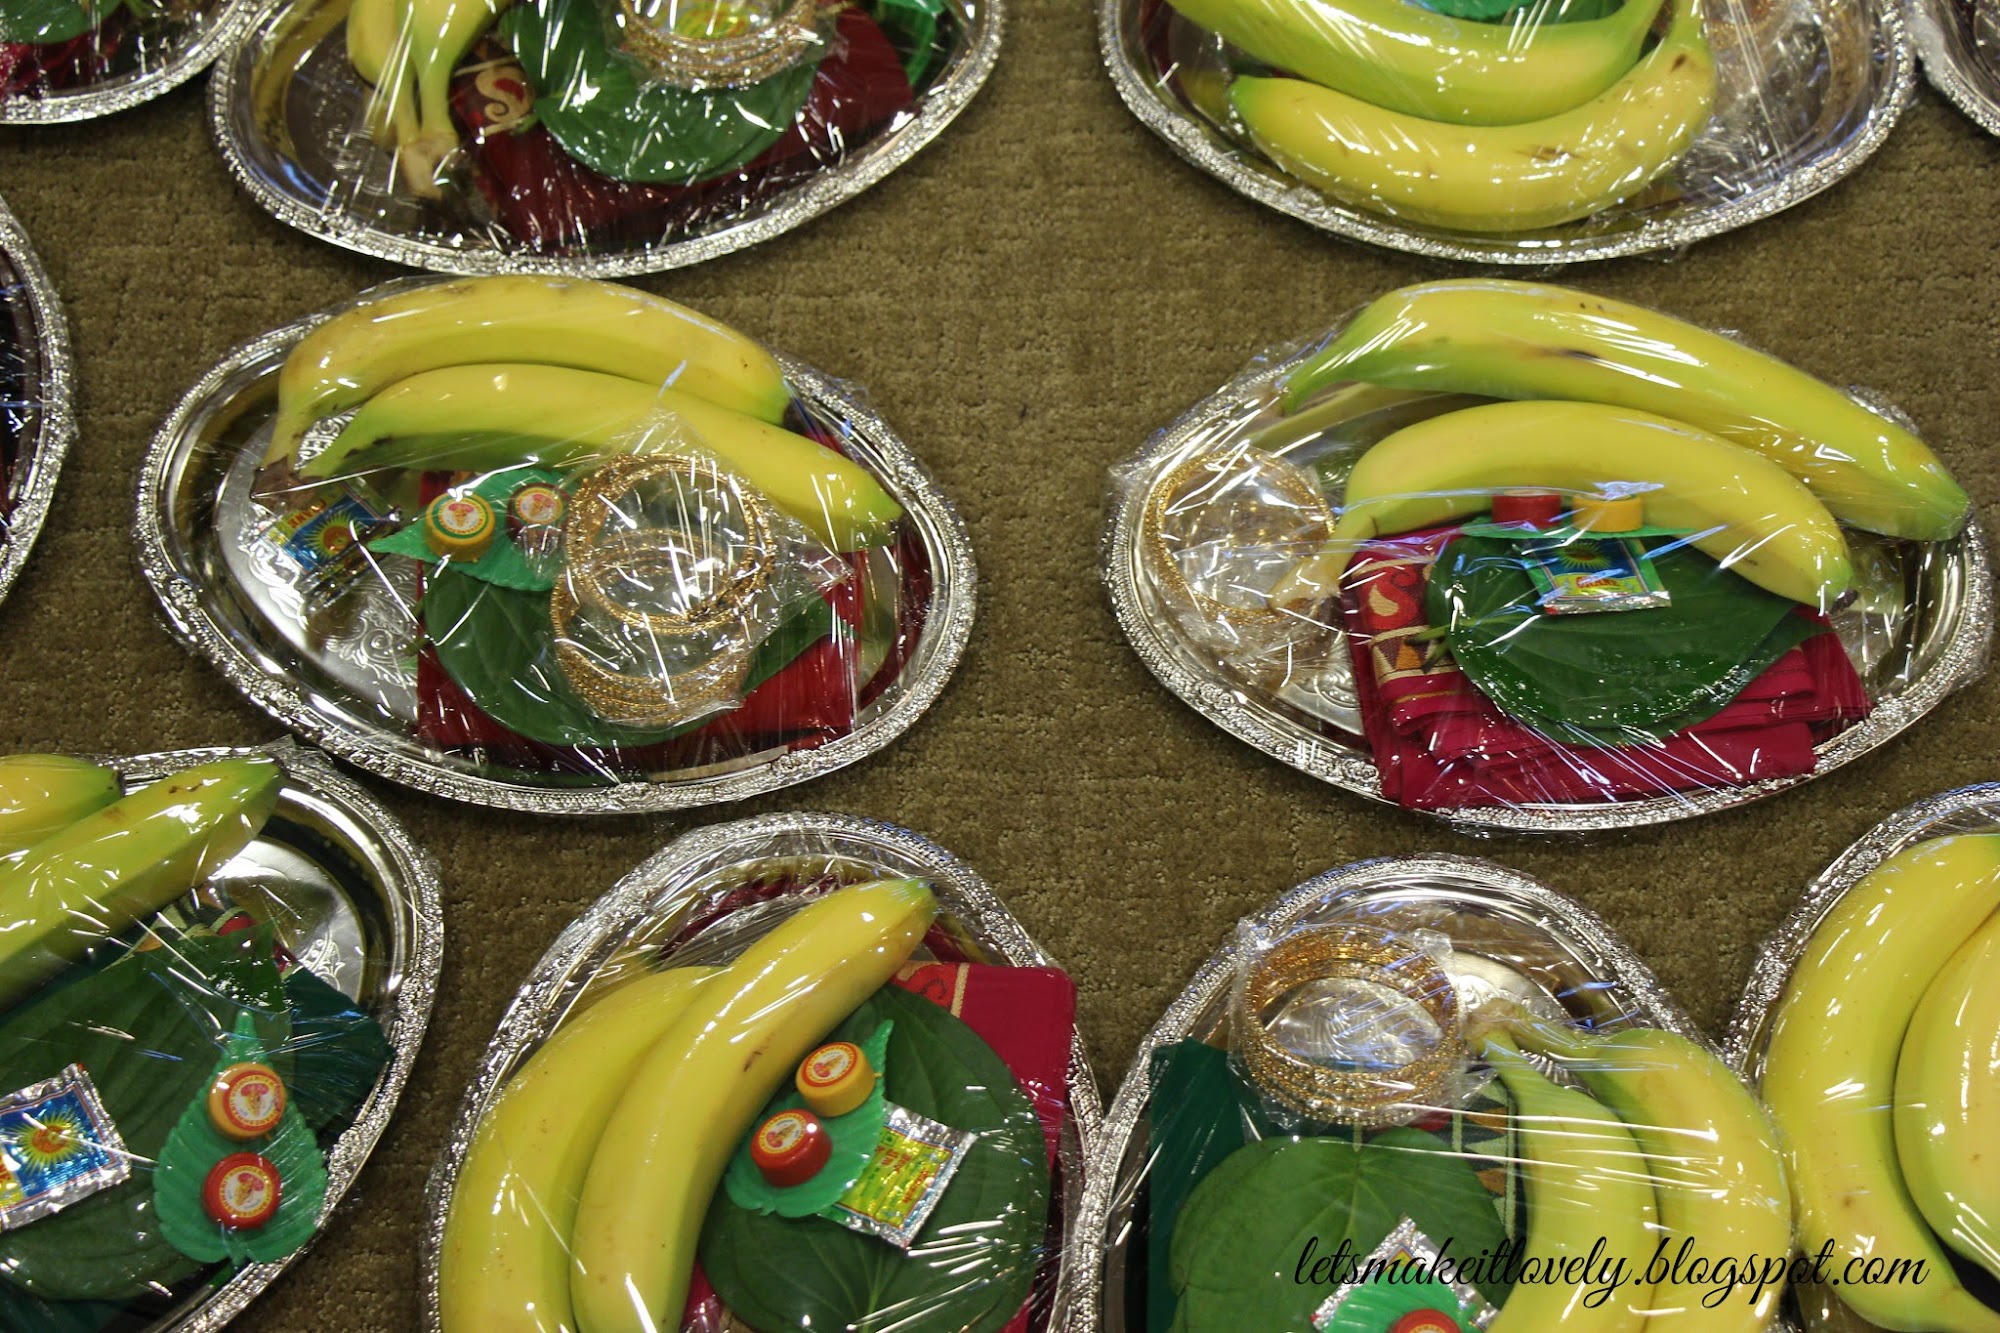
We wrapped bangles and tambulam (beetle leaves, beetle nuts, fruits, pasupu, kumkum and blouse piece) together in a decorative plate. 

Sreemantham Decoration, DIY South Indian Baby Shower Decor Ideas

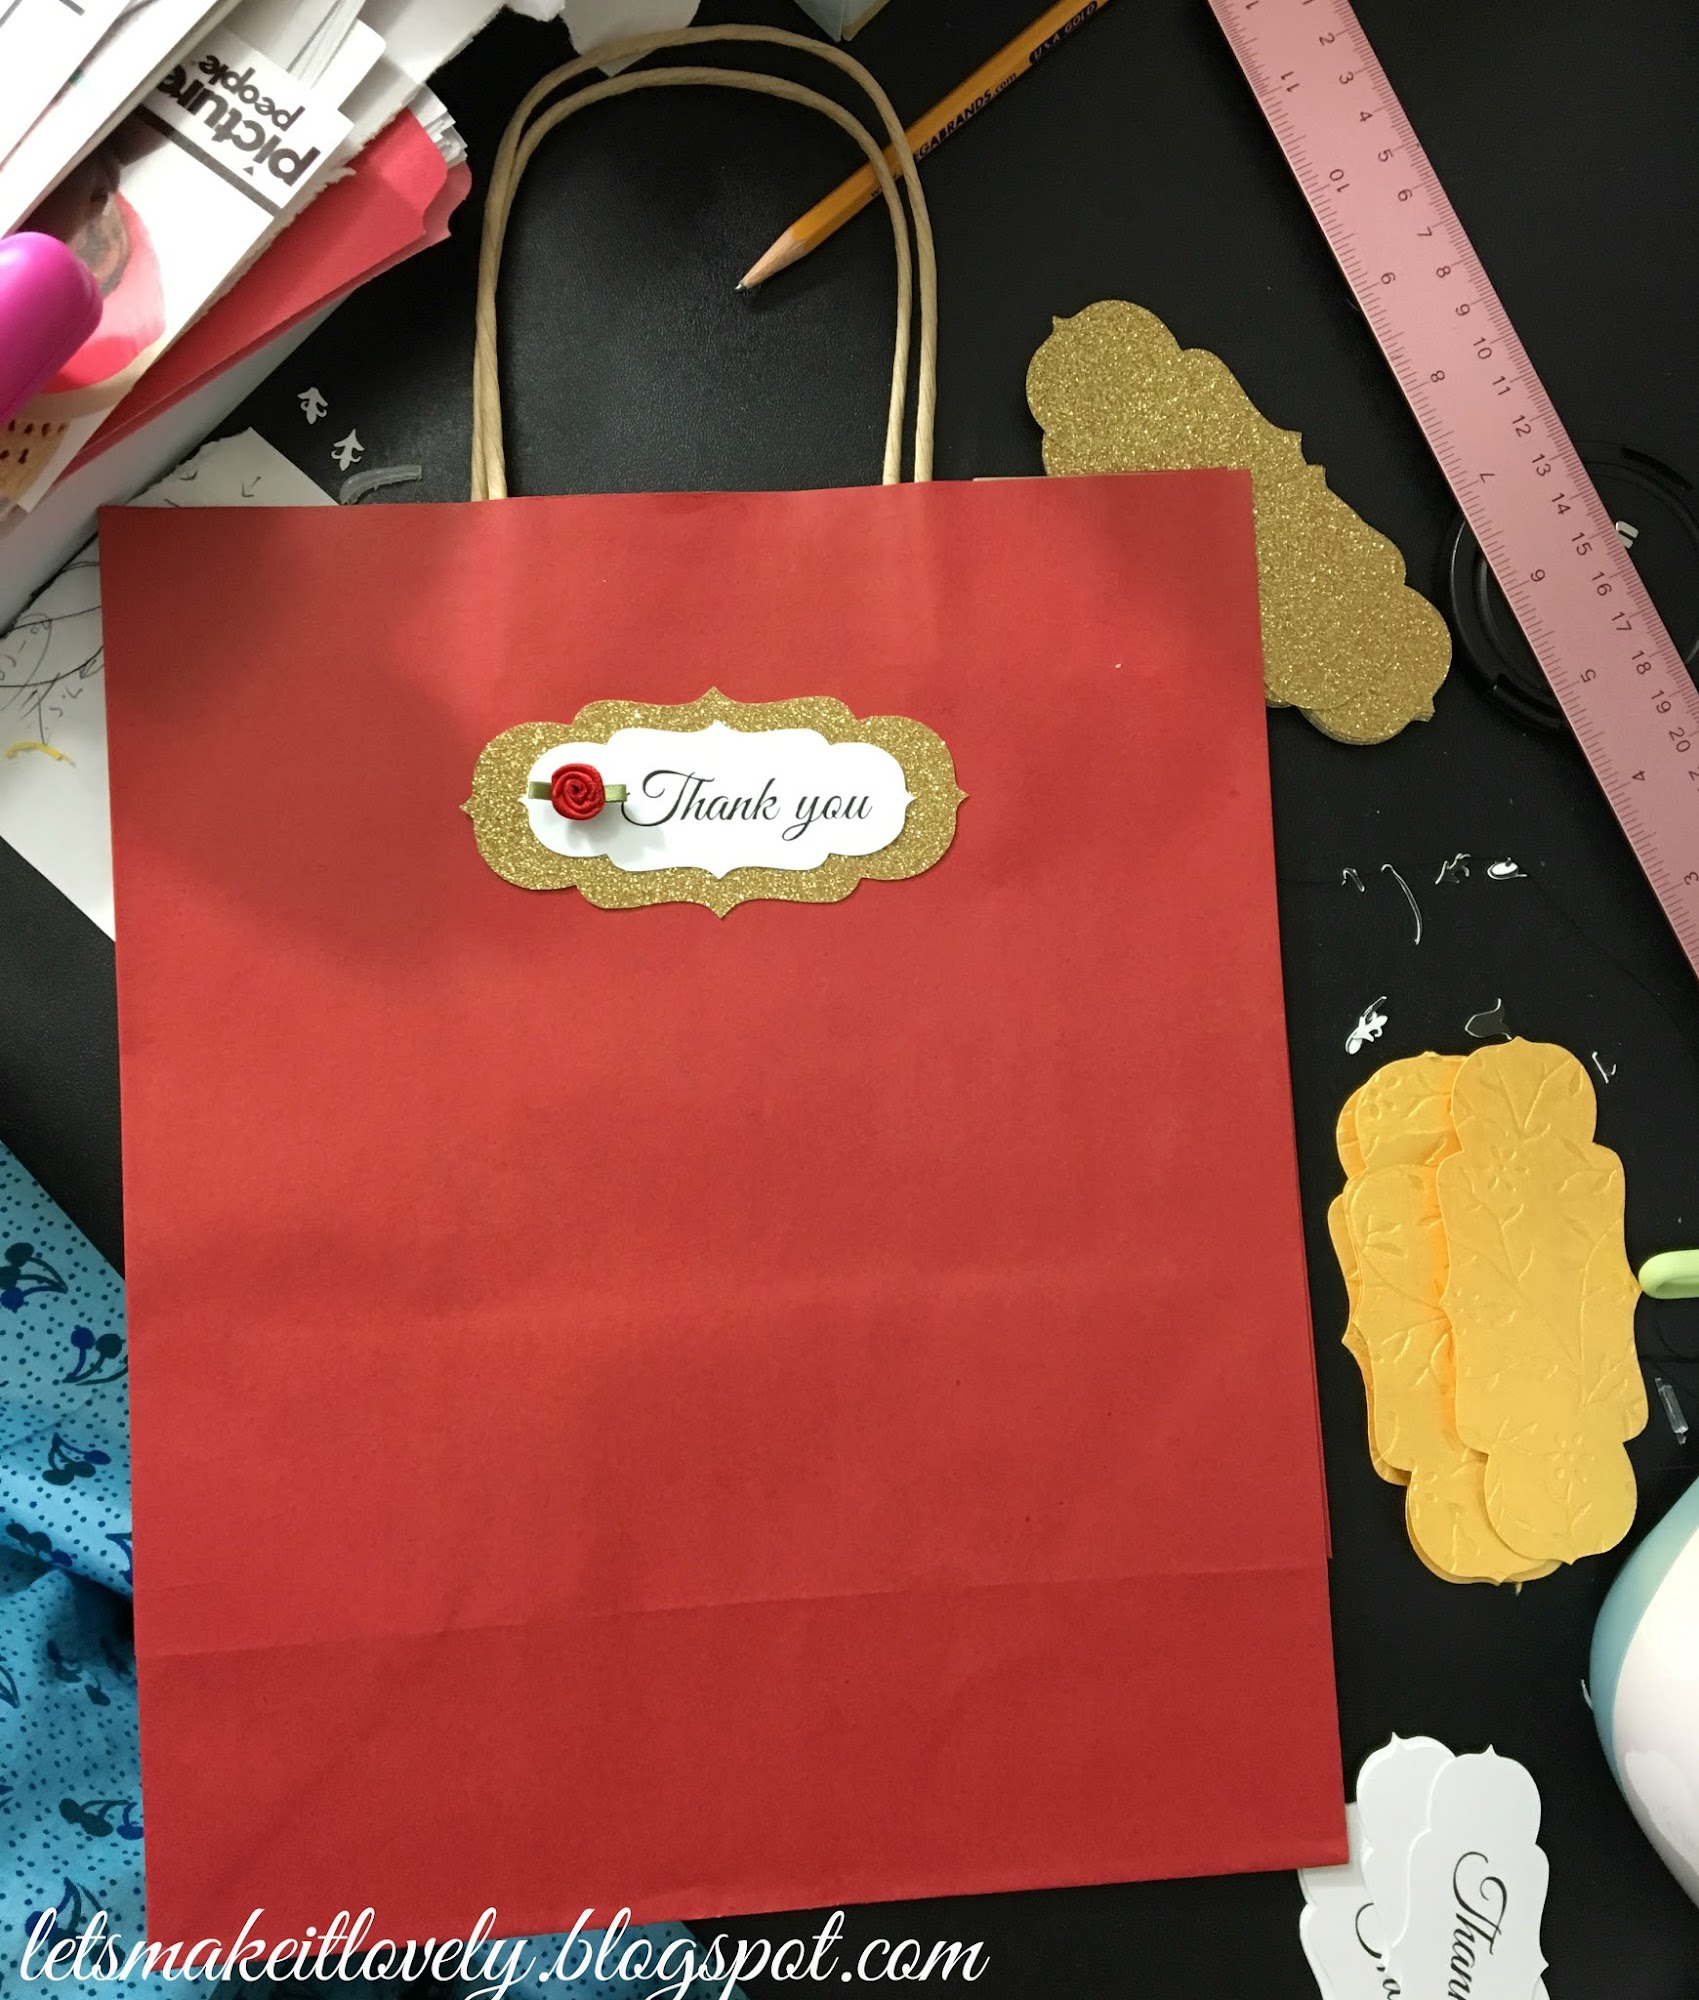
For the return gift bags I added a thank you note and a little bling using my Cricut.

Sreemantham Decoration, DIY South Indian Baby Shower Decor Ideas

Overall the party looked perfectly like how I wanted it to be and the best part was everyone loved home cooked food by mom and sister in law. 

Note: Websites referred are for only reader's information. I am not paid for any of the referral links.
Additional Info: If you are in USA and are looking for fresh flowers, beetle leaves, mango leaves or any pooja items there are websites that deliver them overnight to anywhere in USA. I did not know this before my sreemantham. Thought a word might help someone.

Sreemantham Decoration, DIY South Indian Baby Shower Decor Ideas

Here is a picture of me and my husband from Sreemantham (South Indian Baby Shower Party). Hope you enjoyed the party too. Thank you for stopping by.

Friday, June 19, 2015

Perfect Summer Patio makeover for under 100$

I love dreamy, cozy and colorful patios. We have been living in our apartment since 2 years and our balcony is still empty. Yeah, pretty boring! Finally I made the decision to decorate my patio this summer under budget. Since I din't want to spend huge dollars on something that is going to be burnt in Arizona sun down the years I wanted to keep it simple yet cheery. Yes! Trust me, Sun gets crazy here :) But after living here for two and half years Arizona started feeling home to me. Coming back to my balcony, the walls are too dull in color. So I wanted lots of brightness in everything I add. But the real challenge was that I wanted to get things done under 100$. Here are before and after pictures for you.

Patio makeover under 100$ budget. Make yourself a perfect summer patio that is cozy, comfy and colorful.


Patio makeover under 100$ budget. Make yourself a perfect summer patio that is cozy, comfy and colorful.


Patio makeover under 100$ budget. Make yourself a perfect summer patio that is cozy, comfy and colorful.

Patio makeover under 100$ budget. Make yourself a perfect summer patio that is cozy, comfy and colorful.

I built my color scheme (Pink, yellow, red and white) of decor from the outdoor rug from Ikea that I fell in love with. Its perfect size for our small patio, bright, colorful and even more awesome news is that its 12$!!! unlike other expensive outdoor rugs. Since its made of plastic straws it can with stand rain and sun. Easy to clean up too.

Patio makeover under 100$ budget. Make yourself a perfect summer patio that is cozy, comfy and colorful.


According to my chosen color scheme I started with painting and stenciling my pots with bright floral designs. Here is a link for detailed post on how I did it.

Patio makeover under 100$ budget. Make yourself a perfect summer patio that is cozy, comfy and colorful.


Also, I upcycled few boring old pillows to match my decor, make the space colorful and comfy. Here is a link for detailed procedure on how I stenciled and sew the pillow covers.

Patio makeover under 100$ budget. Make yourself a perfect summer patio that is cozy, comfy and colorful.

I got those green adirondack chairs from Lowe's last summer. The white Ikea stool that we previously had in our den, now works as a side table in our patio.

Patio makeover under 100$ budget. Make yourself a perfect summer patio that is cozy, comfy and colorful.

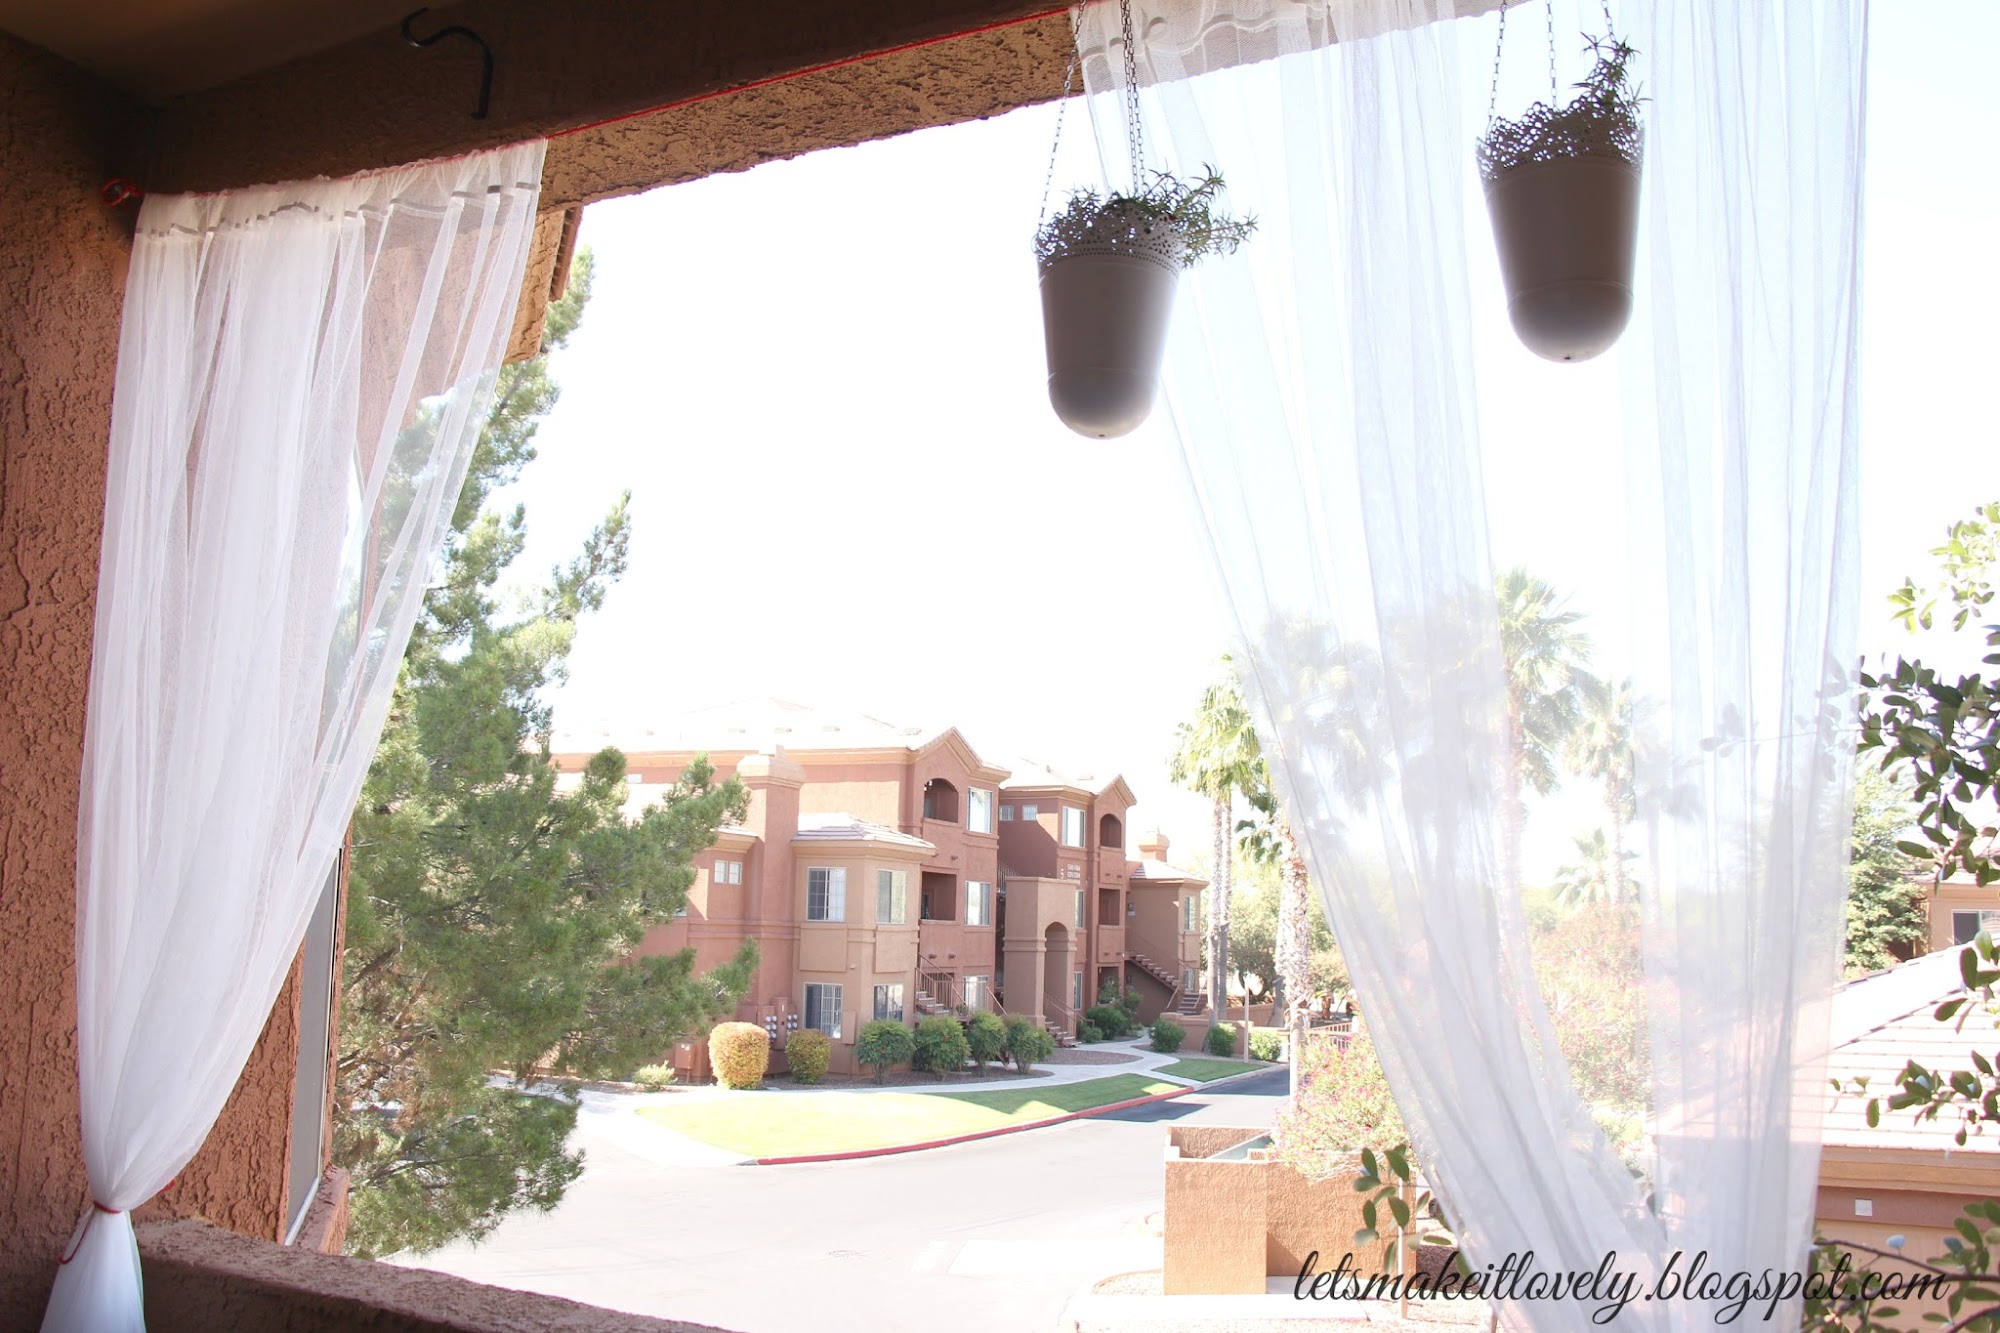
I wanted to add wooden blinds for the patio front but you know how expensive it gets. I loved the Lill curtains I got from Ikea for their price and they give my patio a cozy look. Adding curtains to my patio made it look more like an indoor than outdoor which makes it even more comfortable for me to enjoy my patio time.

I added nylon rope to the front of patio using screw in hooks to add my curtains on. This is the cheapest way ever to add Curtains. I had nylon rope on hand but if you want to buy some, dollar tree had pretty good stuff.

Then I hung pretty lace edge hanging planters from Ikea and the loveliest terracotta wind chimes that I got from India to front side of my patio.

Patio makeover under 100$ budget. Make yourself a perfect summer patio that is cozy, comfy and colorful.


I upcycled an old dollar store plastic pot as plant stand just by turning it upside down. Pretty cool! Isn't it?


Patio makeover under 100$ budget. Make yourself a perfect summer patio that is cozy, comfy and colorful.


Patio makeover under 100$ budget. Make yourself a perfect summer patio that is cozy, comfy and colorful.


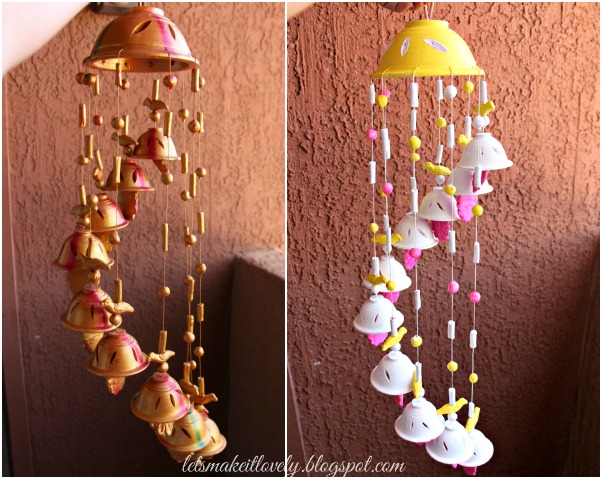
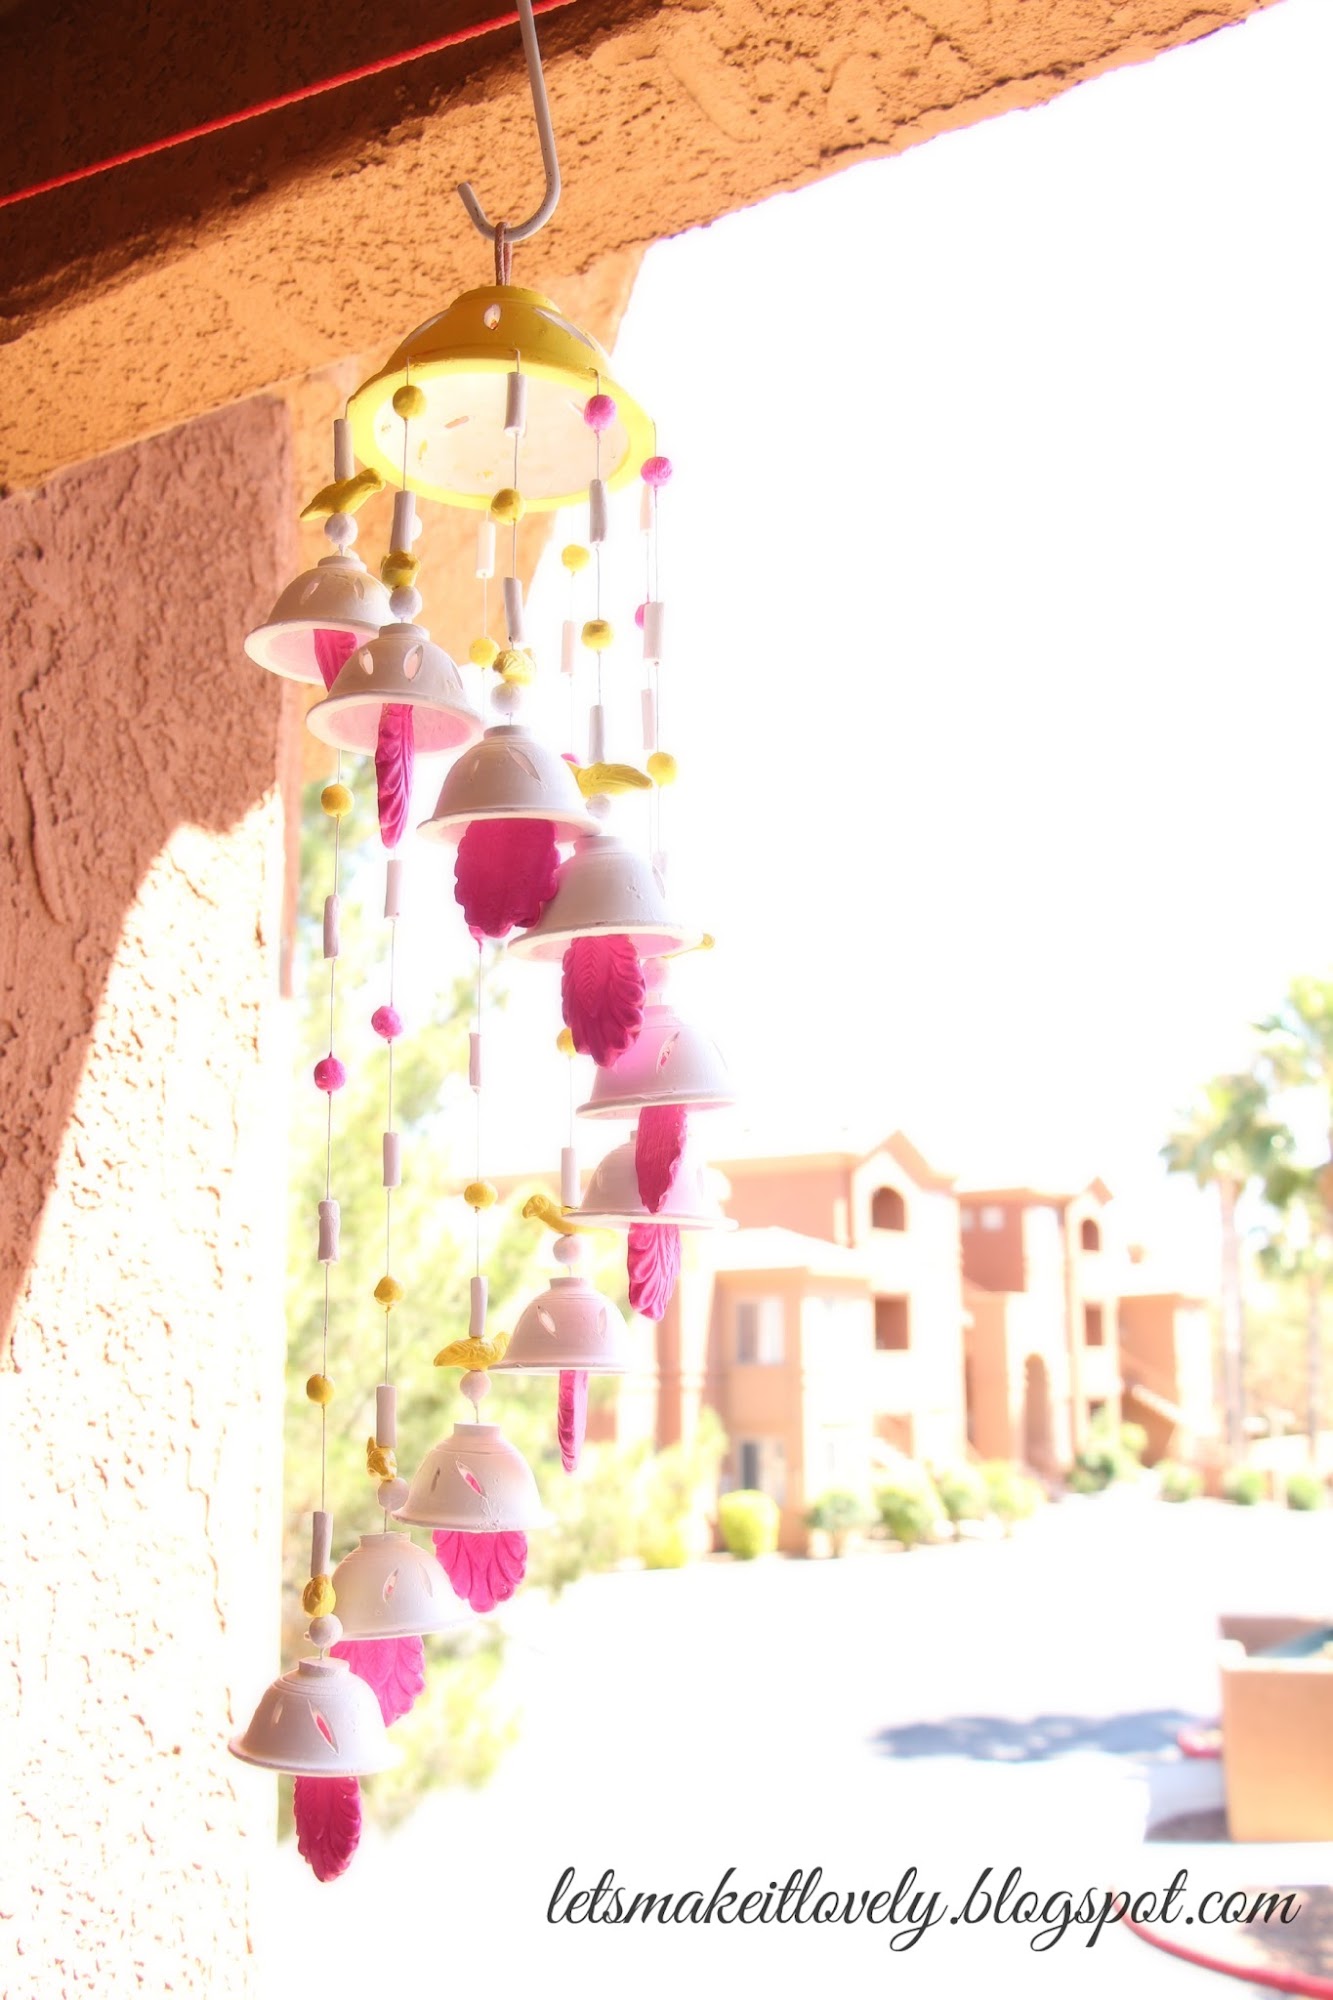
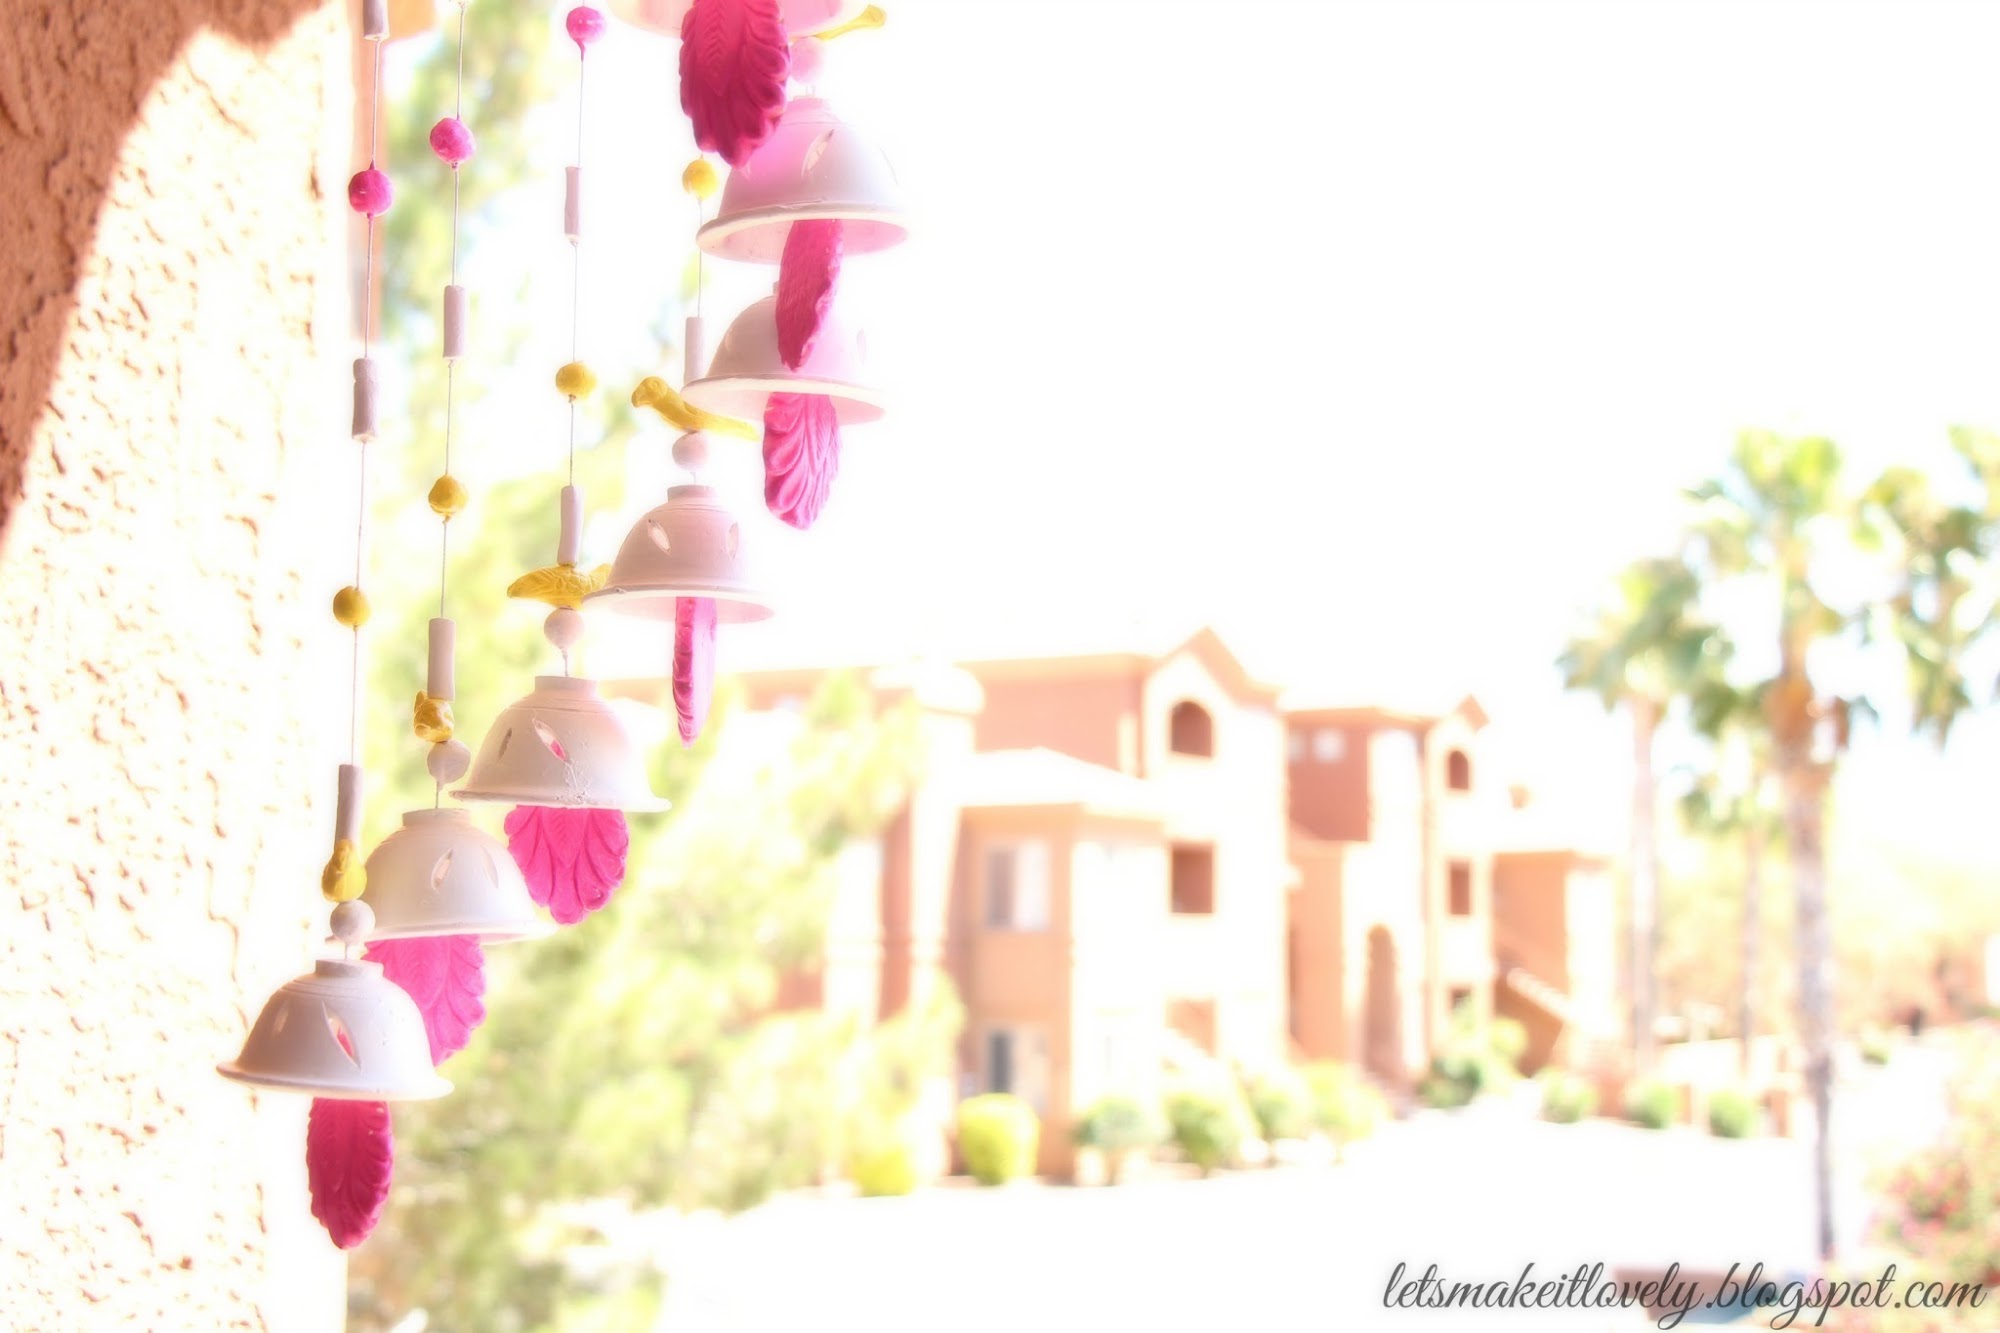
I got these terracotta windchimes on my recent India trip. I just love these wind chimes so much. They make such a melodious music and give me a nostalgic feeling from back home. But I felt the colors didn't quite go well with my patio so, ofcourse I painted them too.

Few more shots for you.

Patio makeover under 100$ budget. Make yourself a perfect summer patio that is cozy, comfy and colorful.


Patio makeover under 100$ budget. Make yourself a perfect summer patio that is cozy, comfy and colorful.

Patio makeover under 100$ budget. Make yourself a perfect summer patio that is cozy, comfy and colorful.

Above 2 pictures are my favorite close up shots. I had those ceramic birds for over 2 years now, they were from Michaels. I got the birdhouse from Joann recently.

Here is the 100$ patio makeover count if you are interested in
2 Adirondack chairs from Lowes for $35.96
Ikea outdoor Rug for $12.99
Lill Lace curtains for $3.99 from Ikea as well
2 hanging planters from Ikea for $11.98
Self watering planters for $25.98 ( If you choose normal planters, you can get this count way less to 10$)
10 inch metal plant stand $4.97 from walmart
White home decor fabric for Pillow Covers $3.96
I painted planters and pillow covers with craft paints I had on hand :)
Those cute little birds, bird house, bird lantern, white stool and dollar planter (that is used as plant stand) were all the things I had lying around the home from long time. As I mentioned earlier the terracotta wind chimes are from India.

Patio makeover under 100$ budget. Make yourself a perfect summer patio that is cozy, comfy and colorful.


Tada! Now here is everything put together. I just love my patio much more now. Let me know what you think about this 100$ patio makeover in your comments. I love to hear from you. Thank you so much for stopping by.

Wednesday, May 27, 2015

Color pop your pots

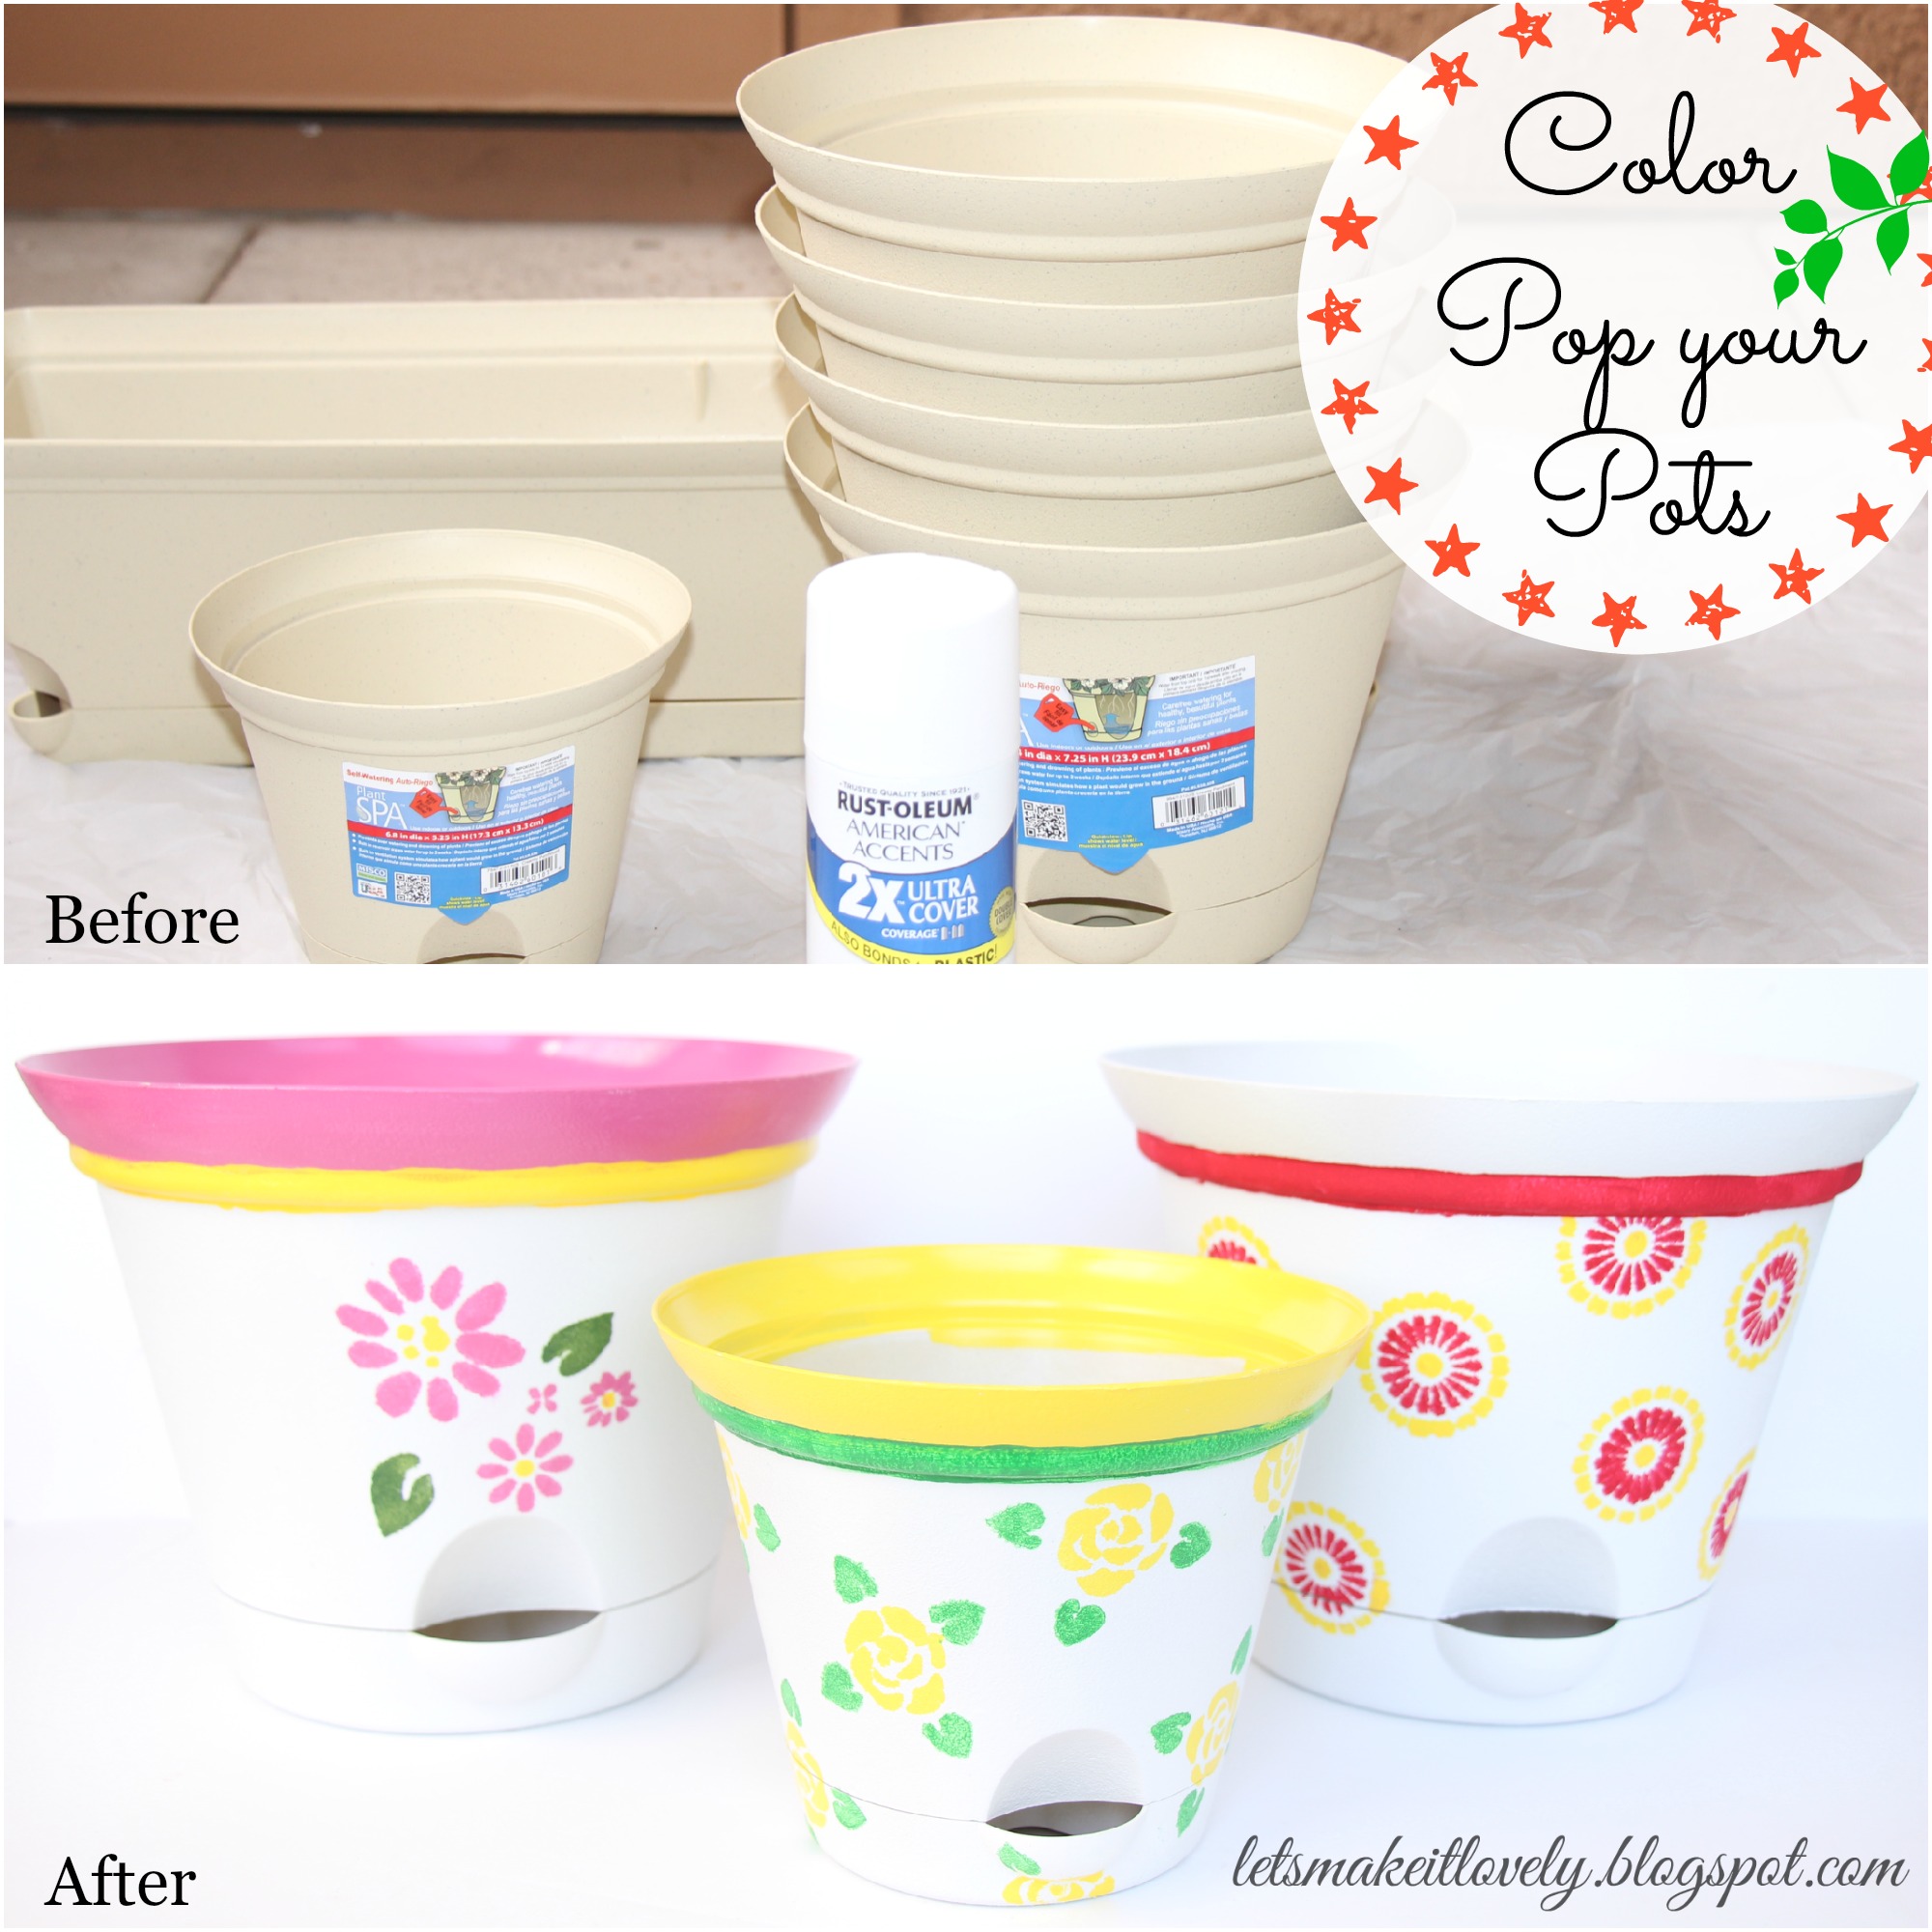
After living with an empty patio for 2 years, I made the decision to decorate my patio this summer. Yeah! Pretty late. Hey better late than never :). My balcony walls are too dull in color. So I wanted lots of brightness in everything I add.  I wanted to buy self watering pots so that my plants wont die when I go on a trip for 2 or 3 days. The Latte color is the brightest I could find under my requirements. I was not satisfied with how they looked in my balcony. So, here is what I turned them into.

Paint and stencil the pots bright for a pop of color in your summer patio. Dos and Don'ts on stenciling.


Want to do it yourself? Then here is the procedure for you.

Things used:
  • Plastic pots
  • White Spray paint
  • Adhesive stencils
  • Acrylic paints or outdoor acrylic paints (I used acrylic paints as I had them on hand. Read the note on step 2 and 3 incase you are going to buy new paints)
  • Clear gloss spray paint (optional if you are using outdoor paints)
  • Stencil pouncers

Step:1 Spray paint the pots with a bright color

Paint and stencil the pots bright for a pop of color in your summer patio. Dos and Don'ts on stenciling.


It's best to do spray painting outdoor so that you have lot of ventilation but also make sure its not windy or dusty out there. If you don't have a patio use low odor indoor spray paints and use a cardboard box or carton to enclose the item to be spray painted, that way you won't end up spraying your room. Cover the area around with old bed sheets or plastic sheets (I used half sheet of dollar store plastic table cloth that I had on hand).
Follow the instruction on your spray can and do 2 coats of chosen color. I chose white. Let the paint completely dry before going to next step.

Step:2 Stencil

Before moving on to this step let me share with you few dos and don'ts from my experience in buying a stencil.

Paint and stencil the pots bright for a pop of color in your summer patio. Dos and Don'ts on stenciling.


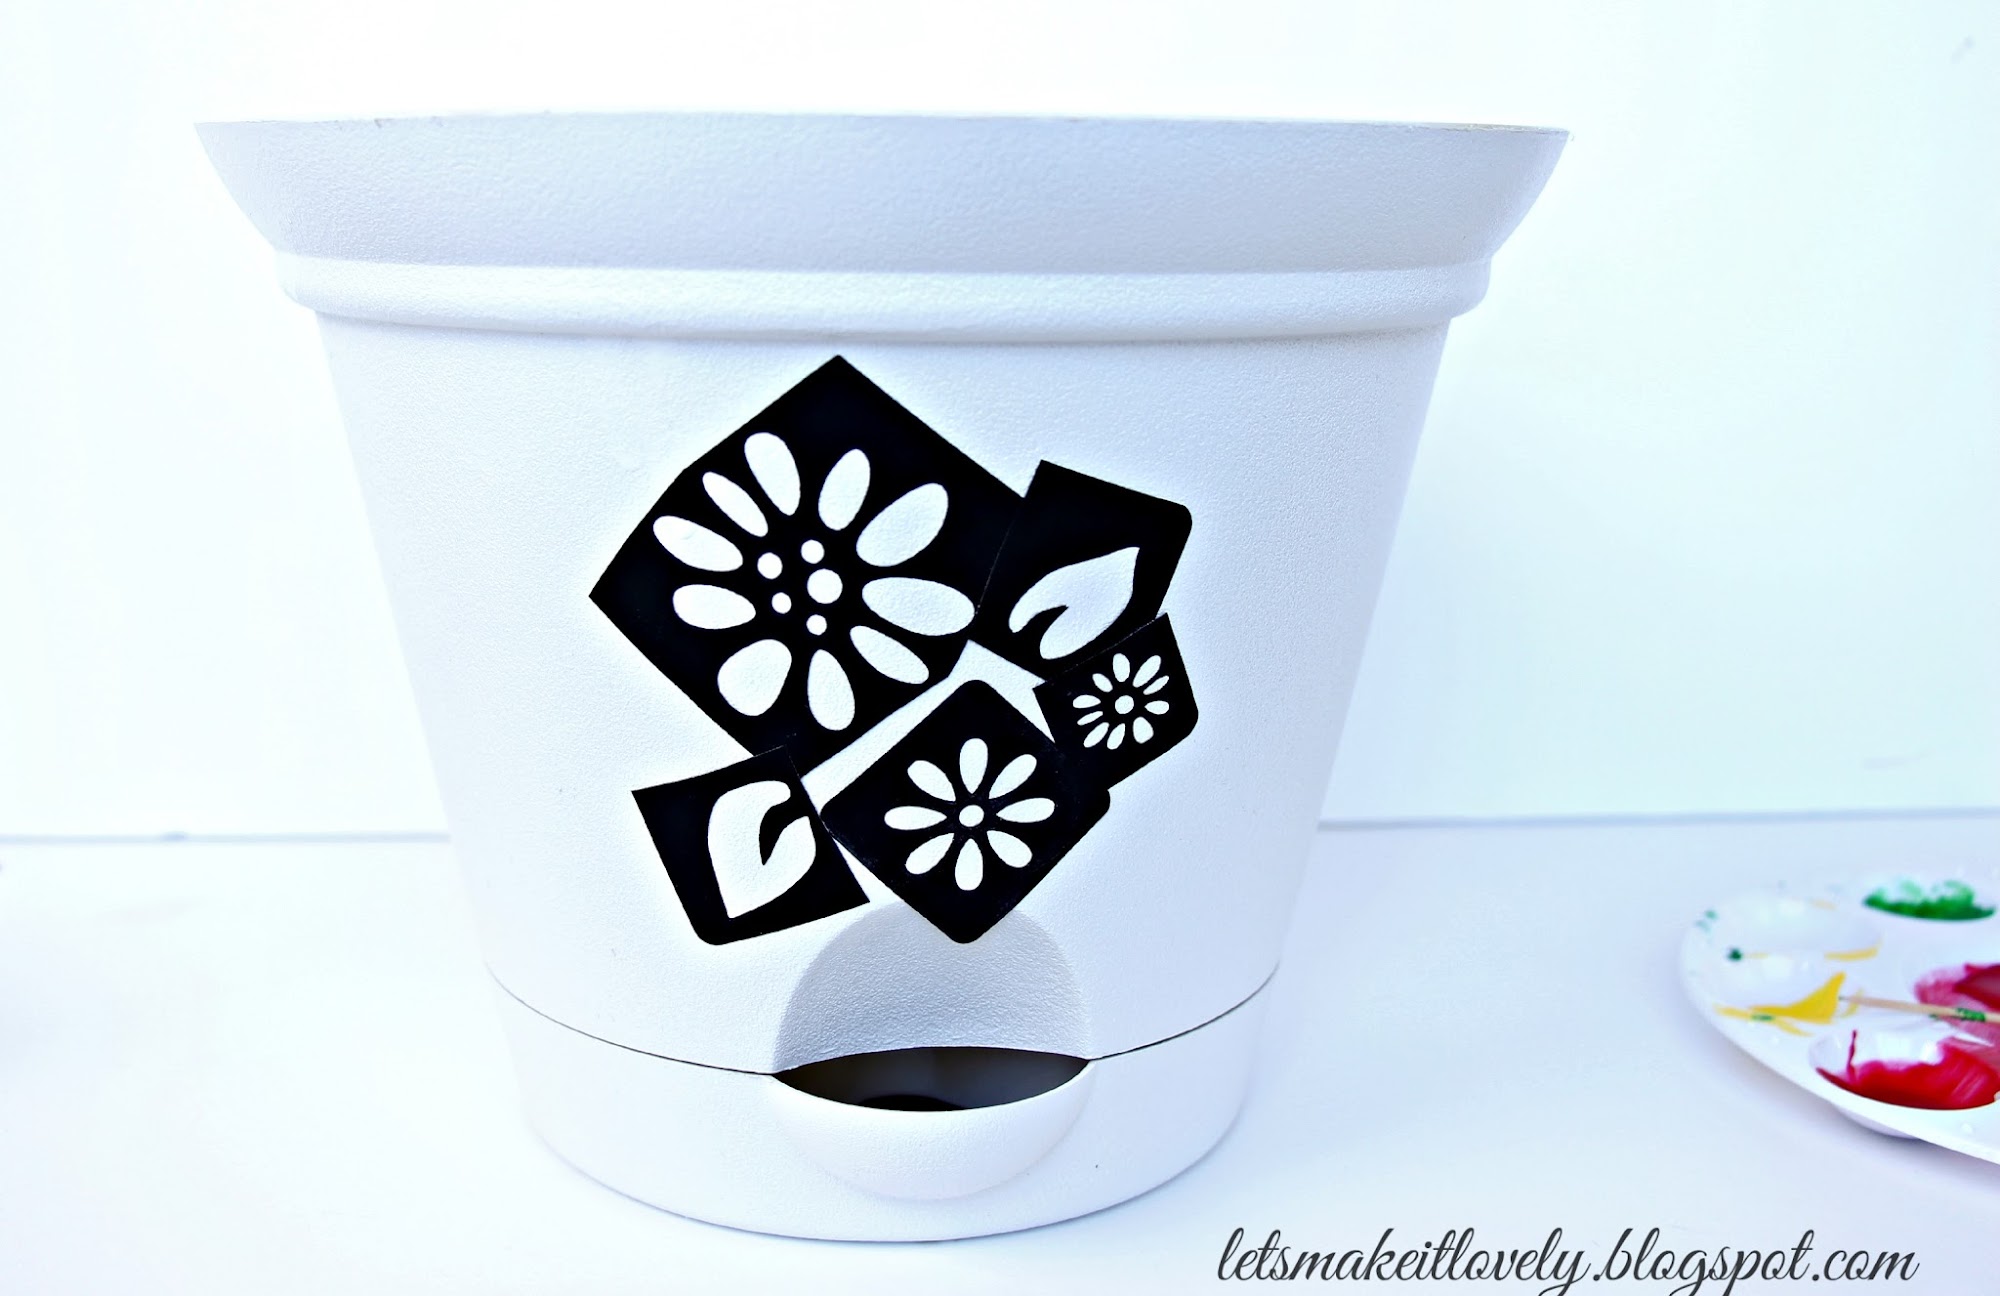
I got the black color plaid stencil for 0.92$ in clearance at Joann. God! I love those red tags :) And I love this product, it came with an adhesive backing so the paint doesn't seep through easily on the curved surfaces of pot.

Paint and stencil the pots bright for a pop of color in your summer patio. Dos and Don'ts on stenciling.

The blue stencil is a plastic stencil with no adhesive backing. I got this for 1.5$ after discount coupon. But this one did no good on my pots :( Pots usually have a curved surface and this stencil was flexible enough to bend which made me think it would work when I tape it on sides. This is how my flower painting turned out with that stencil. As that is backside of the pot, it didn't bother me much. The stencil worked great on fabrics but I guess its just not made for plastics or the curved surfaces unless used with a stencil adhesive spray.

Paint and stencil the pots bright for a pop of color in your summer patio. Dos and Don'ts on stenciling.

As my stencil B failed, I ended up buying martha stewart adhesive floral stencil for 4.99 after 50% discount coupon. ( I do crazy couponing when it comes to craft supplies or home decor) I got this stencil because I liked the designs and tons of ideas popped up after I saw the project idea on the stencil cover. Which means you can expect more stenciling projects to come. However, I would rate this stencil moderately good, as few of the delicate designs from this pack din't turn out as good as I expected them to be. But thumbs up for rest of the designs.

Paint and stencil the pots bright for a pop of color in your summer patio. Dos and Don'ts on stenciling.

Coming to dos and don'ts on stenciling:
  • Make sure the delicate parts of the stencil are adhered to the surface properly before pouncing it with paint.
  • The trick is you need right amount of paint on your stencil pouncer. It should not be too low that it can't get the paint evenly on surface or too high that the paint can seep through stencil and ruin your design. It takes a little practice to do it right. I would definitely recommend practicing on the back or down side of your pots before doing the actual job.
  • Carefully peel away the stencil once you are finished painting the design.
  • Always clean the stencil between every use as suggested by the instructions on your pack.
  • Most importantly don't bother much if your paint does seep through just a little here and there, at the end its gonna still look pretty and colorful. Have fun stenciling like a kid.

Paint and stencil the pots bright for a pop of color in your summer patio. Dos and Don'ts on stenciling.


Now get creative with designing, mix and match different stencils for the look you desire. I used acrylic paints as I already had them on hand. Note: I recommend buying outdoor acrylic paints if you are going to buy some paint just for that purpose. Buying multi surface acrylic paint would be a great way in case you are looking for painting different surfaces outdoor or indoor. If you already have enough acrylic paints on hand and don't want to buy new stuff like me, just use them but make sure you spray the painted pot with clear gloss or clear finish spray paint(more about this in step 3).

Paint and stencil the pots bright for a pop of color in your summer patio. Dos and Don'ts on stenciling.

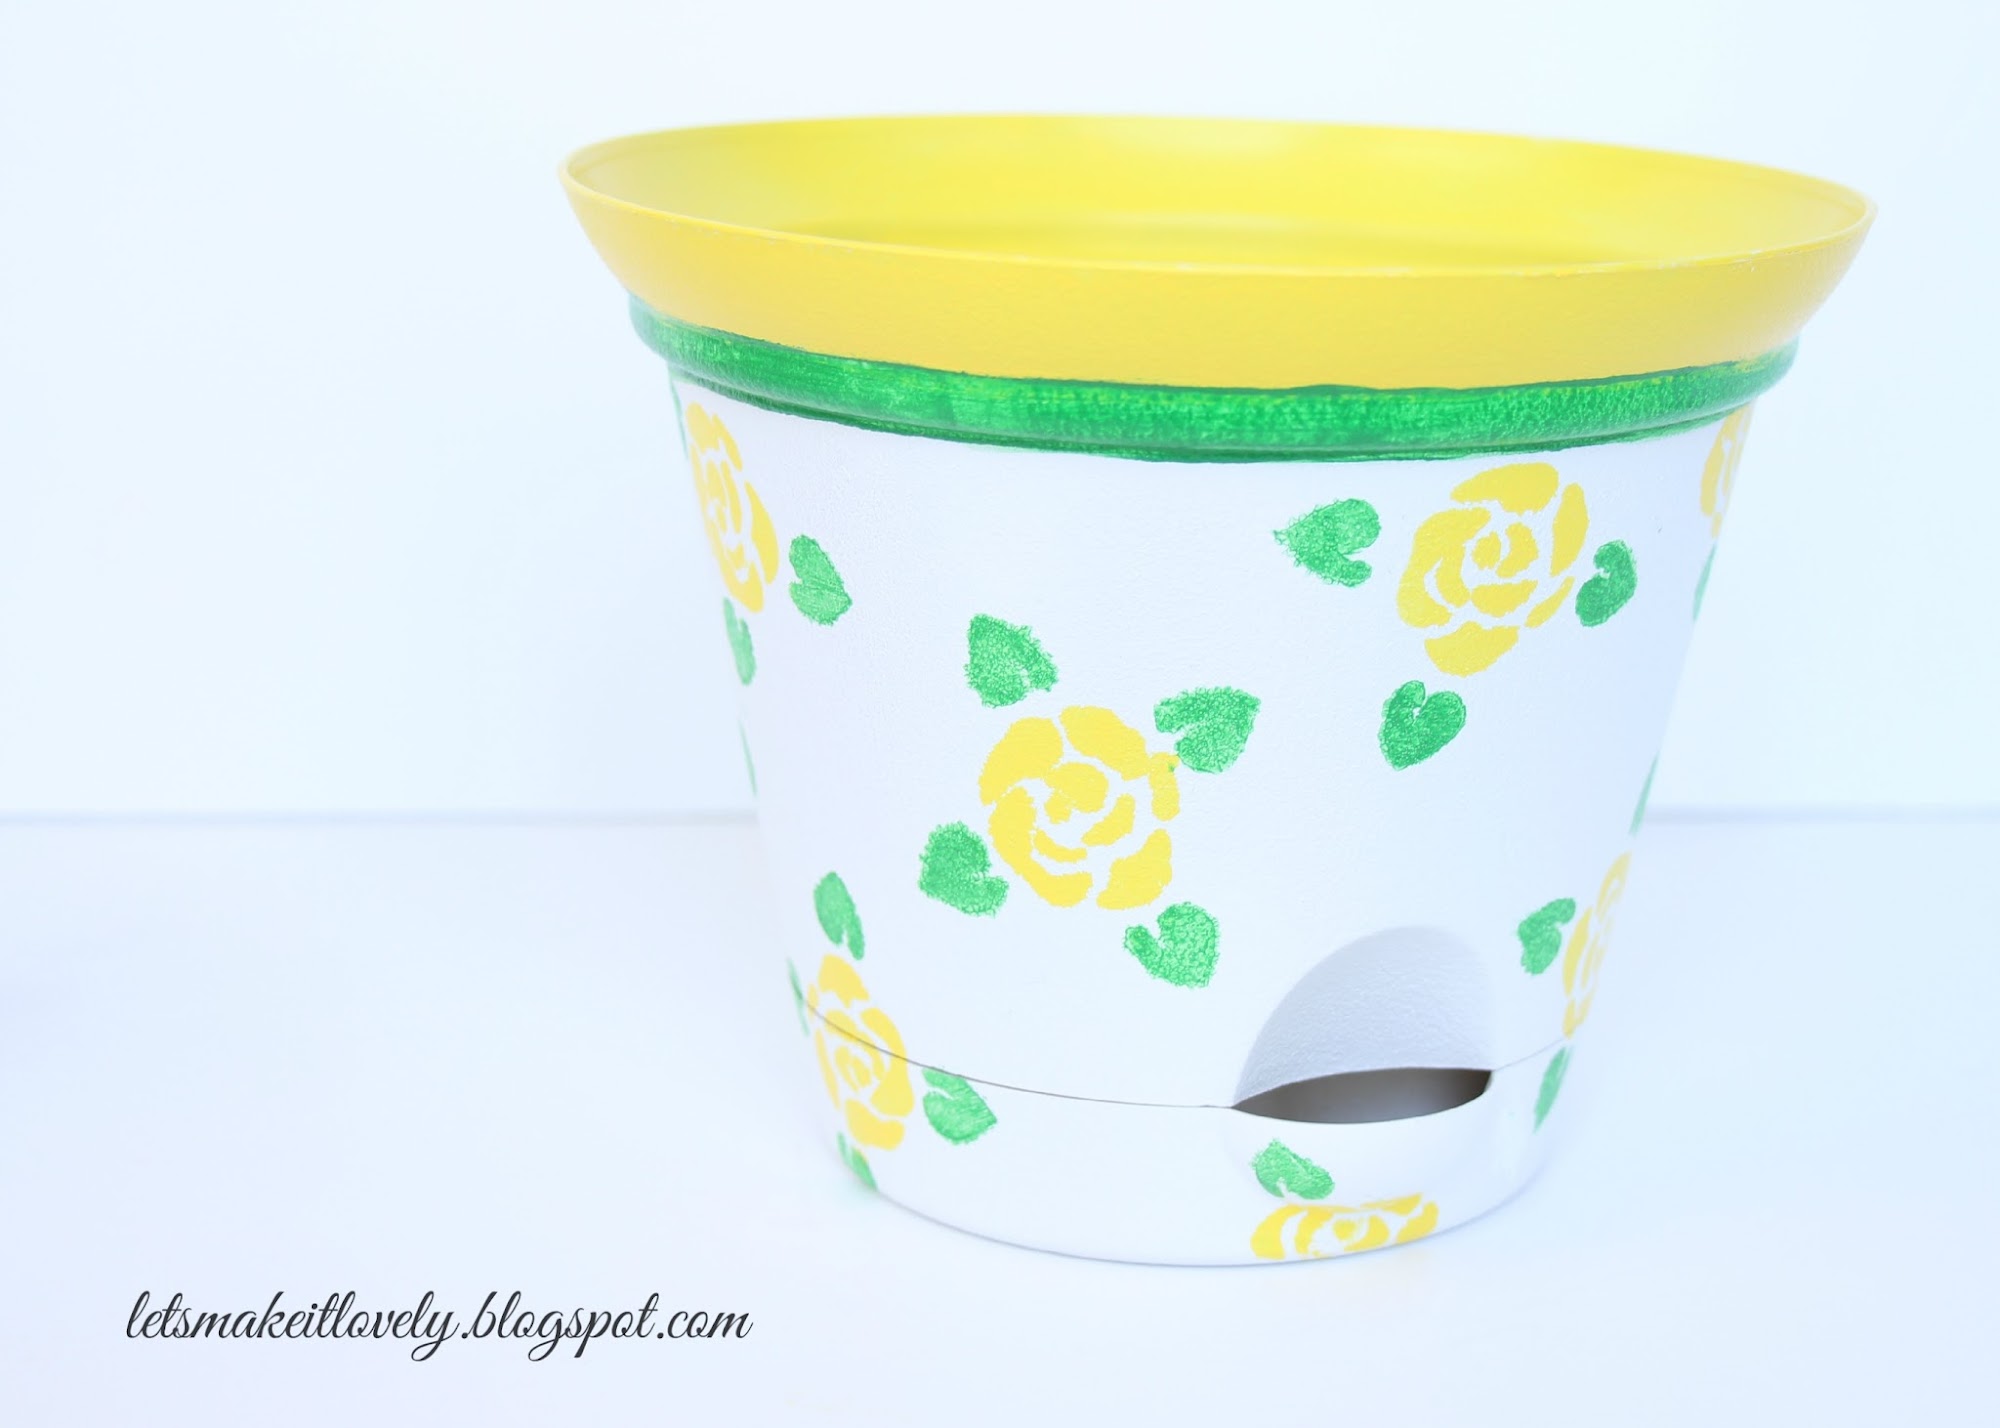
Try painting the pot open ends with solid colors to take it to next level.

You need lots of patience and I am sure your pots would look stunning.
Let the paints dry completely before moving to next step.

Step:3 Spraying with clear finish

Paint and stencil the pots bright for a pop of color in your summer patio. Dos and Don'ts on stenciling.

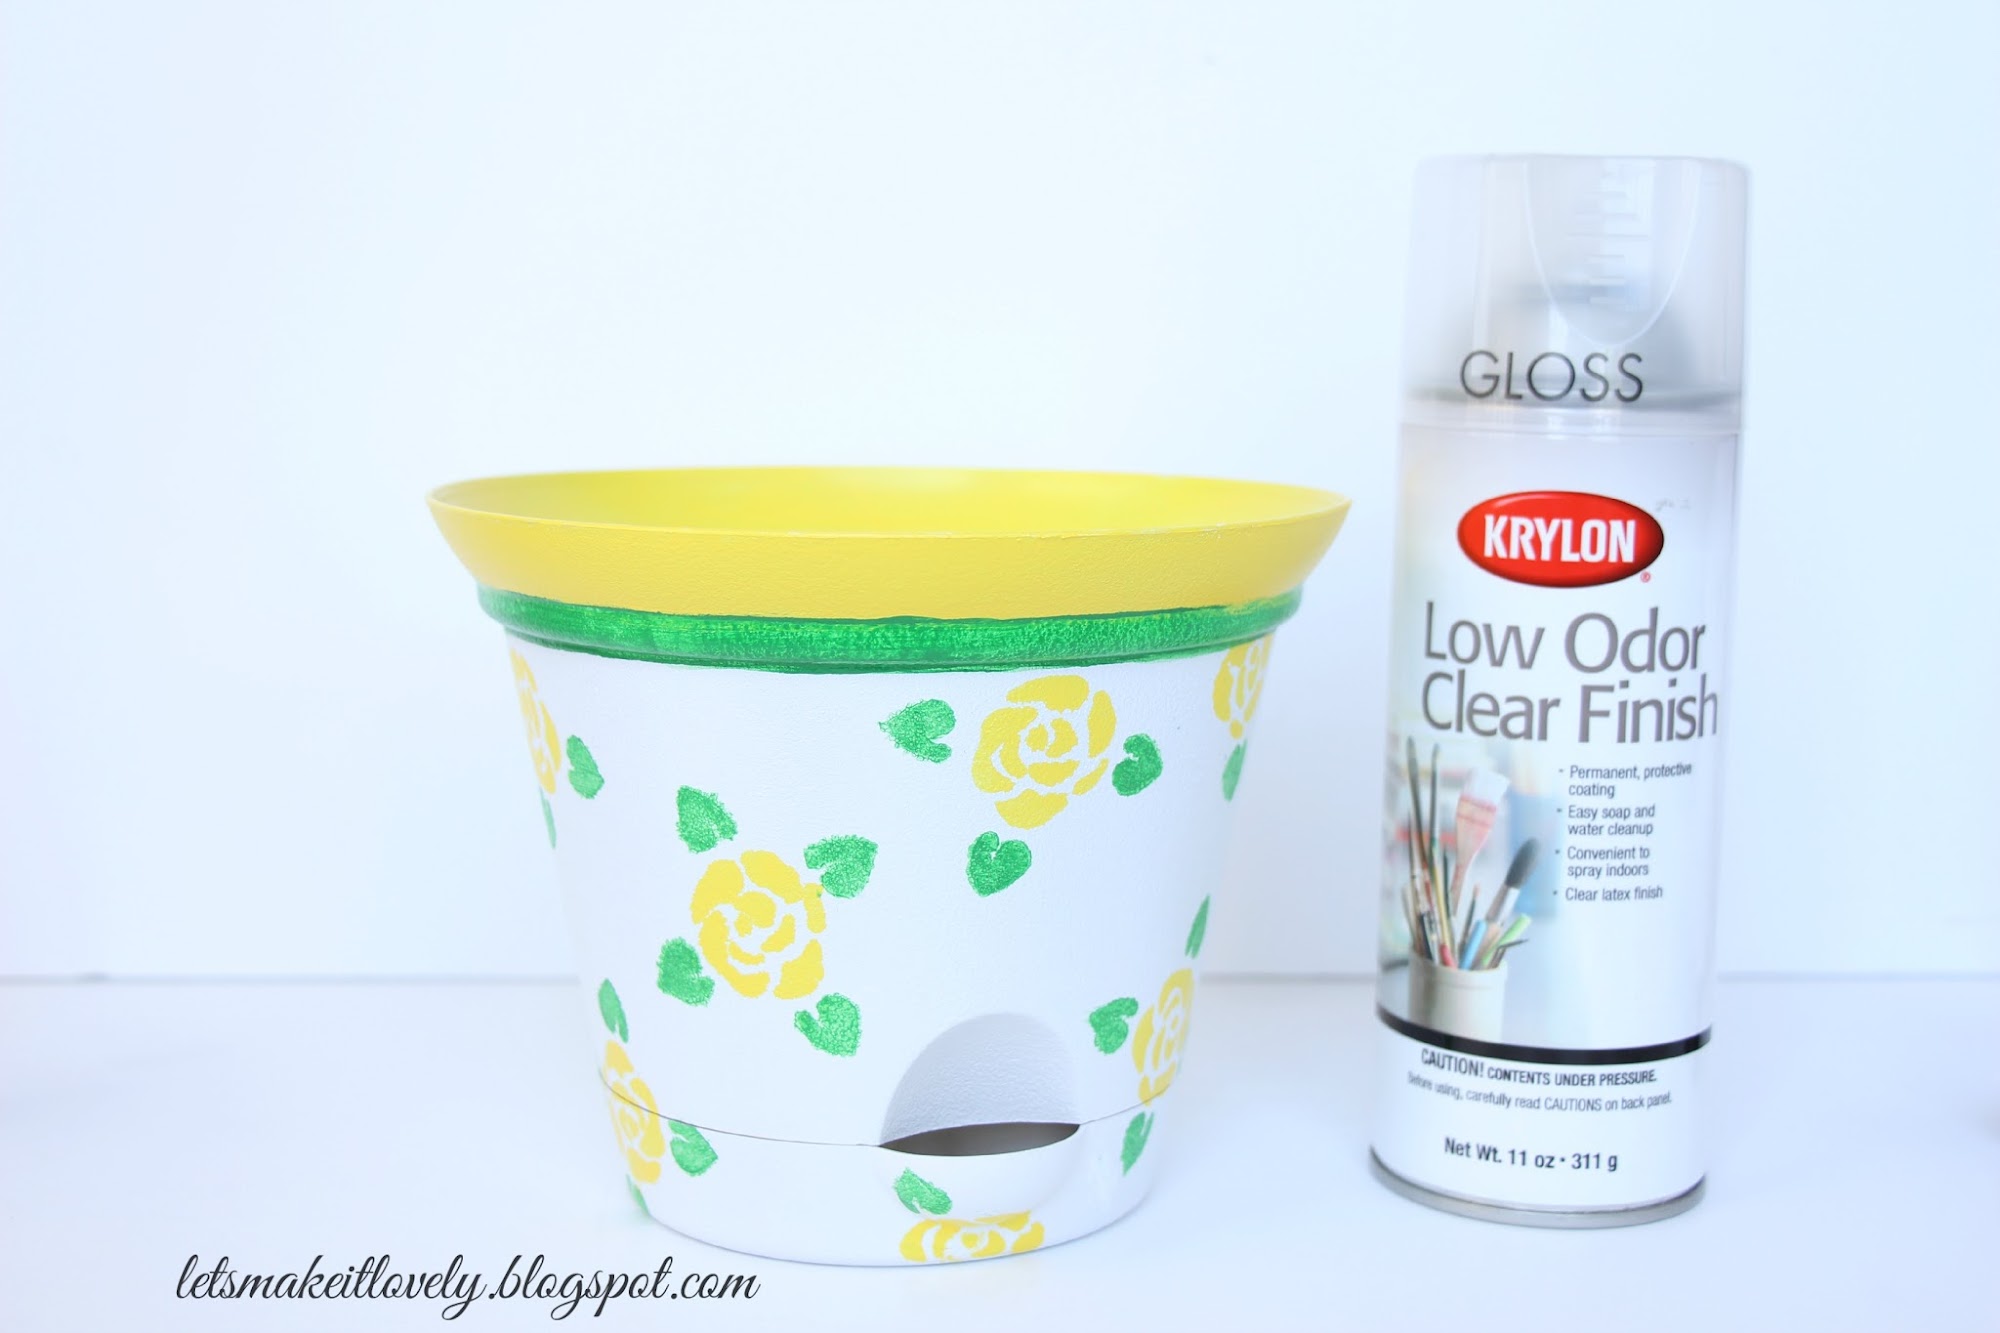
This step is optional in case you used outdoor acrylic paints for stenciling your pots. However if you used regular acrylic paints you need to seal the colors with clear finish or clear gloss spray paint to water proof the colors. (Note: I read in various columns that sealing with clear finish is good enough to protect acrylic colors, so I decided to experiment.  I had left over clear gloss spray paint from my DIY Star Burst Mirror project so I went ahead and used it). You could use clear matte finish or any clear finish spray that you like. Make sure you (take care while spraying like in Step1) cover the entire painted pot with 3-4 even coats of clear finish.

Paint and stencil the pots bright for a pop of color in your summer patio. Dos and Don'ts on stenciling.

After the paint is completely dry you can go ahead and pot your plants. I am sure you will enjoy the color pop.

I tested my pots under water once the clear gloss spray paint completely dried and they seem completely fine, my colors didn't move or fade a bit. Knock on wood! I will update you once in a while about the paints performance out in the balcony.

Paint and stencil the pots bright for a pop of color in your summer patio. Dos and Don'ts on stenciling.

Enjoy these beautiful flowers until my next post about makeover. And I am very sorry for long silence on the blog earlier, I was on a trip to India and it took little time to get back to things. It was very sweet of you guys who messaged me asking about the silence. 
I love to hear your comments on these color pop pots. Thank you for stopping by. Have a great week :)

Tuesday, February 10, 2015

Simple Valentine's day Decor

Today, I am going to share with you a simple and romantic background decor that works great for your valentine's day dinner or photo booth. I did this decor on valentine's day 2 years back. I was thinking to post this from a while but never got around it. Finally, here it is on time for this valentine's day.


It is so simple that all you need is Red card stock paper, pencil or pen, scissors, white thread and invisible adhesive tape.


First draw a heart shape on a cardboard piece or cardstock piece, cut it and use it as a template to trace hearts on red cardstock paper. Trace as many hearts as you would like.
Cut the paper hearts one by one using a pair of scissors.


Cut the thread at the lengths you would like to hang from ceiling. (Mine were about 8 feet.) Stick the backside of hearts to pre cut white thread pieces using invisible adhesive tape leaving equal distance of space between the hearts.


That's it! Hang the strings of hearts from ceiling using adhesive tape.

Add flowers and candles for a romantic touch and you are done :)
Have a good one. I love to hear your comments and thank you for stopping by.