Hello my lovely friends, today lets climb one more step on sewing ladder and make a Tote bag with faux leather base. Are you as excited as I am? Then, lets do it!!! This post looks too lengthy because of explanation, but trust me its super simple to sew it.
Supplies needed:
- Vinyl of your choice (Faux Leather)
- Printed fabric for bag exterior ( I recommend the home decor fabric as it is little sturdier than usual cotton prints)
- Sewing and fabric cutting supplies(I used 100% Polyster Thread and 100/16 Needle as we got to sew through vinyl.)
- Light weight firm iron on backing ( I used pellon 809 decor bond.)
Measurements for cutting fabrics:
For Bag Exterior:
- 2 Vinyl Base Pieces of 6x16 inches
- 2 Exterior Fabric Pieces of 10x16 inches
- 2 Light weight iron on backing of 15x16 inches
- 2 Exterior fabric pieces of 3x16 inches
- 2 light weight iron on backing pieces of 2x3 inches (you could also use fusible fleece scrap pieces instead of iron on backing in this step)
- 2 lining fabric pieces of 13x16 inches
- 4 lining fabric pieces of 6.5x10.5 inches
Sewing Exterior of Bag :
1. With 1/2 inch seam allowance join your 10x16 inch exterior fabric with 6x16 inch vinyl. Repeat with other set of exterior fabric and vinyl pieces too.
2. Press the seams with iron and fuse the firm iron on backing to the wrong side of the above constructed exterior pieces. (Always use a press cloth over vinyl before ironing.)
3. Join the bag exterior pieces with right sides together and sew three sides with 1/2 inch seam allowance ( leave the fourth side which is the top open for your bag.)
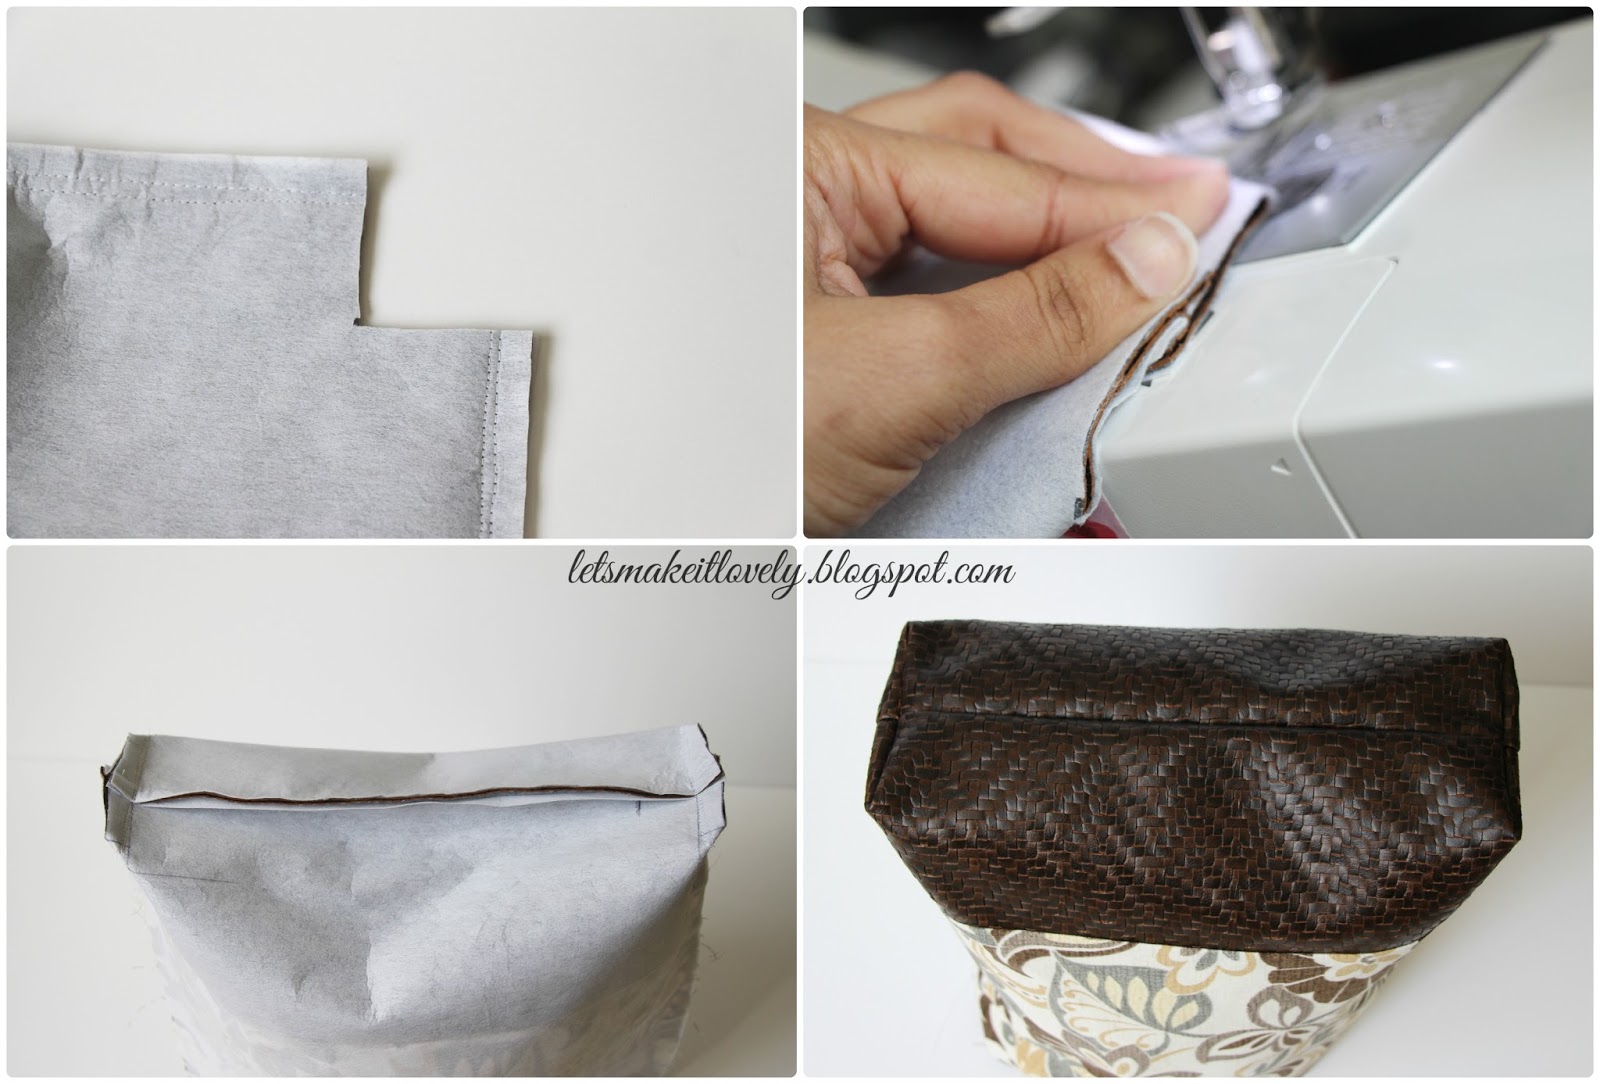
4. Cut out 2x2 inch squares from bottom corners of bag (vinyl corners) and fold the corners such that side and bottom bag seams match in line and sew close the opening with 1/2 inch allowance as shown in picture . ( This step is nothing but boxing out your bag bottom.) Now our bag exterior shape is almost done.
Making pockets to add to the lining:
5. Take a pair of 6.5x10.5 inch lining fabric pieces and sew all four sides with 1/4th inch seam allowance leaving a 3 inch gap on one side to turn it inside out.
6.Turn the piece inside out through the gap left and finish the open side with top stitch.
7. Repeat steps 5 and 6 with other pair of 6.5x10.5 lining fabric pieces. ( Sorry, I forgot to take a pic after finishing top stitch. But you would basically have 2 well finished rectangle fabric pieces. )
Sewing Interior of Bag:
8. Add 2x3 inch iron on backing or fusible fleece interface to the middle of 3x16 inch exterior fabric pieces. This backing is to provide little sturdiness to our magnetic snaps which we will add later. ( I forgot to add it in this step but i managed to add it just before adding my magnetic snaps. So do not get confused if you don't see this backing piece in further pictures.)
9. Join the above constructed 3x16 inches exterior fabric piece with 13x16 inches lining fabric piece.
10. Repeat the steps 8 and 9 with the other set of 3x 16 inch exterior fabric, 2x3 inch iron on and 13x16 inches lining fabric pieces.
11. To add pockets to bag lining, pin one of the rectangle fabric pieces (we constructed it in making pockets step) to one side of bag lining piece and stitch all the sides except the side facing the 2 inch exterior fabric piece. Sew intermediate lines for pocket divisions.
12. Repeat steps 11 with another rectangle (we made in making pocket step) on the other side of bag lining.
13. Sew the finished lining pieces right sides together with 1/2 inch seam allowance leaving the top side open and also leave 5inch opening on bottom side. ( Leaving opening on bottom is important to turn the bag right side out later.)
14. Box out the corners like we did in step 4 for bag exterior.
Joining Exterior of bag with Interior lining:
15. Take the exterior bag piece with right side out and lining piece wrong side out. Insert exterior piece completely inside lining piece.
16. Pin the top openings of lining and exterior pieces together all around. Sew along the pinned line.
17. Using the bottom opening in lining (opening we left in step 13) , pull the exterior piece out and turn lining right side out.
18. Push the lining fabric inside and press along the top seam of the bag we just made. Take your time and press this seam with iron as it is important for how your bag looks later.
19. Top stitch all around the top edges of the bag with 1/8th inch seam allowance.
Finally our tote bag took a shape. Take a little break and admire your work.
Learn to add Sturdy cardboard base, bag hardware like bag feet, magnetic snap closure and handles in my next post. Here is a sneak peek for you.
Hope you could make it so far in this bag making. As always I love to read your comments. Thank you for stopping by.


.jpg)


