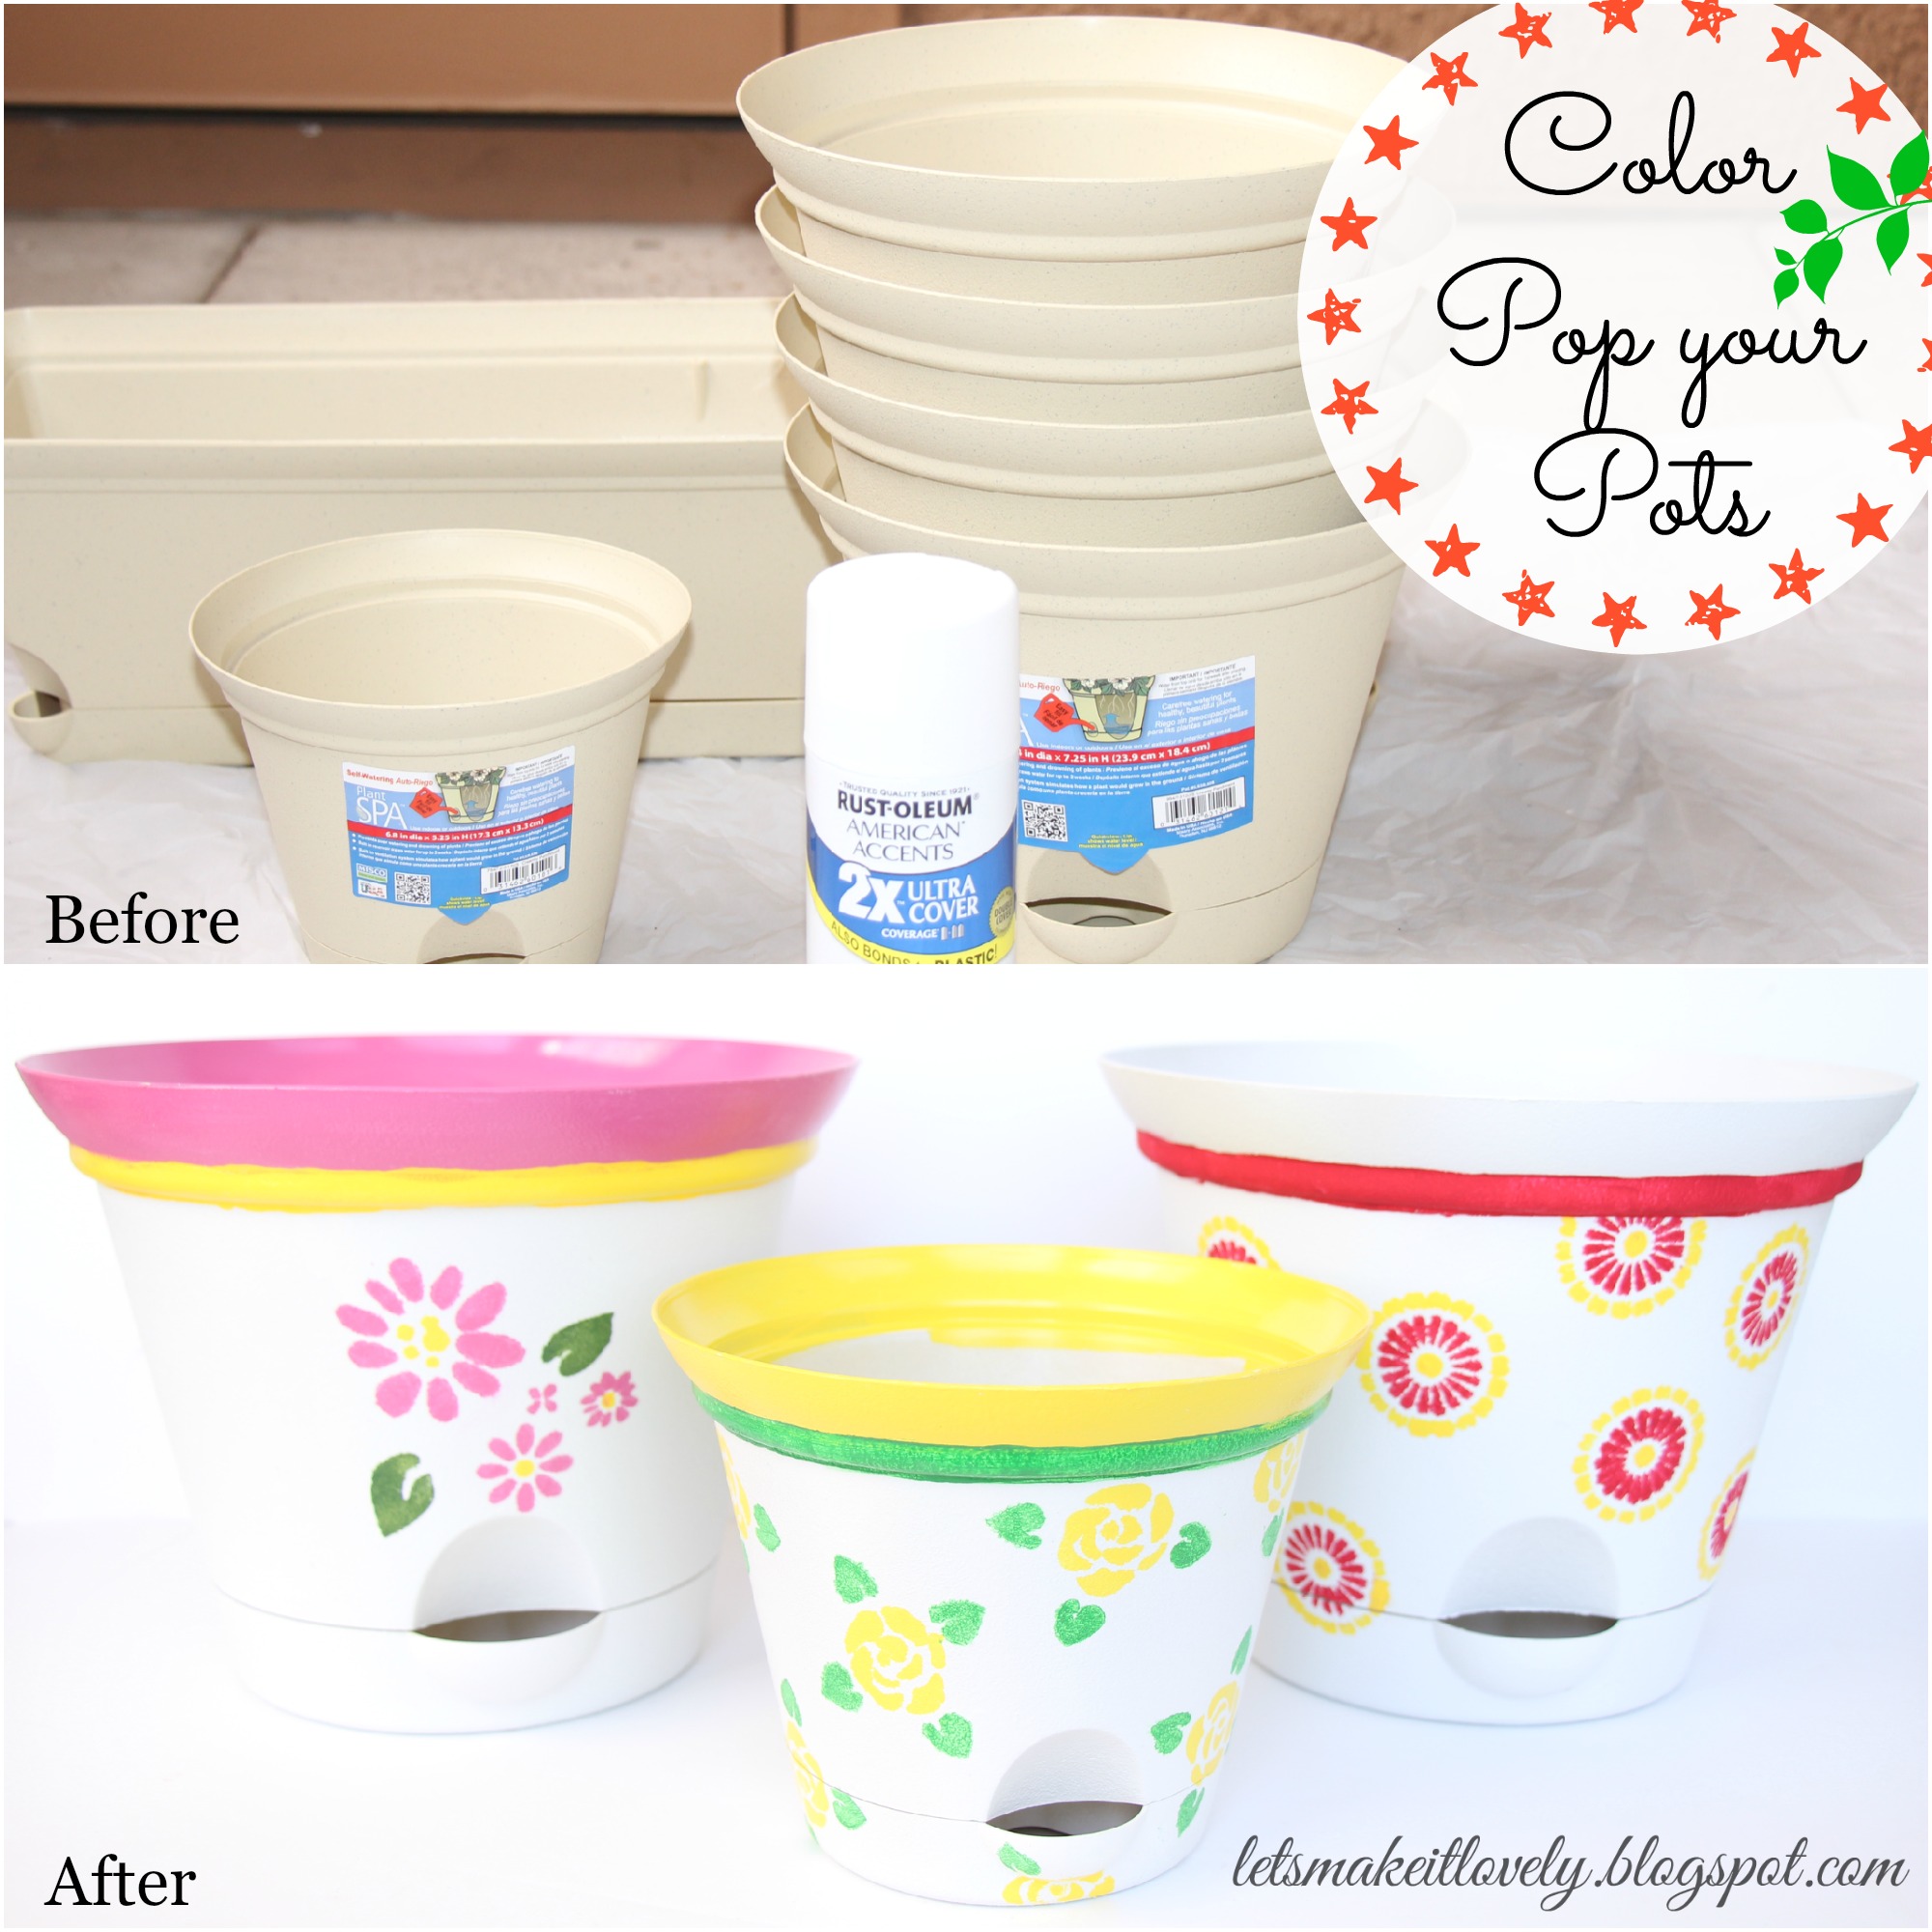
After living with an empty patio for 2 years, I made the decision to decorate my patio this summer. Yeah! Pretty late. Hey better late than never :). My balcony walls are too dull in color. So I wanted lots of brightness in everything I add. I wanted to buy self watering pots so that my plants wont die when I go on a trip for 2 or 3 days. The Latte color is the brightest I could find under my requirements. I was not satisfied with how they looked in my balcony. So, here is what I turned them into.
It's best to do spray painting outdoor so that you have lot of ventilation but also make sure its not windy or dusty out there. If you don't have a patio use low odor indoor spray paints and use a cardboard box or carton to enclose the item to be spray painted, that way you won't end up spraying your room. Cover the area around with old bed sheets or plastic sheets (I used half sheet of dollar store plastic table cloth that I had on hand).
Follow the instruction on your spray can and do 2 coats of chosen color. I chose white. Let the paint completely dry before going to next step.
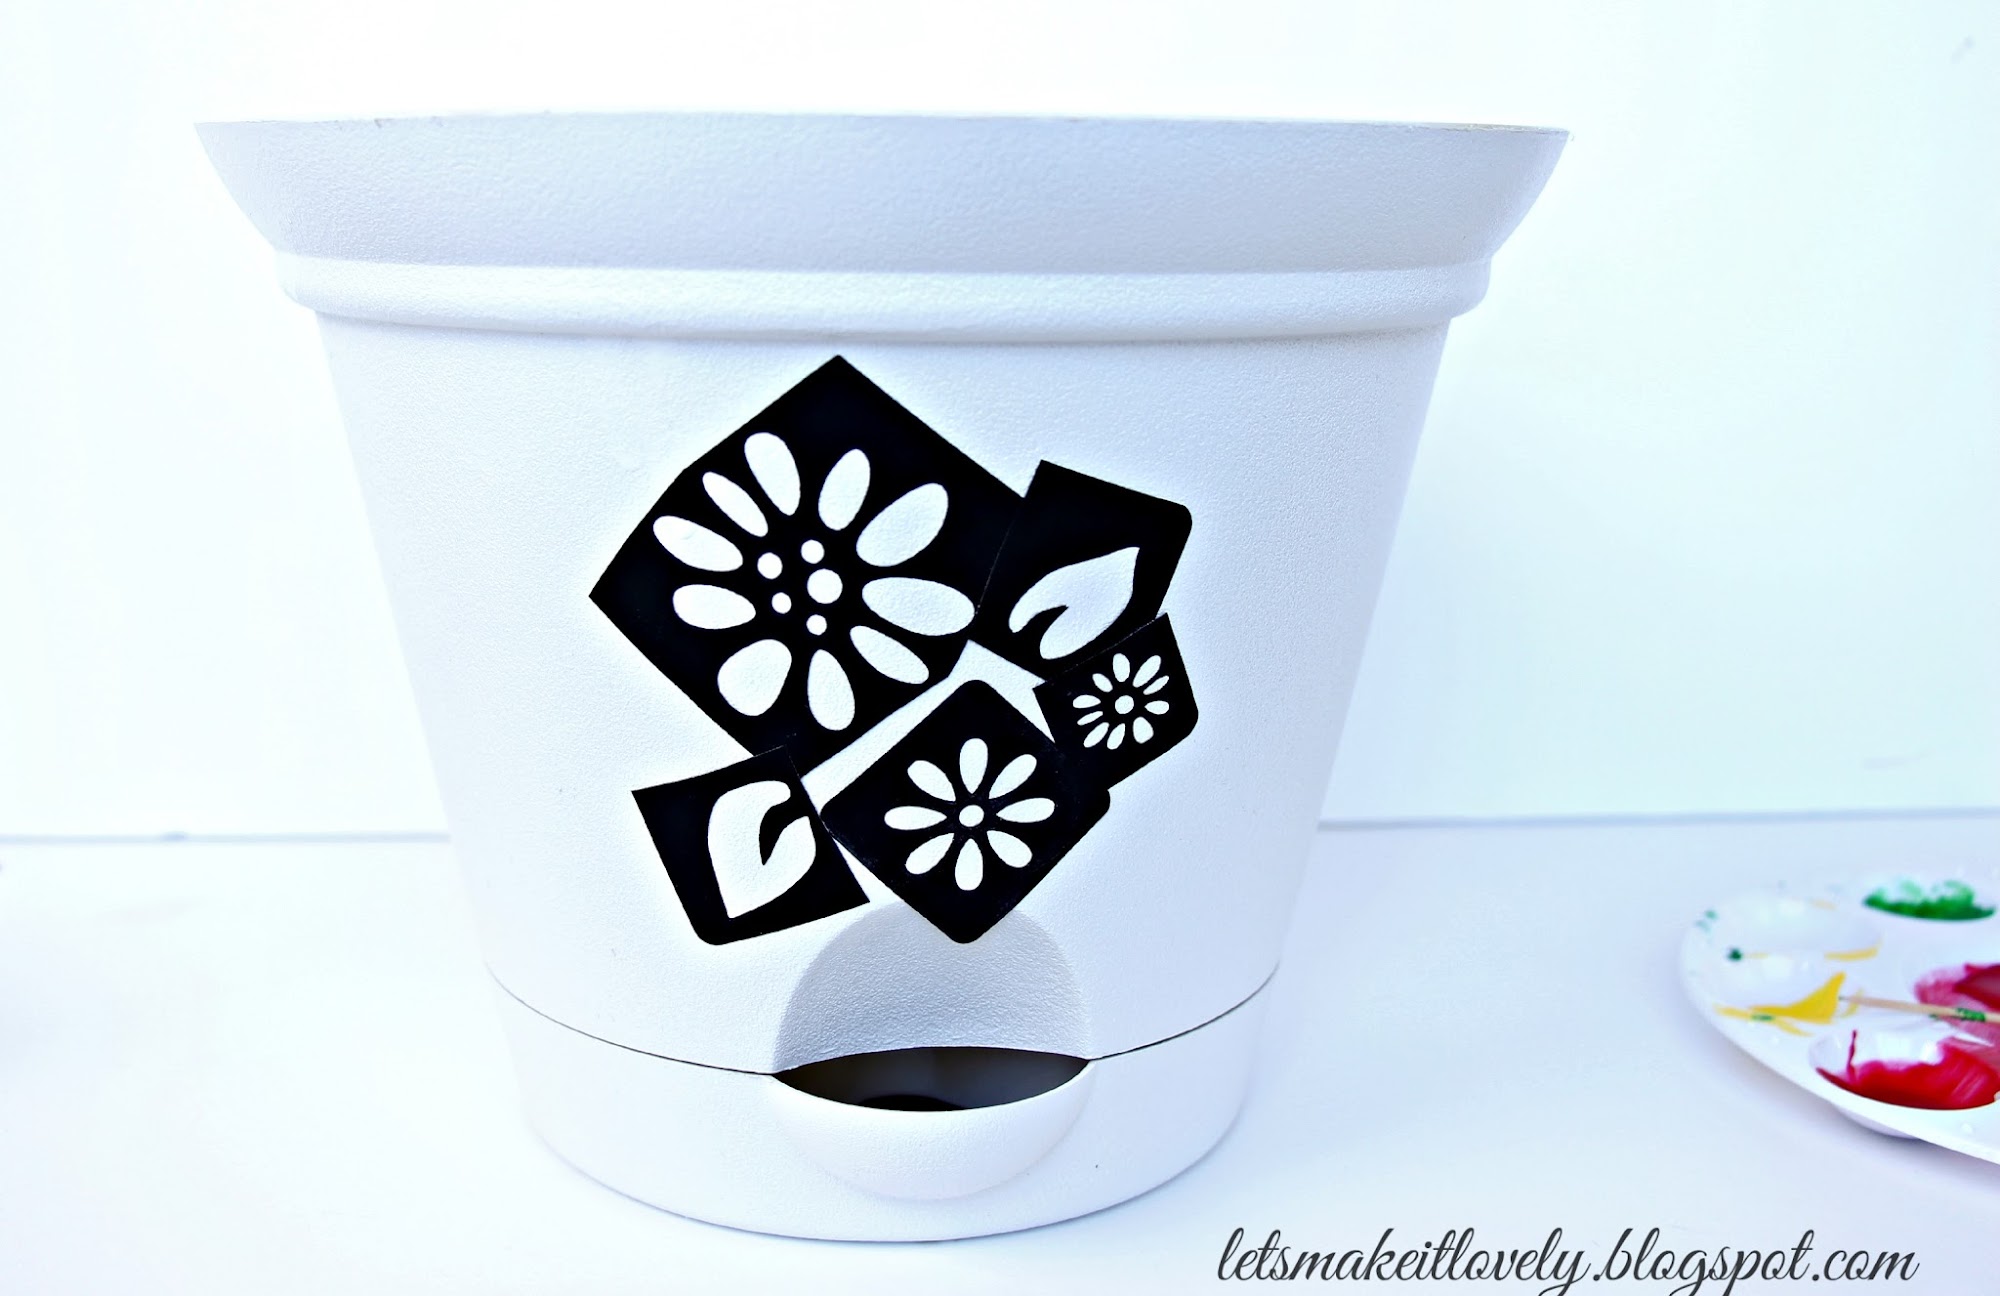
I got the black color plaid stencil for 0.92$ in clearance at Joann. God! I love those red tags :) And I love this product, it came with an adhesive backing so the paint doesn't seep through easily on the curved surfaces of pot.
The blue stencil is a plastic stencil with no adhesive backing. I got this for 1.5$ after discount coupon. But this one did no good on my pots :( Pots usually have a curved surface and this stencil was flexible enough to bend which made me think it would work when I tape it on sides. This is how my flower painting turned out with that stencil. As that is backside of the pot, it didn't bother me much. The stencil worked great on fabrics but I guess its just not made for plastics or the curved surfaces unless used with a stencil adhesive spray.
As my stencil B failed, I ended up buying martha stewart adhesive floral stencil for 4.99 after 50% discount coupon. ( I do crazy couponing when it comes to craft supplies or home decor) I got this stencil because I liked the designs and tons of ideas popped up after I saw the project idea on the stencil cover. Which means you can expect more stenciling projects to come. However, I would rate this stencil moderately good, as few of the delicate designs from this pack din't turn out as good as I expected them to be. But thumbs up for rest of the designs.
Coming to dos and don'ts on stenciling:
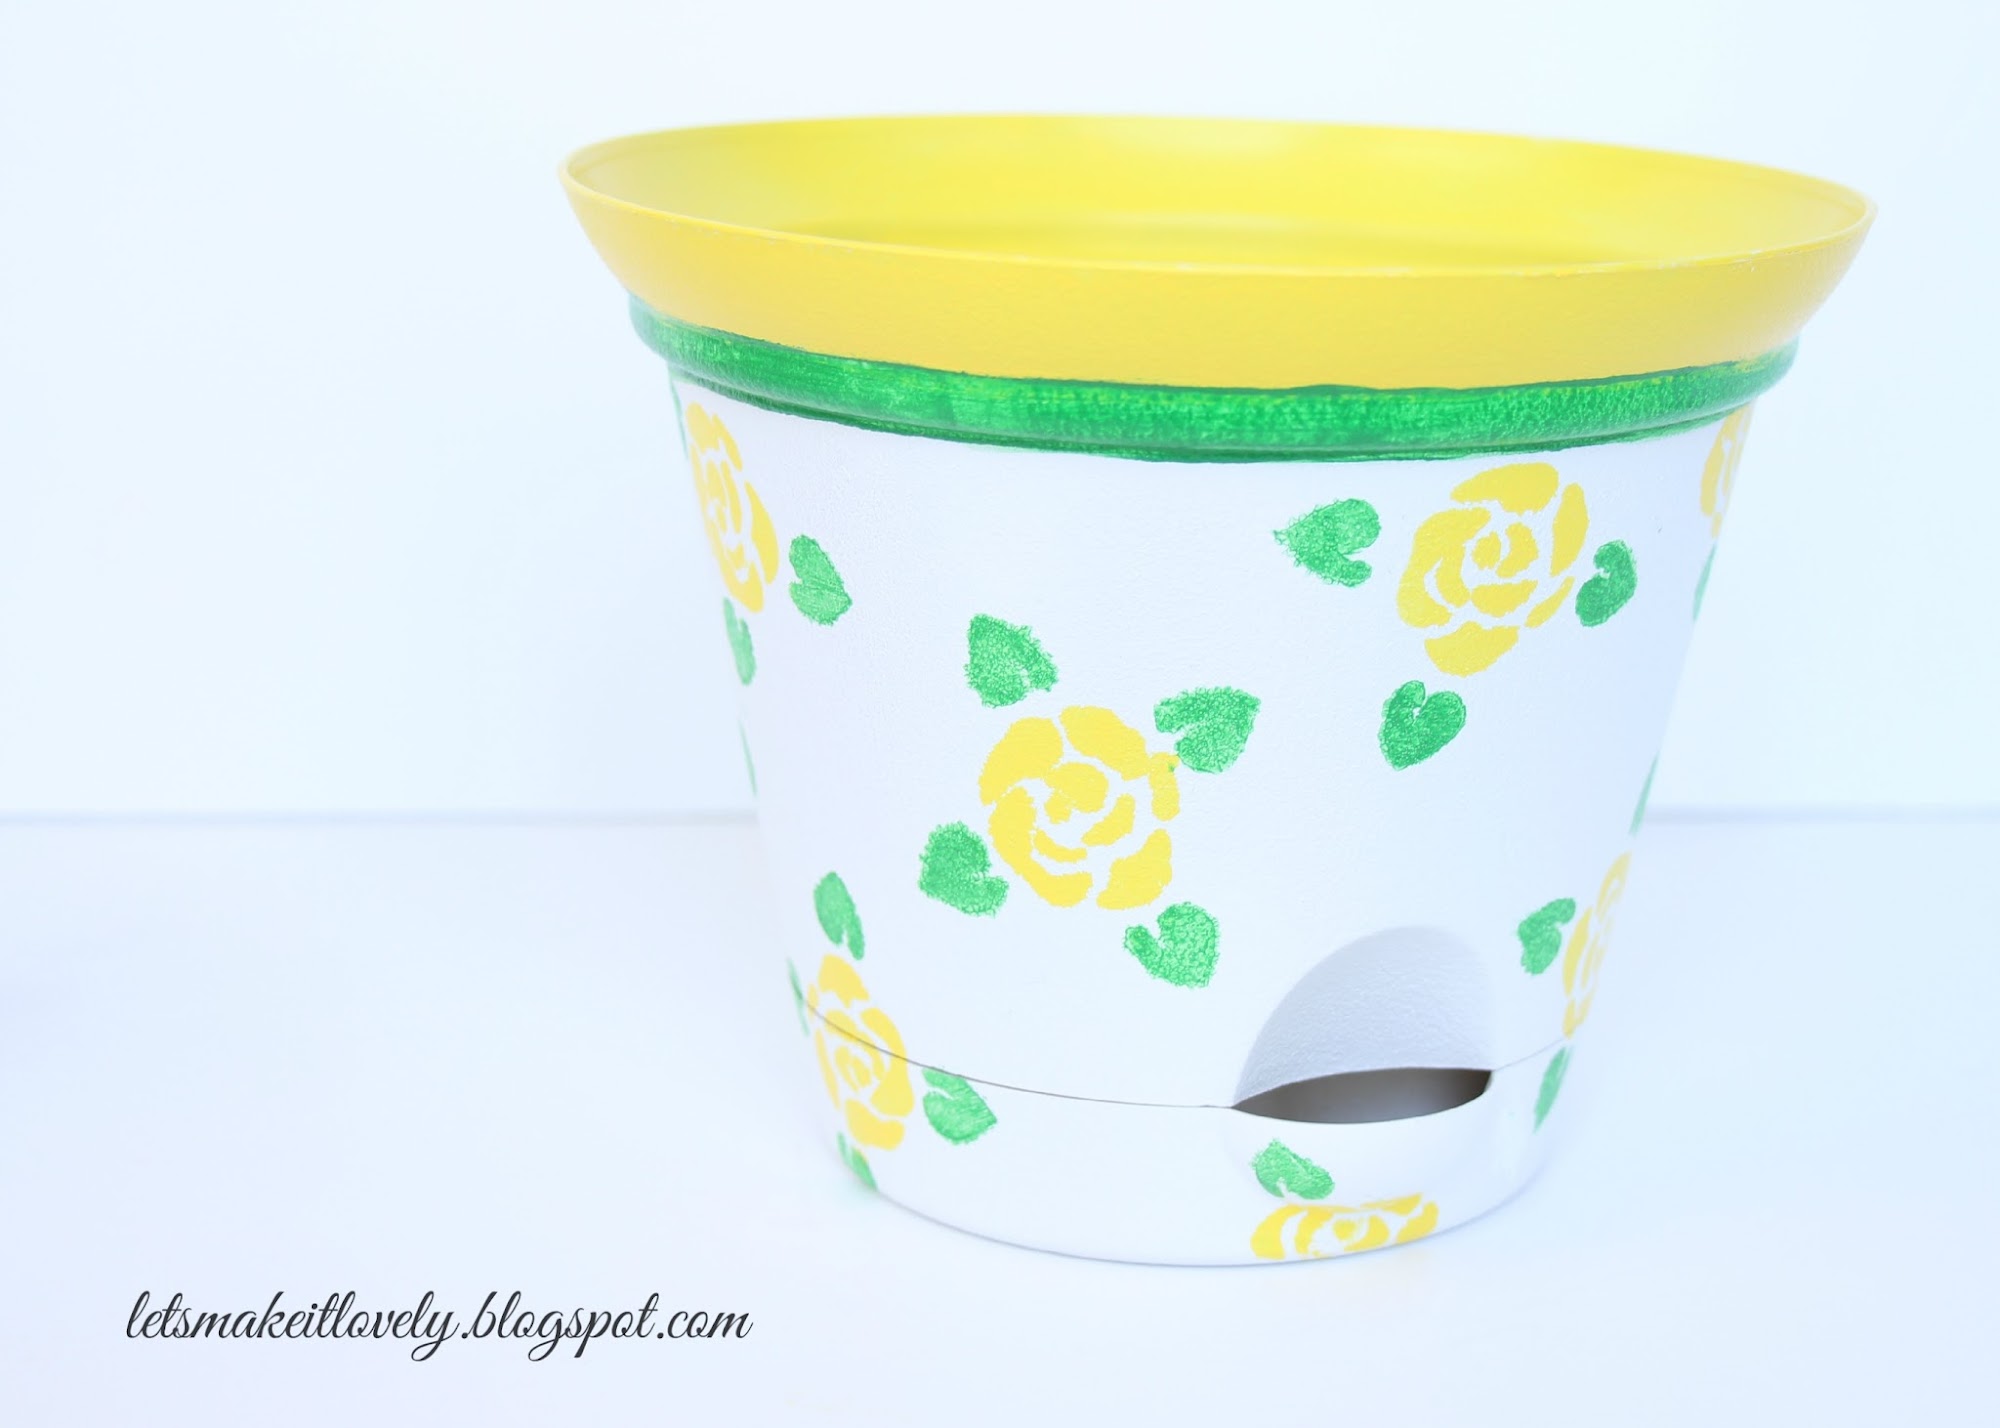
Now get creative with designing, mix and match different stencils for the look you desire. I used acrylic paints as I already had them on hand. Note: I recommend buying outdoor acrylic paints if you are going to buy some paint just for that purpose. Buying multi surface acrylic paint would be a great way in case you are looking for painting different surfaces outdoor or indoor. If you already have enough acrylic paints on hand and don't want to buy new stuff like me, just use them but make sure you spray the painted pot with clear gloss or clear finish spray paint(more about this in step 3).
Try painting the pot open ends with solid colors to take it to next level.
You need lots of patience and I am sure your pots would look stunning.
Let the paints dry completely before moving to next step.
After the paint is completely dry you can go ahead and pot your plants. I am sure you will enjoy the color pop.
Want to do it yourself? Then here is the procedure for you.
Things used:
- Plastic pots
- White Spray paint
- Adhesive stencils
- Acrylic paints or outdoor acrylic paints (I used acrylic paints as I had them on hand. Read the note on step 2 and 3 incase you are going to buy new paints)
- Clear gloss spray paint (optional if you are using outdoor paints)
- Stencil pouncers
Step:1 Spray paint the pots with a bright color
Follow the instruction on your spray can and do 2 coats of chosen color. I chose white. Let the paint completely dry before going to next step.
Step:2 Stencil
Before moving on to this step let me share with you few dos and don'ts from my experience in buying a stencil.I got the black color plaid stencil for 0.92$ in clearance at Joann. God! I love those red tags :) And I love this product, it came with an adhesive backing so the paint doesn't seep through easily on the curved surfaces of pot.
The blue stencil is a plastic stencil with no adhesive backing. I got this for 1.5$ after discount coupon. But this one did no good on my pots :( Pots usually have a curved surface and this stencil was flexible enough to bend which made me think it would work when I tape it on sides. This is how my flower painting turned out with that stencil. As that is backside of the pot, it didn't bother me much. The stencil worked great on fabrics but I guess its just not made for plastics or the curved surfaces unless used with a stencil adhesive spray.
Coming to dos and don'ts on stenciling:
- Make sure the delicate parts of the stencil are adhered to the surface properly before pouncing it with paint.
- The trick is you need right amount of paint on your stencil pouncer. It should not be too low that it can't get the paint evenly on surface or too high that the paint can seep through stencil and ruin your design. It takes a little practice to do it right. I would definitely recommend practicing on the back or down side of your pots before doing the actual job.
- Carefully peel away the stencil once you are finished painting the design.
- Always clean the stencil between every use as suggested by the instructions on your pack.
- Most importantly don't bother much if your paint does seep through just a little here and there, at the end its gonna still look pretty and colorful. Have fun stenciling like a kid.
Now get creative with designing, mix and match different stencils for the look you desire. I used acrylic paints as I already had them on hand. Note: I recommend buying outdoor acrylic paints if you are going to buy some paint just for that purpose. Buying multi surface acrylic paint would be a great way in case you are looking for painting different surfaces outdoor or indoor. If you already have enough acrylic paints on hand and don't want to buy new stuff like me, just use them but make sure you spray the painted pot with clear gloss or clear finish spray paint(more about this in step 3).
Try painting the pot open ends with solid colors to take it to next level.
You need lots of patience and I am sure your pots would look stunning.
Let the paints dry completely before moving to next step.
Step:3 Spraying with clear finish
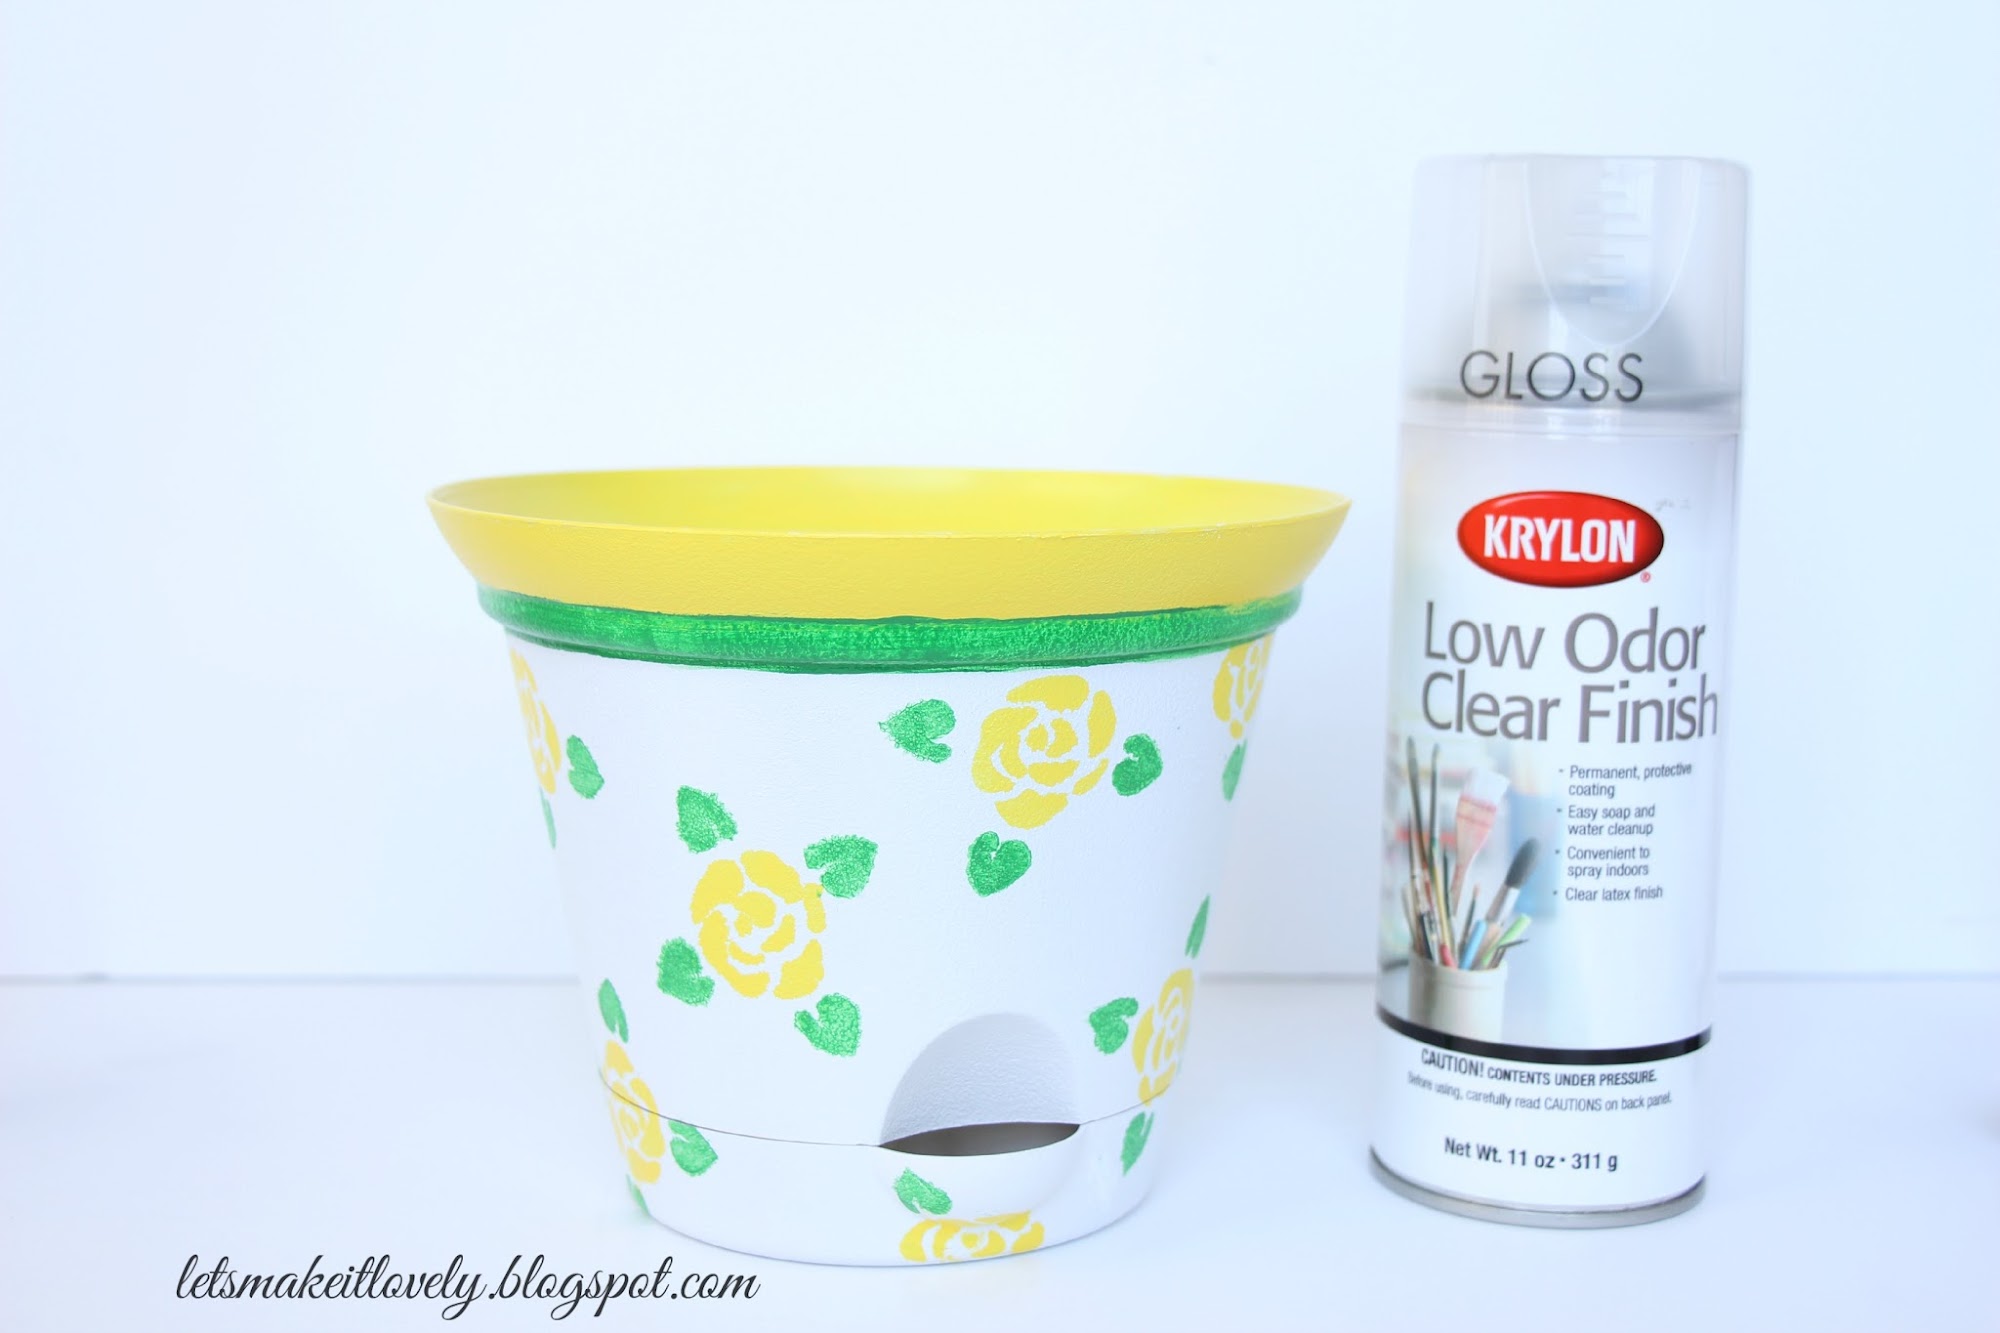
This step is optional in case you used outdoor acrylic paints for stenciling your pots. However if you used regular acrylic paints you need to seal the colors with clear finish or clear gloss spray paint to water proof the colors. (Note: I read in various columns that sealing with clear finish is good enough to protect acrylic colors, so I decided to experiment. I had left over clear gloss spray paint from my DIY Star Burst Mirror project so I went ahead and used it). You could use clear matte finish or any clear finish spray that you like. Make sure you (take care while spraying like in Step1) cover the entire painted pot with 3-4 even coats of clear finish.
After the paint is completely dry you can go ahead and pot your plants. I am sure you will enjoy the color pop.
I tested my pots under water once the clear gloss spray paint completely dried and they seem completely fine, my colors didn't move or fade a bit. Knock on wood! I will update you once in a while about the paints performance out in the balcony.
Enjoy these beautiful flowers until my next post about makeover. And I am very sorry for long silence on the blog earlier, I was on a trip to India and it took little time to get back to things. It was very sweet of you guys who messaged me asking about the silence.
I love to hear your comments on these color pop pots. Thank you for stopping by. Have a great week :)


I'm stopping by from the Whimsey Wednesday link party. These pots are so delightful I love the colors. I've put this on my -gotta-do-SOON list. Thanks for sharing.
ReplyDeleteI'm trying to grow my own link party. I invite you to share this (and 2-3 other links) at my Grandma Ideas Sharing Time Link party at http://grandmaideas.com. I think that my readers would really enjoy your ideas.
All the best,
Nina
Thank you Nina :) Will definitely join the party. Thank you for inviting :)
ReplyDeleteWhat a great idea! Your pots look so adorable now. I have some blah pots too. I guess I need to change that, I have no excuse now :)
ReplyDeleteThank you Petro :) Yes, you should give it a shot. Would love to see pictures of how gorgeous your pots are gonna be :)
DeleteHello there! You are so creative and your photos are gorgeous! It would be amazing if you would stop by our party, and share your favorite posts with us. We are trying to grow our lin party and I believe that our readers would love to be inspired by your ideas! Join in at the Friday Favorites Link Party, live every Thursday at 7PM at mustlovehome.com....I hope I see you there - Christine @ Must Love Home
ReplyDeleteThank you so much. Will definitely join the party. Thank you for inviting :)
DeleteThese are so cute and they would make such wonderful pops of color anywhere - so bright and cheery. Thank you for sharing at Share It One More Time. Cathy
ReplyDeleteThank you and you are welcome :)
DeleteSo easy, so cute! Thanks for sharing at the #HomeMattersParty - we love partying with you! Hope to see you on Friday. :)
ReplyDelete~Lorelai
Life With Lorelai
Thank you Lorelai :)
DeleteLove these! Thanks for sharing. :)
ReplyDeleteThank you :)
DeleteThank you so much for linking up to Merry Monday this week! I am sharing your post tomorrow on my Twitter! We hope to see you next week for another great party! Have a great week!
ReplyDeleteBest,
Kim
Thank you Kim :) That's sweet of you :)
DeleteHow fun! These turned out lovely! Thanks for sharing at Merry Monday, hope to see you again tomorrow night!
ReplyDeleteThank you for stopping by :)
Delete