Tabs

home aboutme homedecor recycle sew organize gallery

Sunday, July 24, 2016

DIY Baby Head Bands


DIY Baby Head Bands. DIY Newborn Head Bands. DIY Simple Hair Accessories.Handmade gift ideas for Baby Girl. Handmade Baby Shower gift ideas.

Boutique style baby head bands are so easy to make and you can make them way under budget. These head bands are very special to me as these are the first DIY project I did for my little one. After this project I made a lot of DIY decor projects for her nursery. So stay tuned for up coming posts but forgive me, it might take a while to post them all as I am busy loving my newborn. 

DIY Baby Head Bands. DIY Newborn Head Bands. DIY Simple Hair Accessories.Handmade gift ideas for Baby Girl. Handmade Baby Shower gift ideas.

Coming back to head bands, things you need:
  • Pretty lace pieces of your choice (I got mine at local Joann craft store)
  • Matching ribbon
  • Satin ribbon flowers, big lace flowers or any other embellishments (optional)
  • Thin elastic ( I used 0.25 inch thick braided elastic)
  • Hot glue gun
  • Scissors
Don't this list look so simple? I promise the procedure is as simple as the list.


DIY Baby Head Bands. DIY Newborn Head Bands. DIY Simple Hair Accessories.Handmade gift ideas for Baby Girl. Handmade Baby Shower gift ideas.

For head band sizing information, you can google "Baby head band size chart" and you will find a ton of information. 
For example new born's head band need to be approximately 11 to 12 inches,  if you are making one for a new born cut your lace piece and elastic such that they both add up to 11 or 12 inches. 
I just made my head bands in 3 different sizes to use them as baby grows.

Cut lace and elastic pieces according to measurements you choose. Cut 2 pieces of ribbon about 1.5 inch each.

DIY Baby Head Bands. DIY Newborn Head Bands. DIY Simple Hair Accessories.Handmade gift ideas for Baby Girl. Handmade Baby Shower gift ideas.

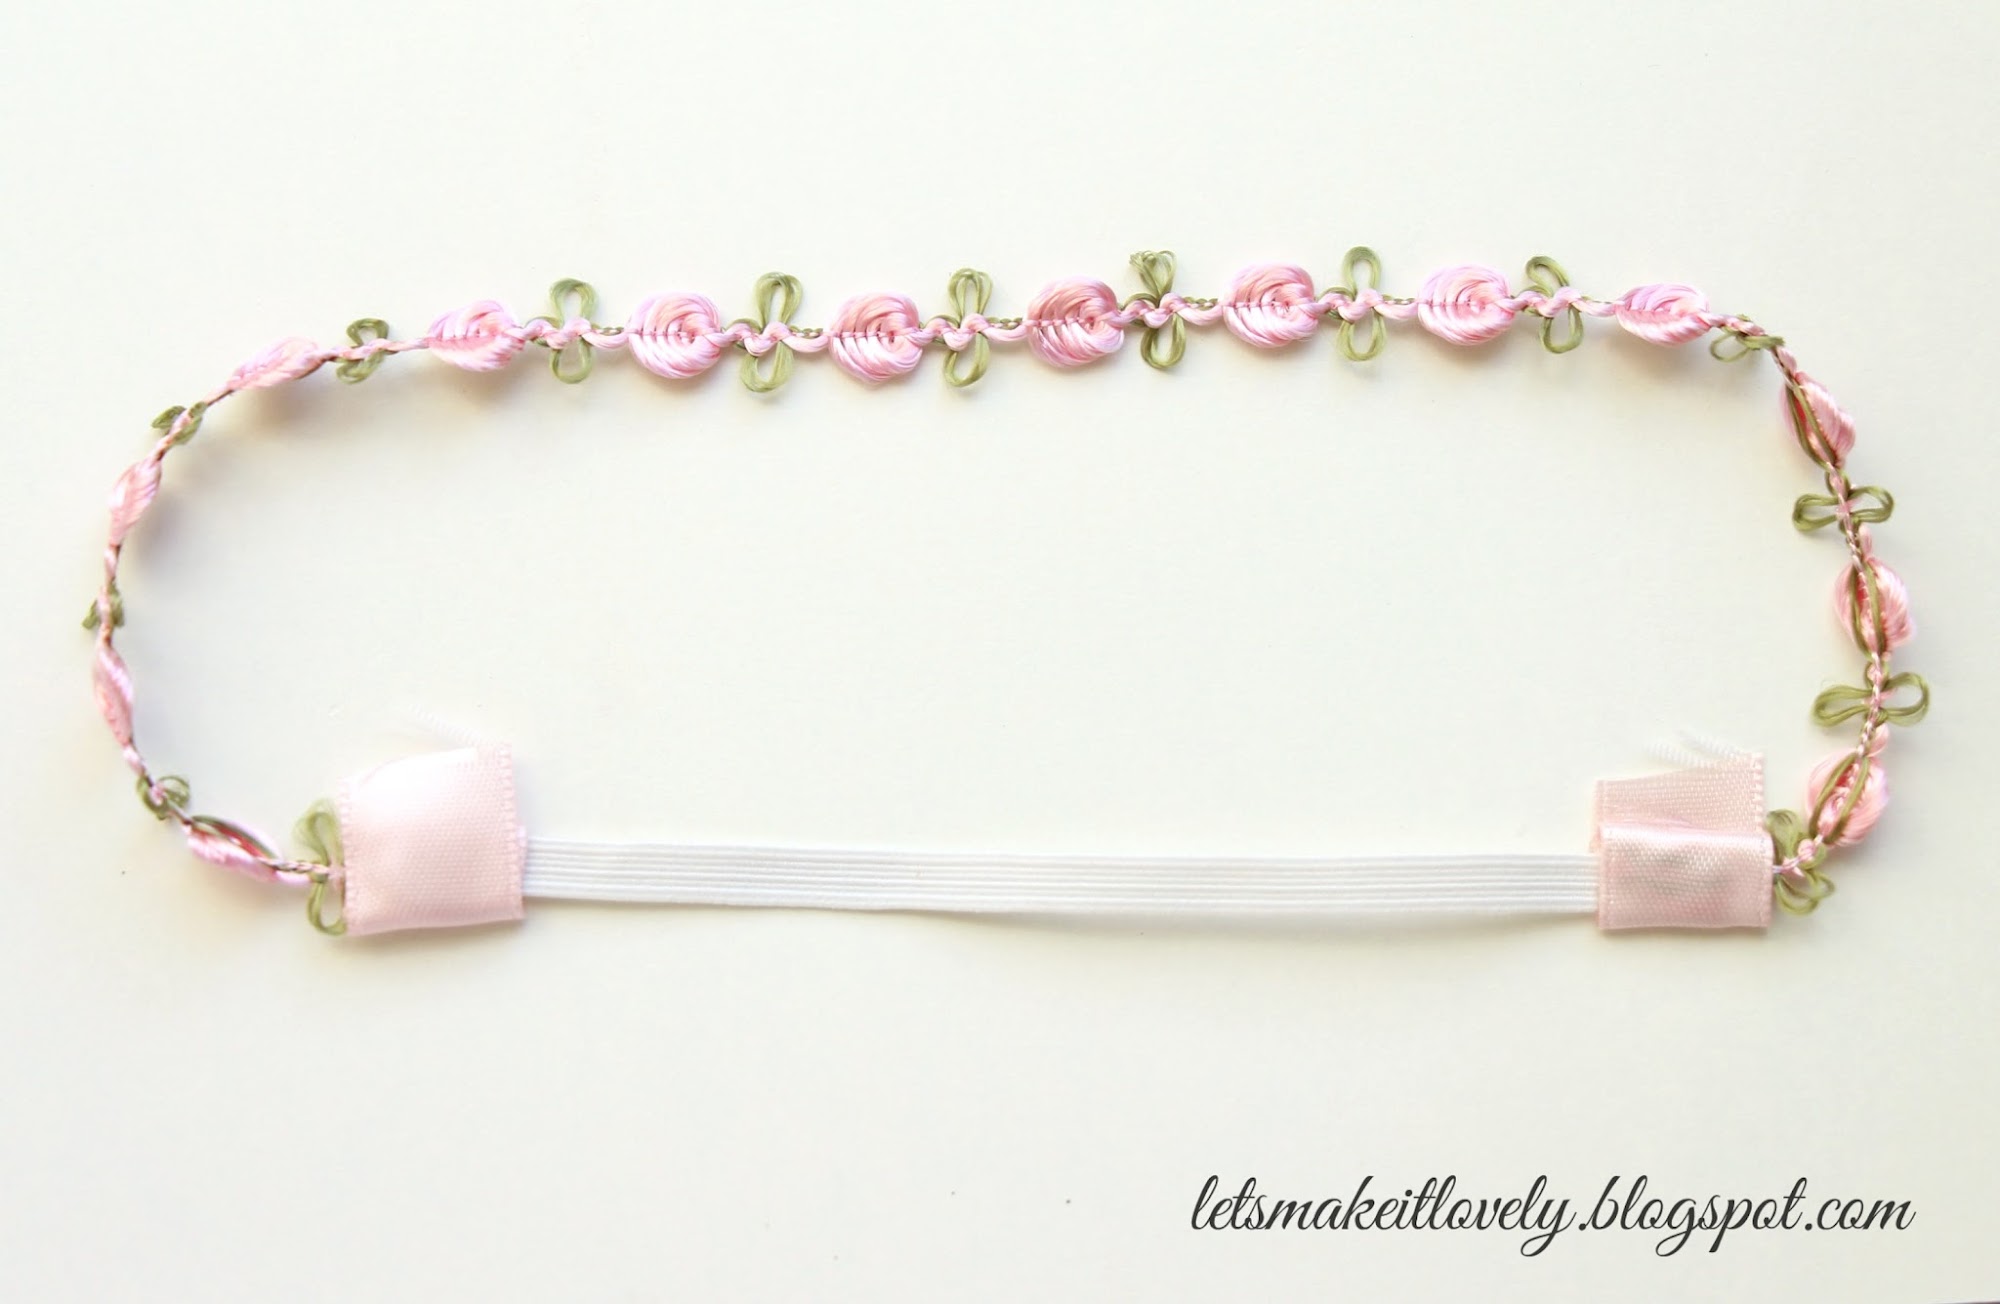
Join one end of elastic to one end of lace using little hot glue, dab little more hot glue and wrap the joint around with a ribbon piece.

DIY Baby Head Bands. DIY Newborn Head Bands. DIY Simple Hair Accessories.Handmade gift ideas for Baby Girl. Handmade Baby Shower gift ideas.

Similarly join the other end of lace to other end of elastic and wrap the joint with ribbon using hot glue.

DIY Baby Head Bands. DIY Newborn Head Bands. DIY Simple Hair Accessories.Handmade gift ideas for Baby Girl. Handmade Baby Shower gift ideas.

Cut any excess ribbon left at the joints. If you like add a pretty flower or bow to make it even more gorgeous.

DIY Baby Head Bands. DIY Newborn Head Bands. DIY Simple Hair Accessories.Handmade gift ideas for Baby Girl. Handmade Baby Shower gift ideas.

That's it you just made a pretty head band. Isn't it the easiest craft you ever made?

DIY Baby Head Bands. DIY Newborn Head Bands. DIY Simple Hair Accessories.Handmade gift ideas for Baby Girl. Handmade Baby Shower gift ideas.

Here are a couple more headbands I made for my little angel. Try using thicker lace or elastic bands with beautiful vintage style lace flowers for a glamorous look. 

DIY Baby Head Bands. DIY Newborn Head Bands. DIY Simple Hair Accessories.Handmade gift ideas for Baby Girl. Handmade Baby Shower gift ideas.

These handmade headbands take very little time to make for your baby girl and they can add a touch of love to your baby shower gifts. I hope you enjoy making these as well. I love to hear your comments. Thank you for stopping by. Have a great day :)

Thursday, June 2, 2016

DIY Pretty Swarovski Necklace

DIY simple swarovski bead necklace. Beginners jewelry making.

Hi friends, I am back this week with a simple jewelry making tutorial. This necklace was inspired from early episodes of FRIENDS where Monica and Rachel wear these simple vintage style bead necklaces. I love how simple they are to make yet look stunning on neck. It takes less than an hour for even beginners to make. Let me show you how I made it.

DIY simple swarovski bead necklace. Beginners jewelry making.

Supplies Used:
  • 6mm Swarovski Bicone mix beads
  • 4mm Swarovski Bicone mix beads
  • 18 inch silver color small chain
  • Silver color eye pins
  • Heart shape toggle and clasp
  • Small silver color jump rings
  • Made with love silver color charm (optional)
  • Bead board
  • Round nose pliers
  • Flat nose pliers
  • Side cutter pliers

DIY simple swarovski bead necklace. Beginners jewelry making.

Layout your beads and get creative with your design. I decided to go with 3 bead clusters with alternate colors.


DIY simple swarovski bead necklace. Beginners jewelry making.

To make bead clusters you simply put them into an eye pin in order you want, leave enough to make a ring on other end too and cut the excess wire using cutter pliers. Using round nose pliers make a ring on the other end to finish. I am sorry, I missed taking elaborate pictures, however there are lot of tutorials online that show you how to use eye pins. Check them out.


DIY simple swarovski bead necklace. Beginners jewelry making.

I decided to go with 7 sets of beads and made them first.

DIY simple swarovski bead necklace. Beginners jewelry making.

Layout the chain and beads together to see where you want to make cuts in the chain.

DIY simple swarovski bead necklace. Beginners jewelry making.

For my layout I wanted 2 long chains for either ends and 6 small chain pieces to connect my bead clusters to each other. To cut chain at equal lengths, I would suggest you hang them on a eye pin or straight wire as shown above and make the cut using cutter pliers. This will ensure that your necklace ends up symmetric.


DIY simple swarovski bead necklace. Beginners jewelry making.

In above picture I show you 6 small cut pieces of chain that I used to connect my bead clusters together.

DIY simple swarovski bead necklace. Beginners jewelry making.

To connect the chain, you simply open the ring of a bead cluster and slide your chain in and close the ring back using flat nose pliers. Repeat with all the chain pieces and bead clusters in order that you have decided.

DIY simple swarovski bead necklace. Beginners jewelry making.

Now you are almost done with your necklace except for the closure.

DIY simple swarovski bead necklace. Beginners jewelry making.

For the necklace closure: Open a jump ring, slide one end of your necklace in, (optional made with love charm), the ring part of toggle clasp and close the jump ring. 
Open another jump ring, slide the other end of necklace in, the rod part of toggle clasp and close the jump ring.

DIY simple swarovski bead necklace. Beginners jewelry making.

You are done! Isn't it pretty simple to make? You can get creative with your design and make beauties.

DIY simple swarovski bead necklace. Beginners jewelry making.

I made this one for a friend and she loved it. Hope you like it too. If you like to check out much simpler bead necklace, see this basic bead necklace tutorial. Thank you for stopping by. Have a great day.

Thursday, May 19, 2016

Sew a Simple Summer Skirt

Hi friends, it's been long time. Hope you are all doing well. I am here to share with you a simple half skirt tutorial. I made this at the end of last summer and reserved it until this summer to post. Yes, LOL. Its simplest skirt ever. After all a beginner like me could sew it. There are a lot of expert tutorials on how to sew the same, but I wanted to share with you what helped me as a beginner.

Sew a simple summer skirt. Half circle skirt for beginners. Sewing projects for beginners.


Grab your sewing machine, fabric, sewing essentials, 1 inch wide elastic and let's get started.
You just need 2 measurements to finish this skirt. 1. Height of the skirt you want. and 2. waist measurement where you want your elastic to fall. Once you measure these 2 head over to circle skirt app to calculate waist radius and fabric length required. The app handles all the math for you so you don't have to worry. Isn't it cool? The one I am showing here is for half circle skirt.


Sew a simple summer skirt. Half circle skirt for beginners. Sewing projects for beginners.

Lay your fabric flat.

Sew a simple summer skirt. Half circle skirt for beginners. Sewing projects for beginners.

Fold it in half.

Sew a simple summer skirt. Half circle skirt for beginners. Sewing projects for beginners.

Take a string and tie it to marking pencil. Cut the string at the length of your waist radius obtained from the app. (mine was 7")

Sew a simple summer skirt. Half circle skirt for beginners. Sewing projects for beginners.

Place the loose end of string at a corner (which has one folded side and one open side of fabric) use your pencil as shown above and draw an arc just like you would do with a geometric compass.
Draw another arc with our skirt length as length of the string, using the same fabric corner as fixed point.

Sew a simple summer skirt. Half circle skirt for beginners. Sewing projects for beginners.

Cut along the markings.

Sew a simple summer skirt. Half circle skirt for beginners. Sewing projects for beginners.

Now your fabric should look like this.

Sew a simple summer skirt. Half circle skirt for beginners. Sewing projects for beginners.

Open up the fabric and it should look just like half circle as shown above.

Sew a simple summer skirt. Half circle skirt for beginners. Sewing projects for beginners.

Double fold and iron the bottom seam.  


Sew a simple summer skirt. Half circle skirt for beginners. Sewing projects for beginners.

Stitch the bottom seam.

Sew a simple summer skirt. Half circle skirt for beginners. Sewing projects for beginners.

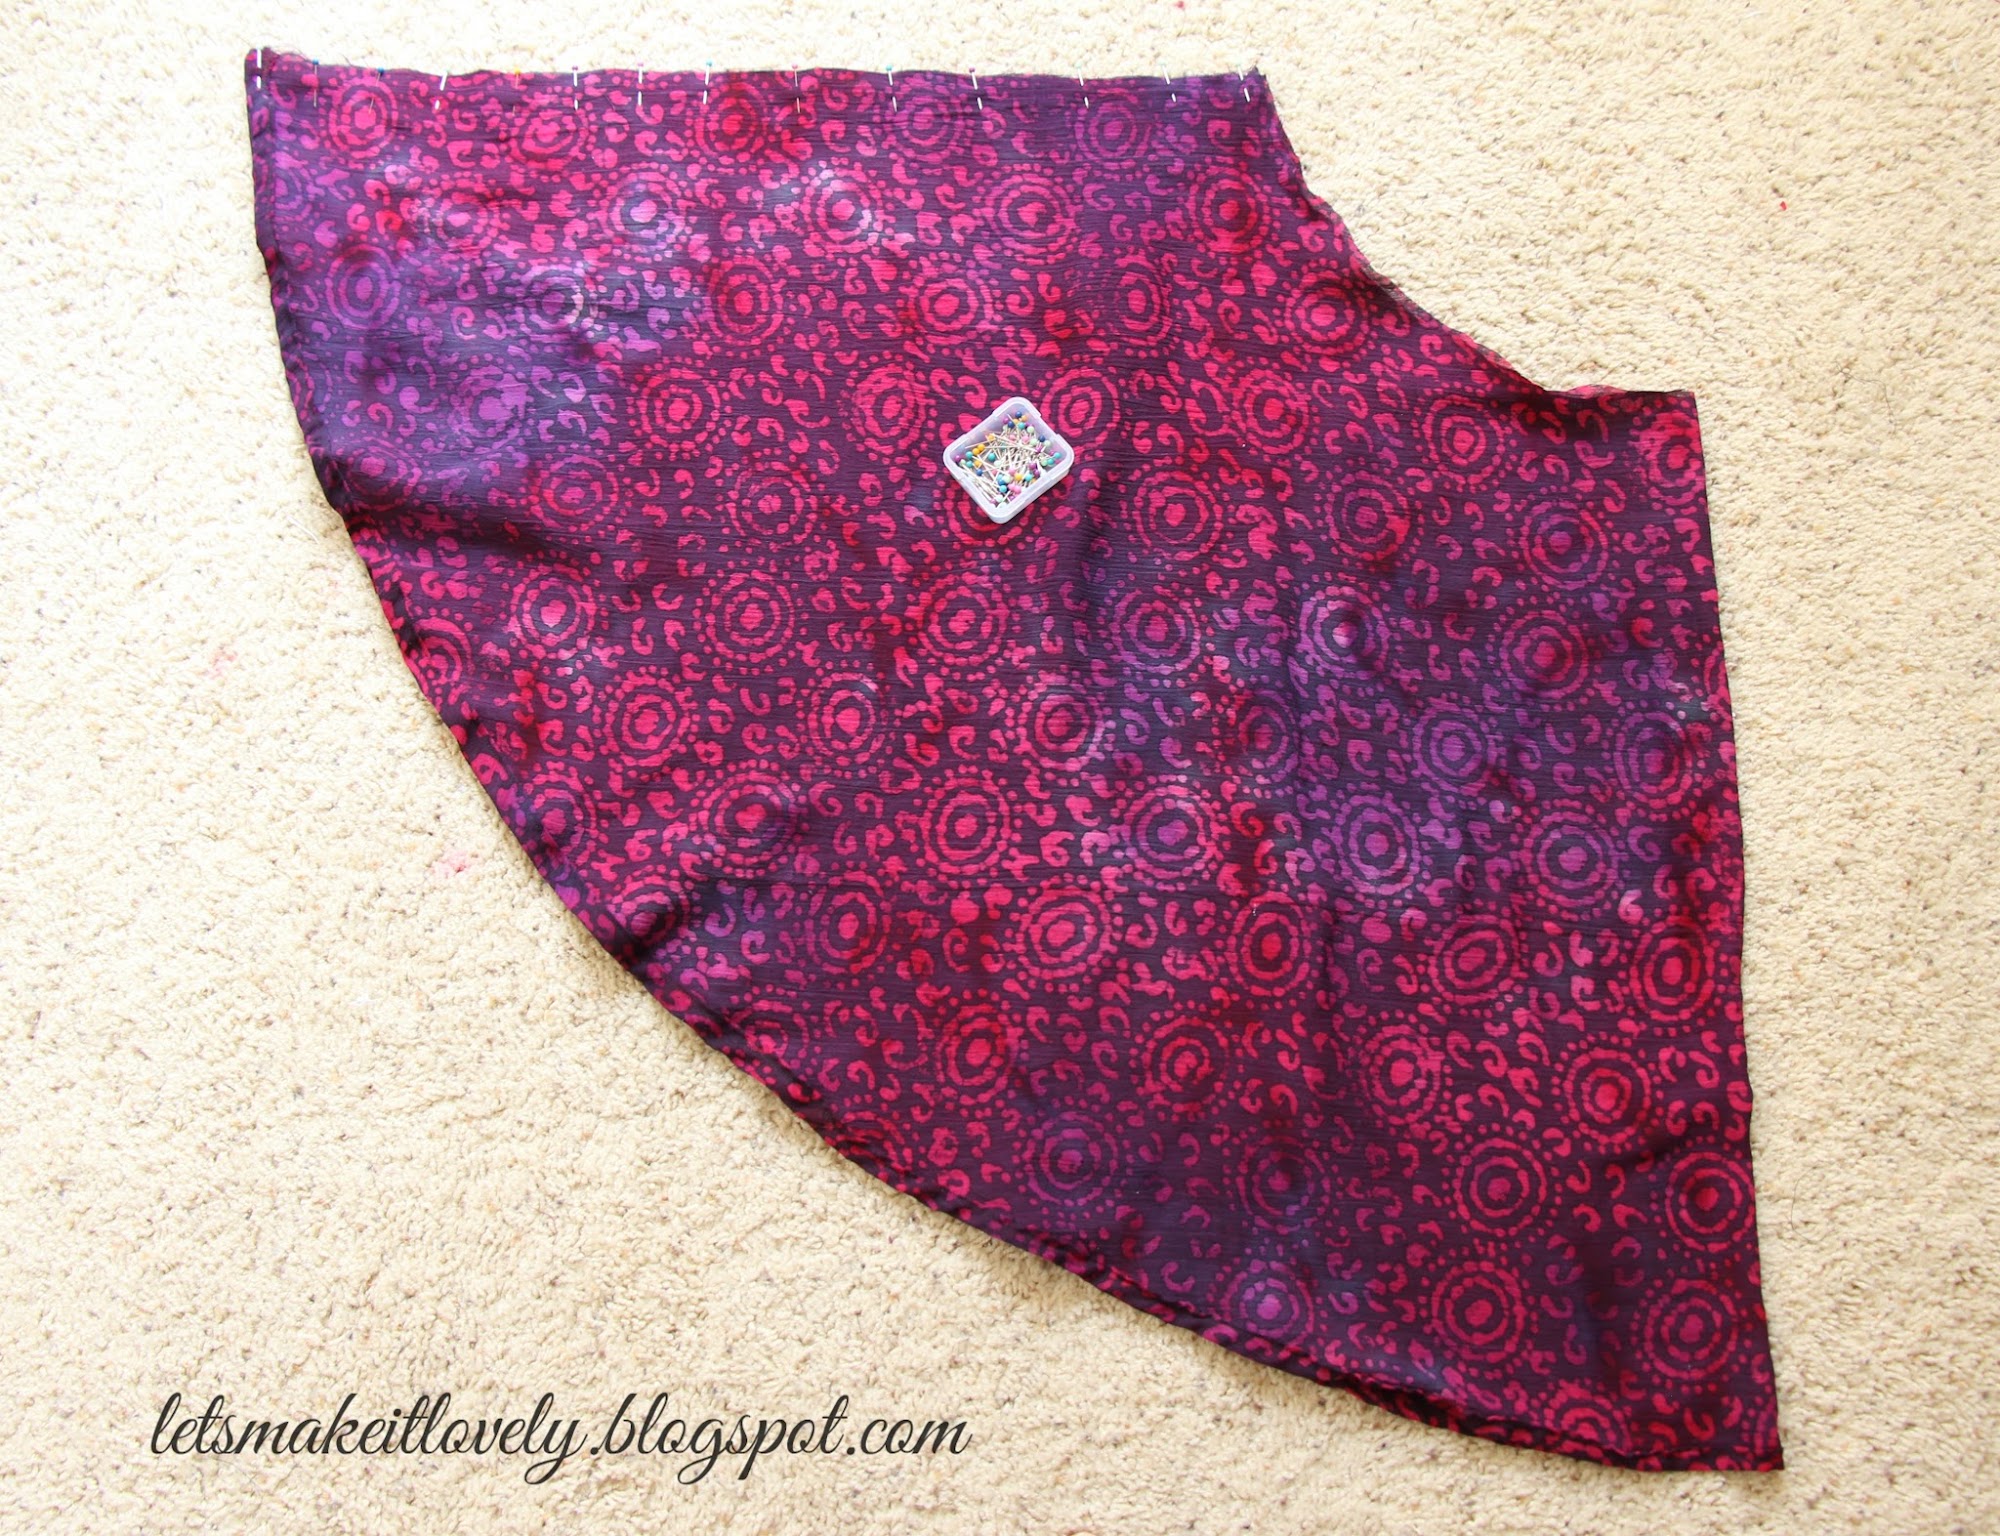
Pin the open side of the skirt and stitch.

Sew a simple summer skirt. Half circle skirt for beginners. Sewing projects for beginners.

Take 4 inch wide fabric as long as your waist plus half inch for seam allowance.

Sew a simple summer skirt. Half circle skirt for beginners. Sewing projects for beginners.

Sew close the fabric to form a band as shown above.


Sew a simple summer skirt. Half circle skirt for beginners. Sewing projects for beginners.

Fold the band in half and Iron.

Sew a simple summer skirt. Half circle skirt for beginners. Sewing projects for beginners.

Join the band with top end of the skirt, leaving a 2 inch gap to insert elastic. I used extra pins for the 2 inch gap so that I don't forget and sew along.

Sew a simple summer skirt. Half circle skirt for beginners. Sewing projects for beginners.

Insert the elastic using safety pin technique. Pull out the open ends of elastic.

Sew a simple summer skirt. Half circle skirt for beginners. Sewing projects for beginners.

Using zig-zag stitch join the 2 ends of elastic as shown.

Sew a simple summer skirt. Half circle skirt for beginners. Sewing projects for beginners.

Push the elastic inside waist band and sew close the 2 inch opening. If your fabric looks like it might fray a lot like mine did, use an extra zigzag stitch or serge along the raw edges.

Sew a simple summer skirt. Half circle skirt for beginners. Sewing projects for beginners.

That is it! Your skirt is ready. Now rock your summer with pretty skirts and cool tank tops. Happy Summer! Thank you for stopping by. As always I love to hear your comments.