Tabs

home aboutme homedecor recycle sew organize gallery
Showing posts with label Gift. Show all posts

Sunday, July 24, 2016

DIY Baby Head Bands


DIY Baby Head Bands. DIY Newborn Head Bands. DIY Simple Hair Accessories.Handmade gift ideas for Baby Girl. Handmade Baby Shower gift ideas.

Boutique style baby head bands are so easy to make and you can make them way under budget. These head bands are very special to me as these are the first DIY project I did for my little one. After this project I made a lot of DIY decor projects for her nursery. So stay tuned for up coming posts but forgive me, it might take a while to post them all as I am busy loving my newborn. 

DIY Baby Head Bands. DIY Newborn Head Bands. DIY Simple Hair Accessories.Handmade gift ideas for Baby Girl. Handmade Baby Shower gift ideas.

Coming back to head bands, things you need:
  • Pretty lace pieces of your choice (I got mine at local Joann craft store)
  • Matching ribbon
  • Satin ribbon flowers, big lace flowers or any other embellishments (optional)
  • Thin elastic ( I used 0.25 inch thick braided elastic)
  • Hot glue gun
  • Scissors
Don't this list look so simple? I promise the procedure is as simple as the list.


DIY Baby Head Bands. DIY Newborn Head Bands. DIY Simple Hair Accessories.Handmade gift ideas for Baby Girl. Handmade Baby Shower gift ideas.

For head band sizing information, you can google "Baby head band size chart" and you will find a ton of information. 
For example new born's head band need to be approximately 11 to 12 inches,  if you are making one for a new born cut your lace piece and elastic such that they both add up to 11 or 12 inches. 
I just made my head bands in 3 different sizes to use them as baby grows.

Cut lace and elastic pieces according to measurements you choose. Cut 2 pieces of ribbon about 1.5 inch each.

DIY Baby Head Bands. DIY Newborn Head Bands. DIY Simple Hair Accessories.Handmade gift ideas for Baby Girl. Handmade Baby Shower gift ideas.

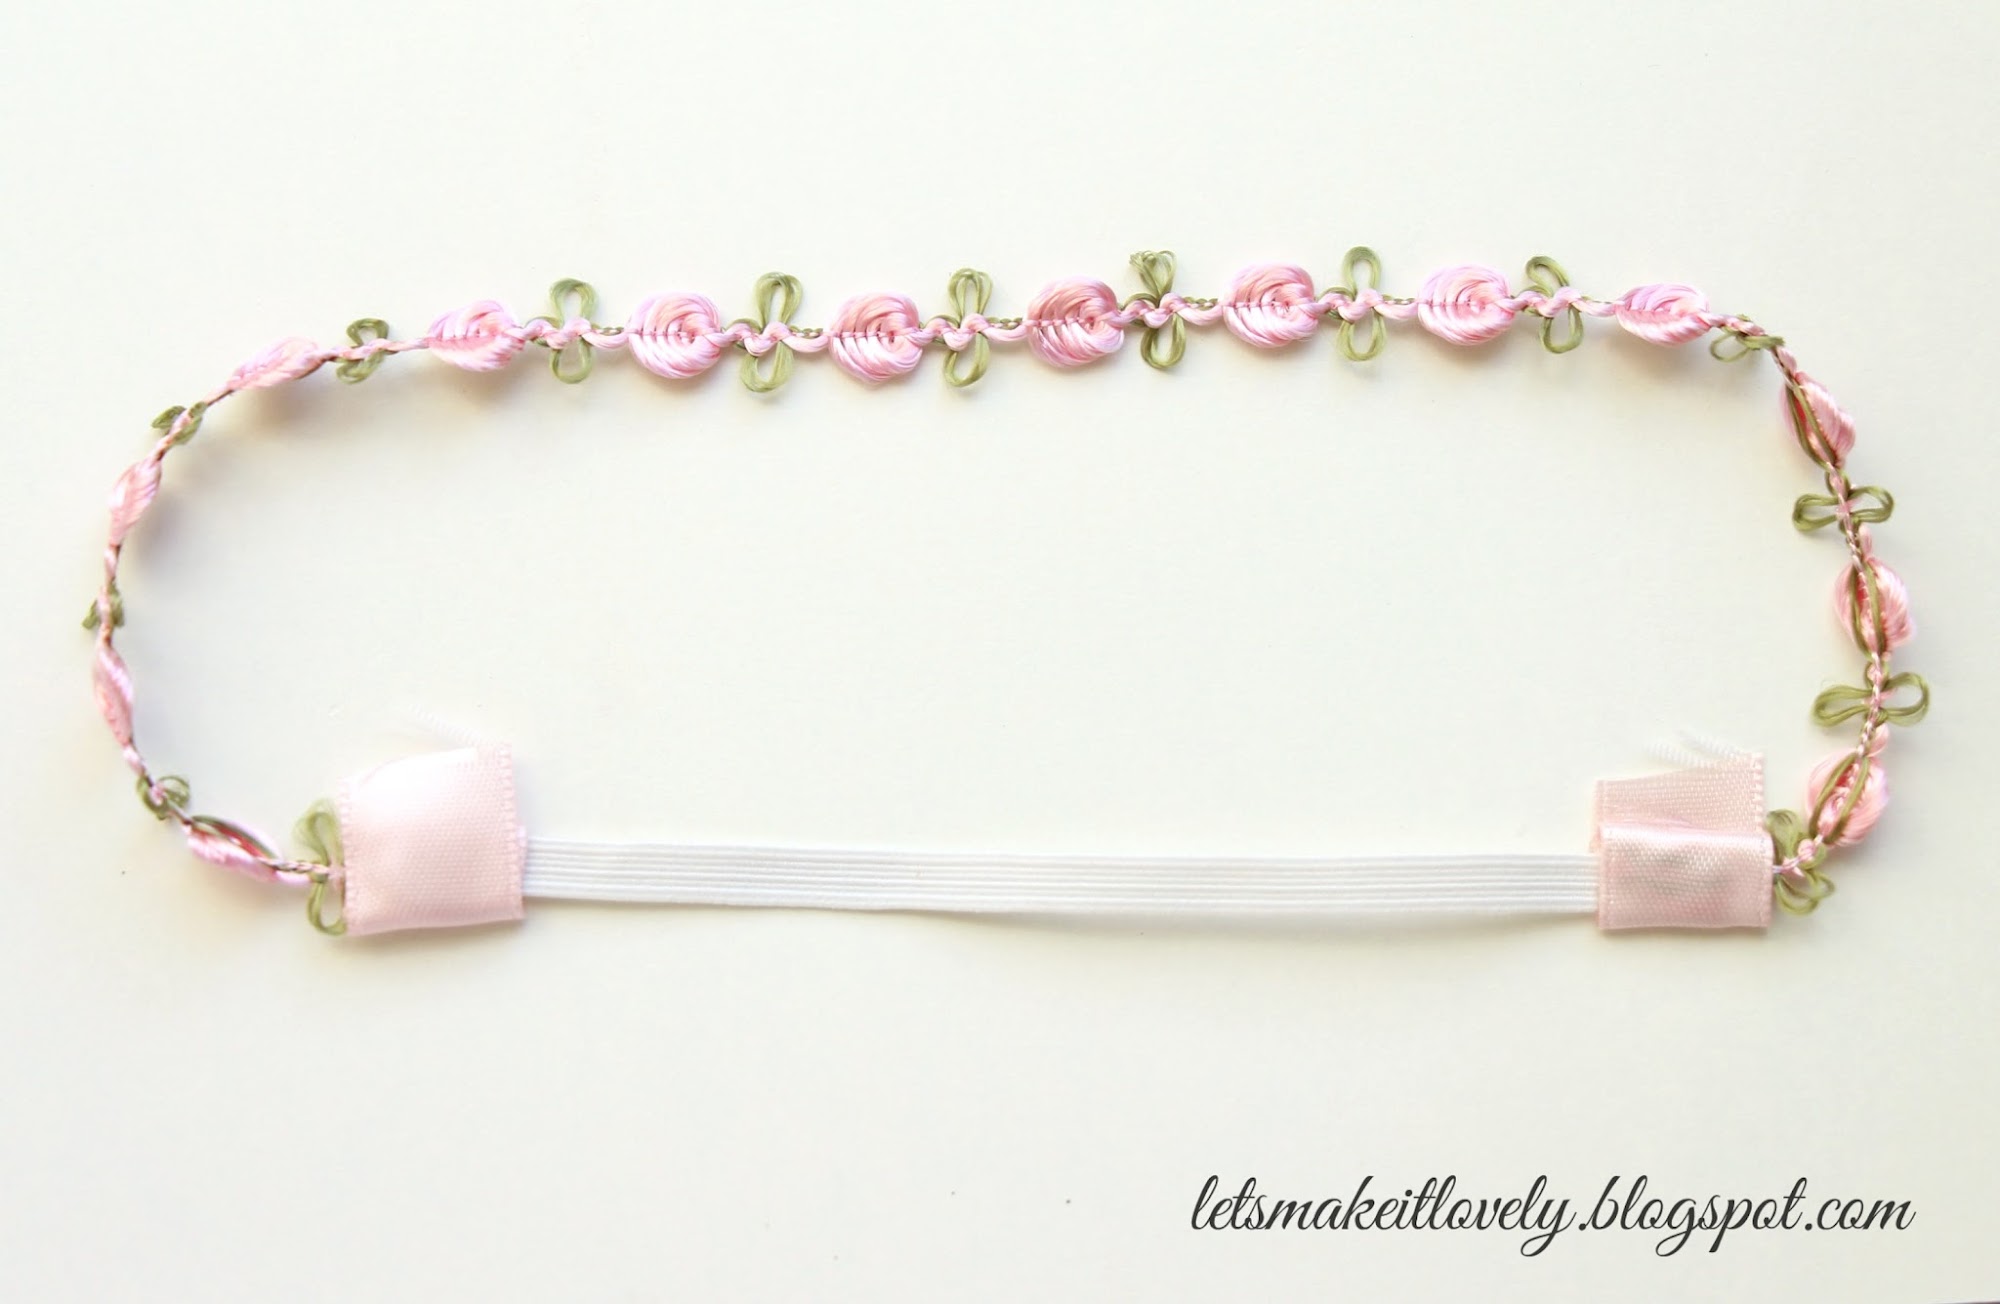
Join one end of elastic to one end of lace using little hot glue, dab little more hot glue and wrap the joint around with a ribbon piece.

DIY Baby Head Bands. DIY Newborn Head Bands. DIY Simple Hair Accessories.Handmade gift ideas for Baby Girl. Handmade Baby Shower gift ideas.

Similarly join the other end of lace to other end of elastic and wrap the joint with ribbon using hot glue.

DIY Baby Head Bands. DIY Newborn Head Bands. DIY Simple Hair Accessories.Handmade gift ideas for Baby Girl. Handmade Baby Shower gift ideas.

Cut any excess ribbon left at the joints. If you like add a pretty flower or bow to make it even more gorgeous.

DIY Baby Head Bands. DIY Newborn Head Bands. DIY Simple Hair Accessories.Handmade gift ideas for Baby Girl. Handmade Baby Shower gift ideas.

That's it you just made a pretty head band. Isn't it the easiest craft you ever made?

DIY Baby Head Bands. DIY Newborn Head Bands. DIY Simple Hair Accessories.Handmade gift ideas for Baby Girl. Handmade Baby Shower gift ideas.

Here are a couple more headbands I made for my little angel. Try using thicker lace or elastic bands with beautiful vintage style lace flowers for a glamorous look. 

DIY Baby Head Bands. DIY Newborn Head Bands. DIY Simple Hair Accessories.Handmade gift ideas for Baby Girl. Handmade Baby Shower gift ideas.

These handmade headbands take very little time to make for your baby girl and they can add a touch of love to your baby shower gifts. I hope you enjoy making these as well. I love to hear your comments. Thank you for stopping by. Have a great day :)

Thursday, June 2, 2016

DIY Pretty Swarovski Necklace

DIY simple swarovski bead necklace. Beginners jewelry making.

Hi friends, I am back this week with a simple jewelry making tutorial. This necklace was inspired from early episodes of FRIENDS where Monica and Rachel wear these simple vintage style bead necklaces. I love how simple they are to make yet look stunning on neck. It takes less than an hour for even beginners to make. Let me show you how I made it.

DIY simple swarovski bead necklace. Beginners jewelry making.

Supplies Used:
  • 6mm Swarovski Bicone mix beads
  • 4mm Swarovski Bicone mix beads
  • 18 inch silver color small chain
  • Silver color eye pins
  • Heart shape toggle and clasp
  • Small silver color jump rings
  • Made with love silver color charm (optional)
  • Bead board
  • Round nose pliers
  • Flat nose pliers
  • Side cutter pliers

DIY simple swarovski bead necklace. Beginners jewelry making.

Layout your beads and get creative with your design. I decided to go with 3 bead clusters with alternate colors.


DIY simple swarovski bead necklace. Beginners jewelry making.

To make bead clusters you simply put them into an eye pin in order you want, leave enough to make a ring on other end too and cut the excess wire using cutter pliers. Using round nose pliers make a ring on the other end to finish. I am sorry, I missed taking elaborate pictures, however there are lot of tutorials online that show you how to use eye pins. Check them out.


DIY simple swarovski bead necklace. Beginners jewelry making.

I decided to go with 7 sets of beads and made them first.

DIY simple swarovski bead necklace. Beginners jewelry making.

Layout the chain and beads together to see where you want to make cuts in the chain.

DIY simple swarovski bead necklace. Beginners jewelry making.

For my layout I wanted 2 long chains for either ends and 6 small chain pieces to connect my bead clusters to each other. To cut chain at equal lengths, I would suggest you hang them on a eye pin or straight wire as shown above and make the cut using cutter pliers. This will ensure that your necklace ends up symmetric.


DIY simple swarovski bead necklace. Beginners jewelry making.

In above picture I show you 6 small cut pieces of chain that I used to connect my bead clusters together.

DIY simple swarovski bead necklace. Beginners jewelry making.

To connect the chain, you simply open the ring of a bead cluster and slide your chain in and close the ring back using flat nose pliers. Repeat with all the chain pieces and bead clusters in order that you have decided.

DIY simple swarovski bead necklace. Beginners jewelry making.

Now you are almost done with your necklace except for the closure.

DIY simple swarovski bead necklace. Beginners jewelry making.

For the necklace closure: Open a jump ring, slide one end of your necklace in, (optional made with love charm), the ring part of toggle clasp and close the jump ring. 
Open another jump ring, slide the other end of necklace in, the rod part of toggle clasp and close the jump ring.

DIY simple swarovski bead necklace. Beginners jewelry making.

You are done! Isn't it pretty simple to make? You can get creative with your design and make beauties.

DIY simple swarovski bead necklace. Beginners jewelry making.

I made this one for a friend and she loved it. Hope you like it too. If you like to check out much simpler bead necklace, see this basic bead necklace tutorial. Thank you for stopping by. Have a great day.

Saturday, October 3, 2015

DIY Colorful Bunting Birthday Banner


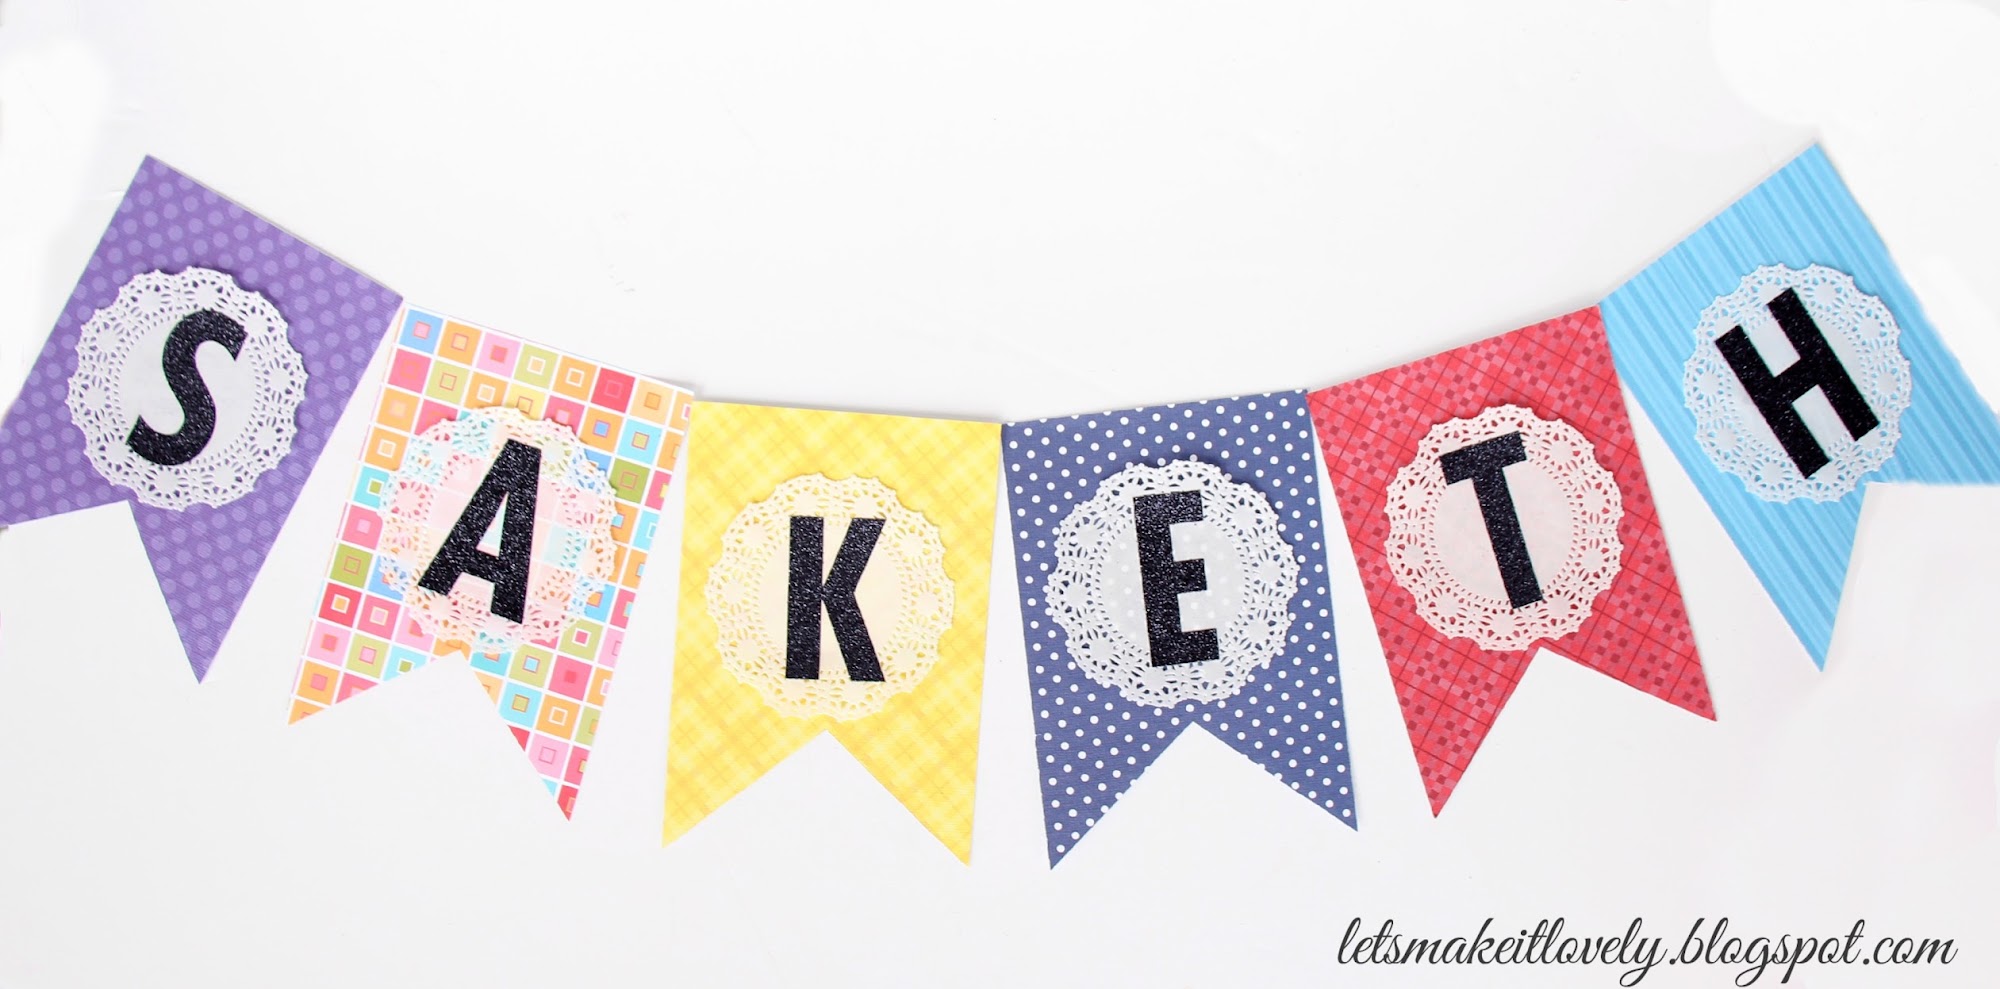
Hello friends here is one more DIY Birthday party Decor as I promised. Making this banner is really simple and fun. I made this for a little hero, Saketh's first birthday party. 

DIY Birthday Decor. DIY Colorful Bunting Banner.

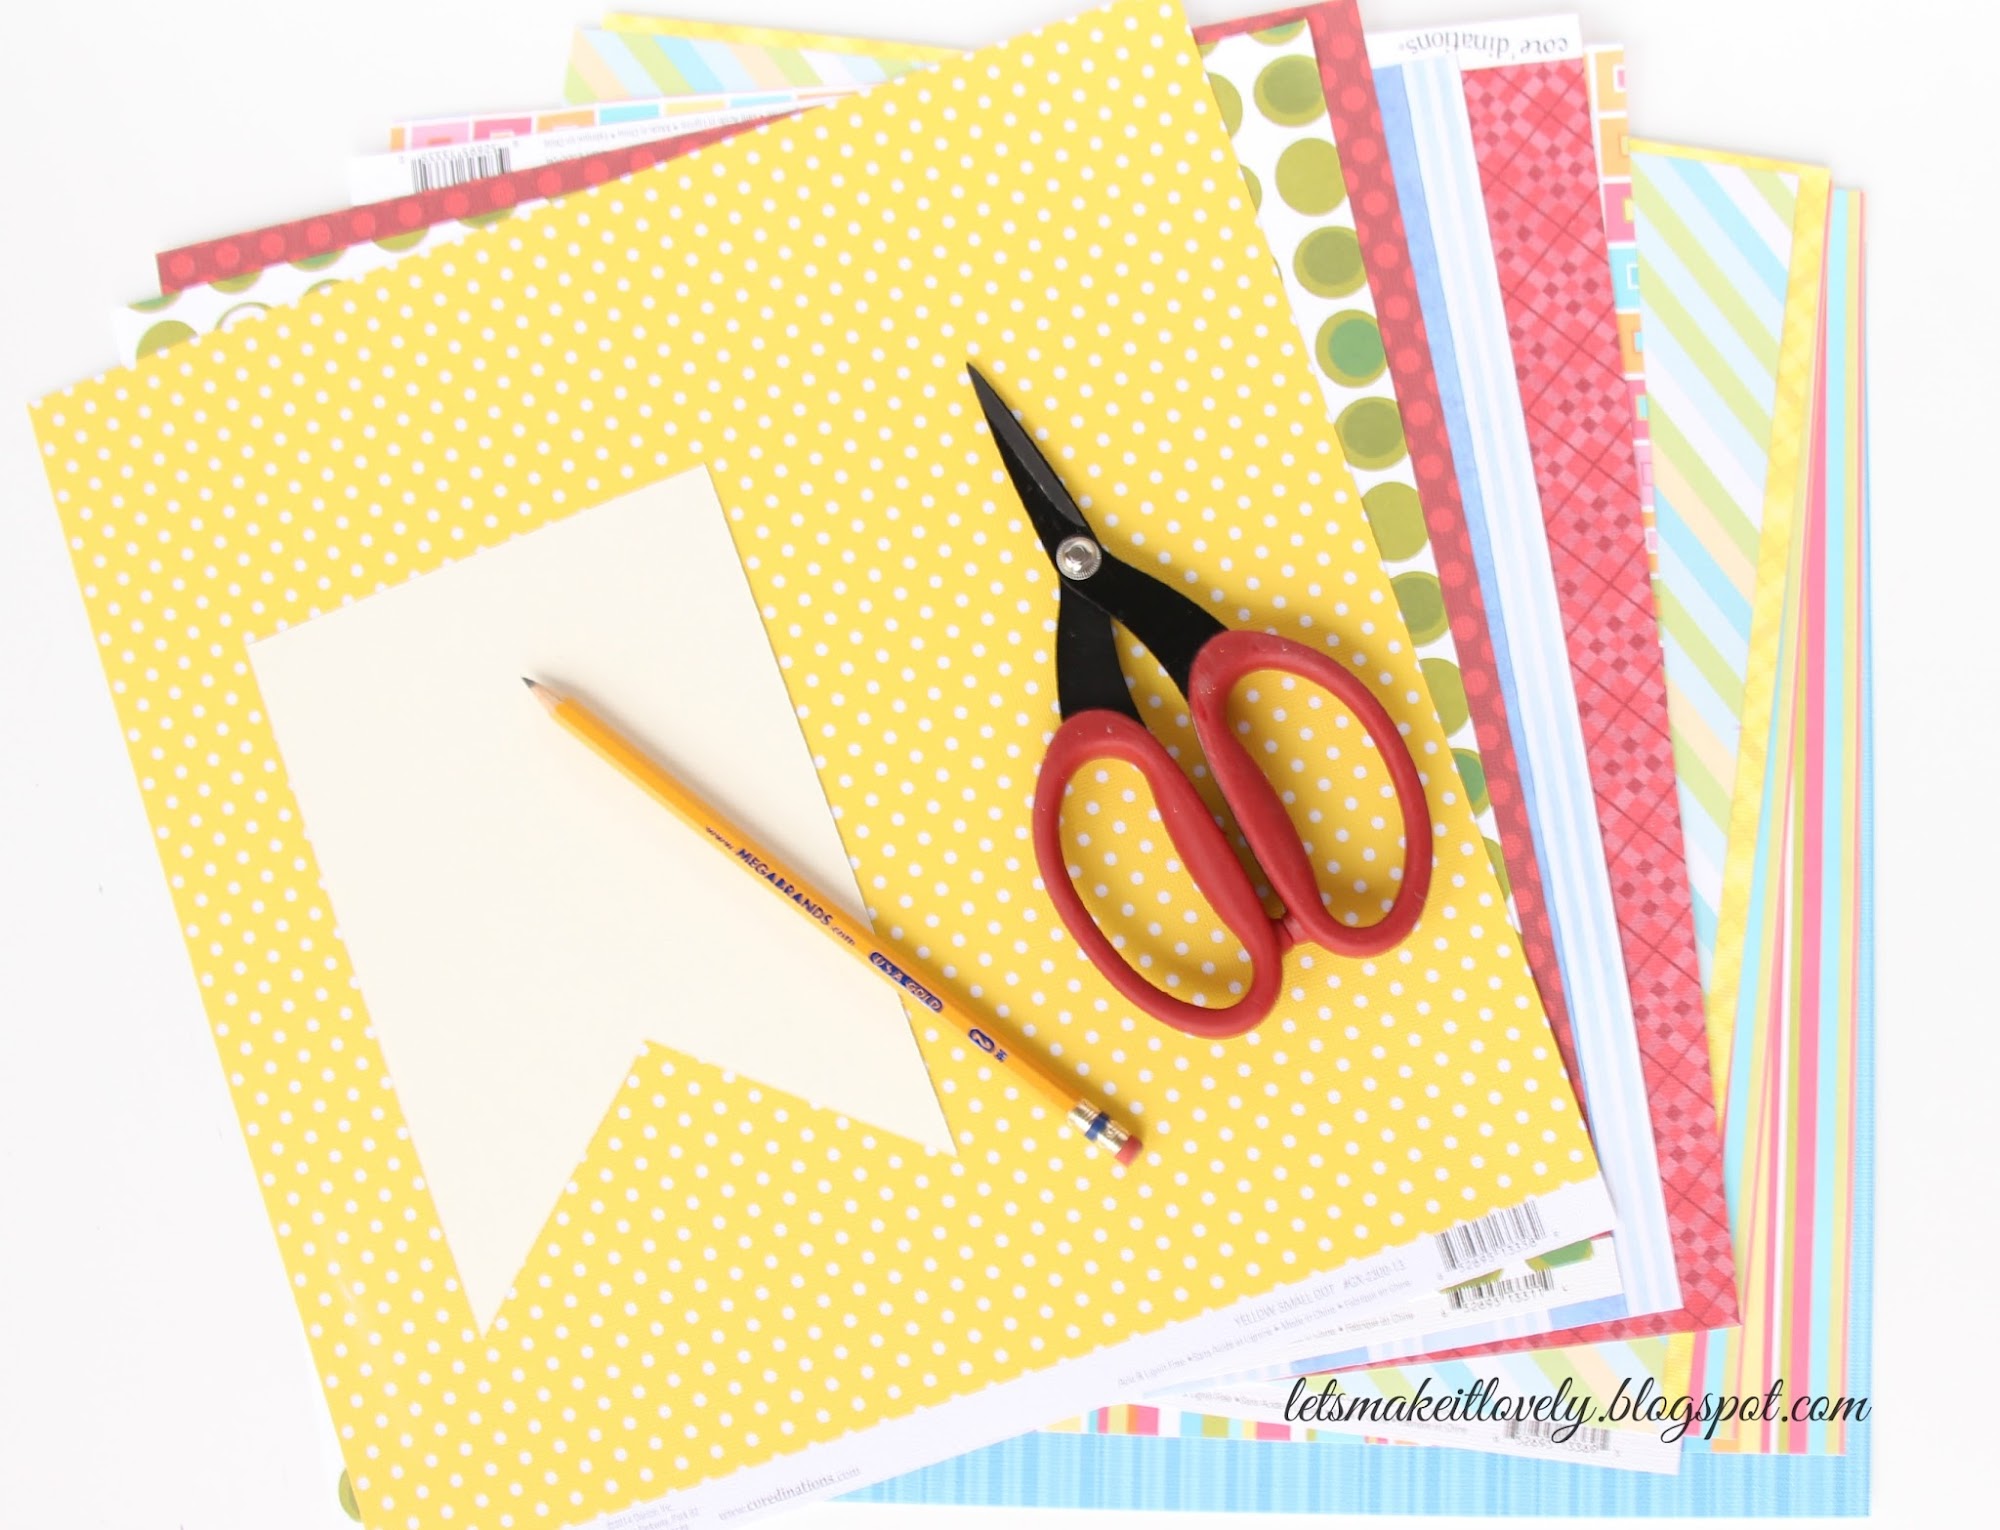
All you need for making this banner are a whole lot of colorful scrapbook papers, bunting banner template, scissors, glue stick, pencil, doilies, alphabet stickers, hole punch and a thread. Let's get to the fun part. Will tell you details about products I used as we go.

DIY Birthday Decor. DIY Colorful Bunting Banner.

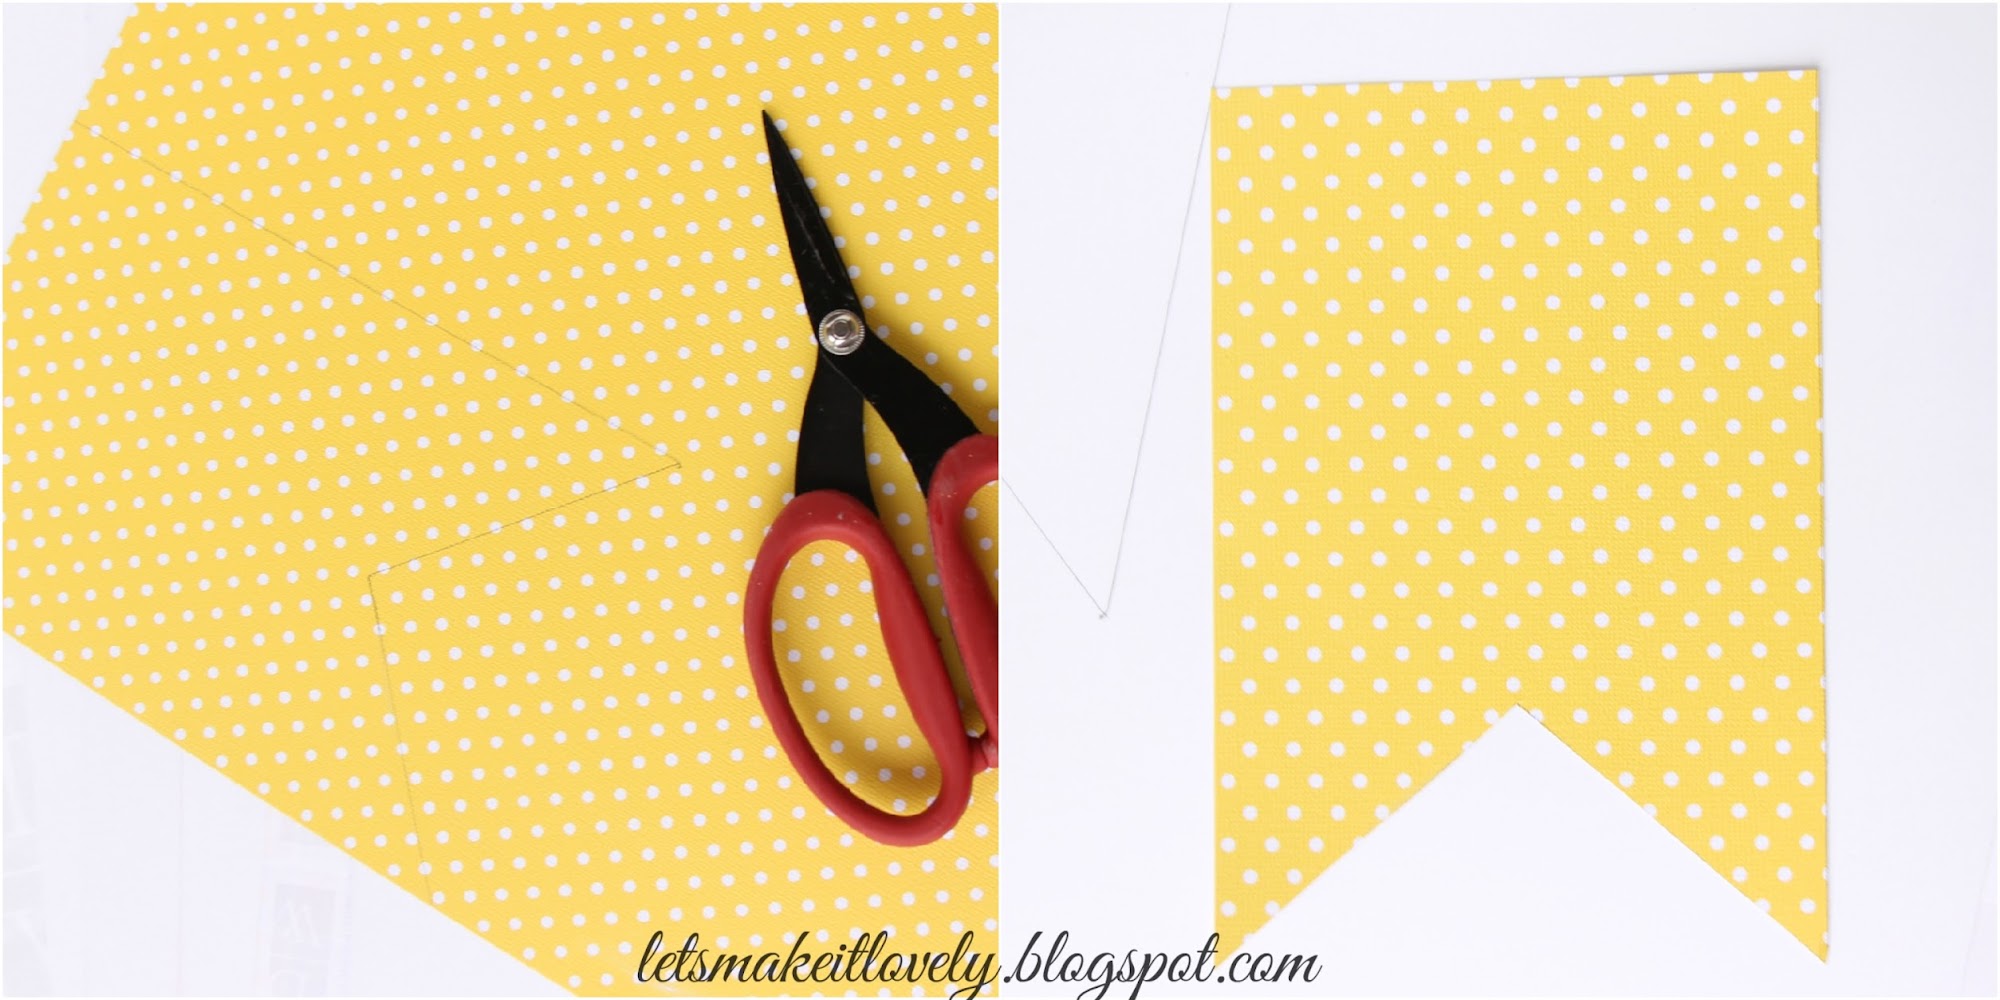
Google search for a bunting banner template image and you will find plenty. Pick whichever you like and print it on to a card stock paper. Cut out the template using a pair of scissors. (You could even draw your own template, its pretty simple and self explanatory.)

DIY Birthday Decor. DIY Colorful Bunting Banner.

Start tracing your template outline on to backside of your colorful card stock papers. (I just showed tracing on front side of card stock to make it clear for you that I am tracing on color card stock and not a white sheet)

DIY Birthday Decor. DIY Colorful Bunting Banner.

Cut out all the traced colorful flags.

DIY Birthday Decor. DIY Colorful Bunting Banner.

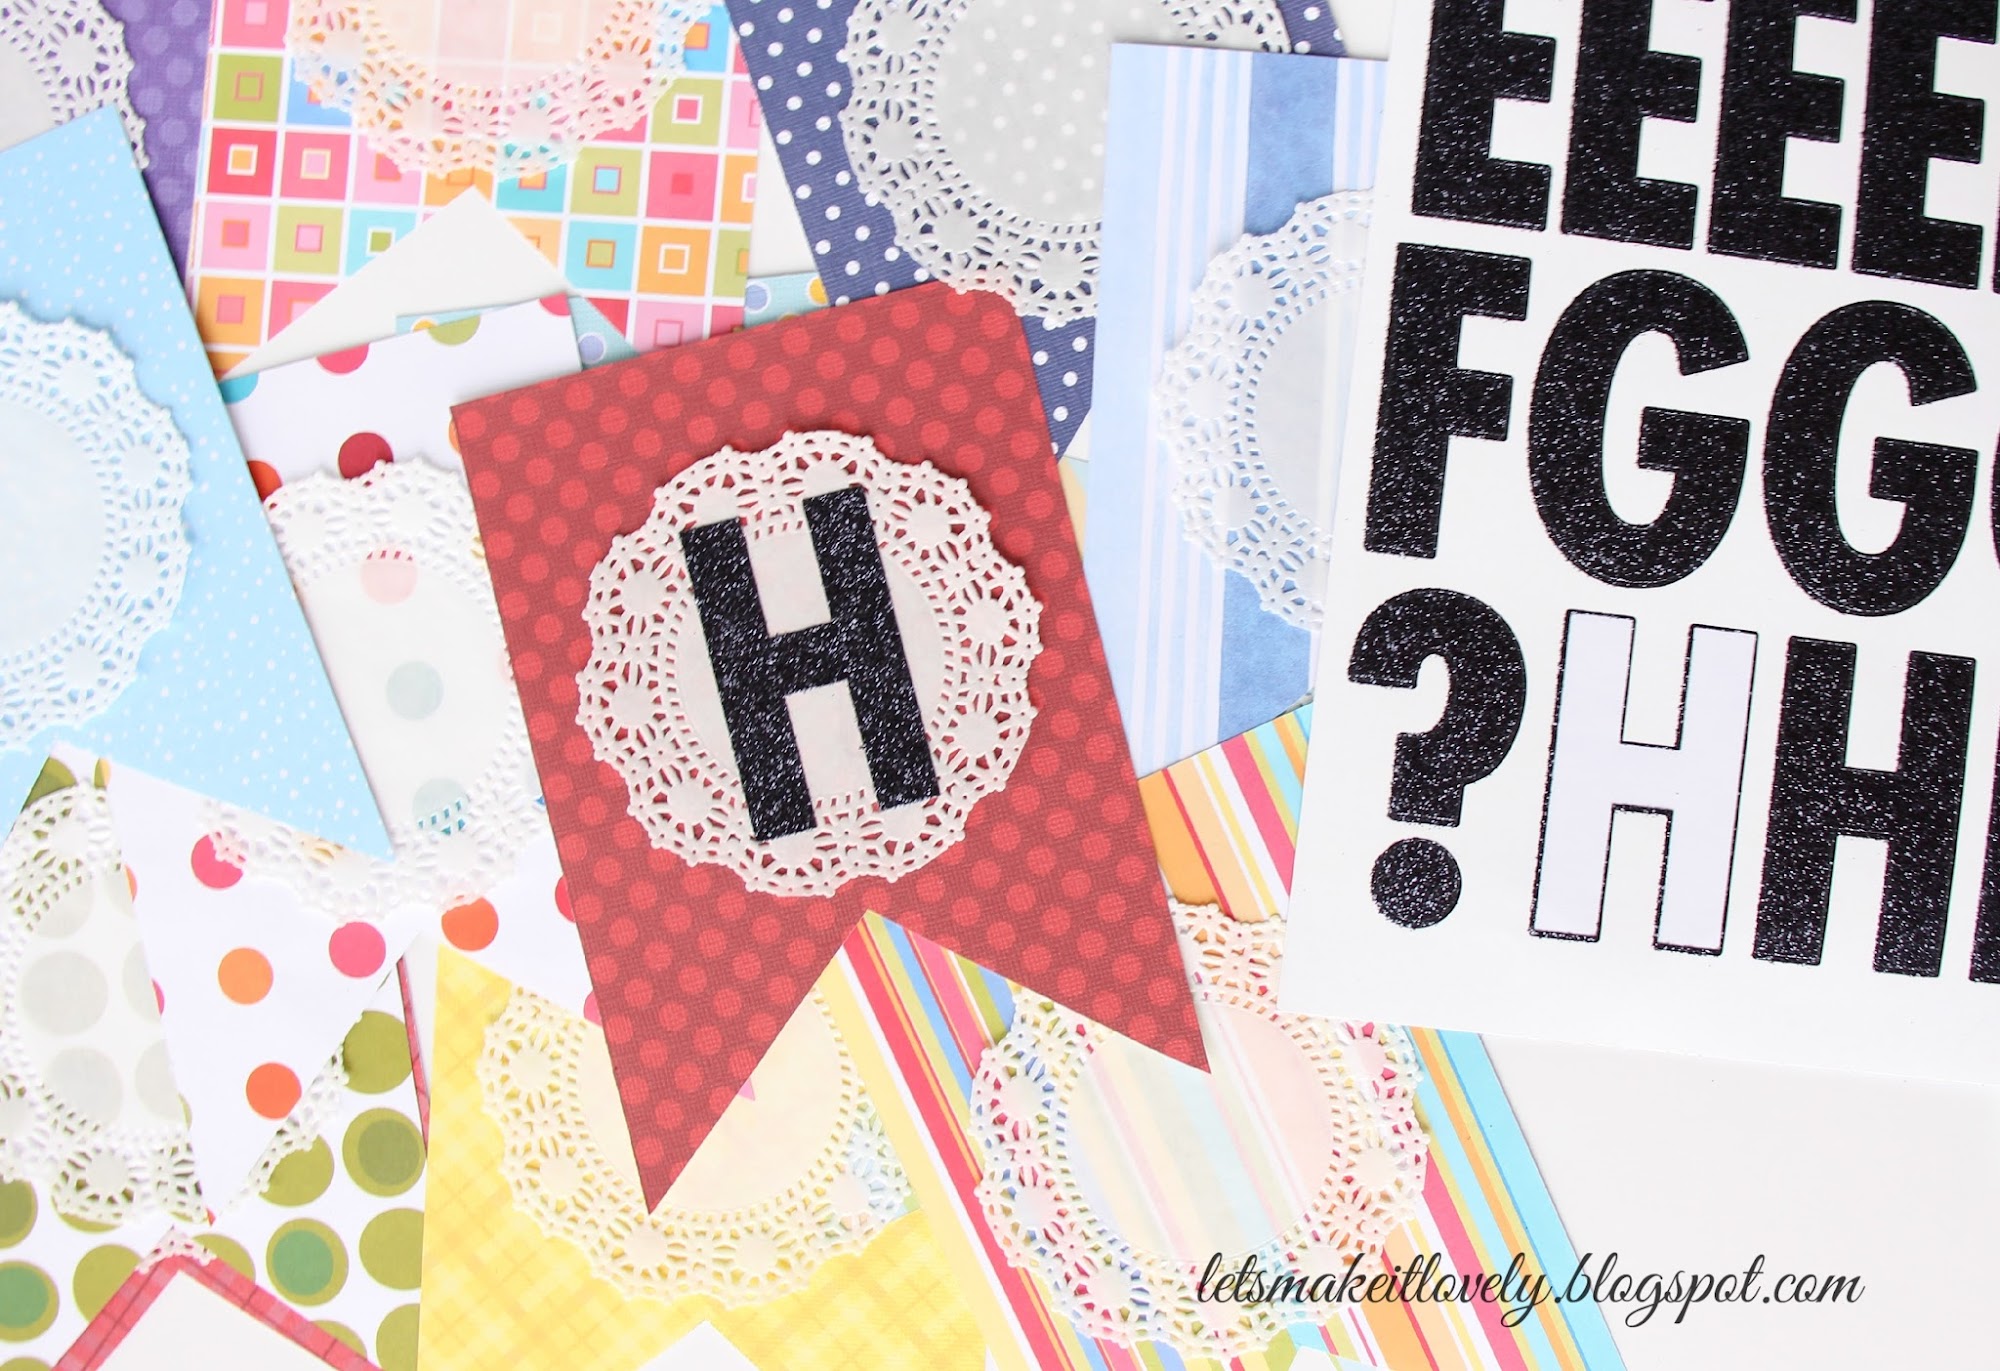
 I am using Wilton 4 inch dessert doilies and glitter letter stickers. ( You can use whichever pattern you like instead of doilies or even leave them blank and just stick letters)


DIY Birthday Decor. DIY Colorful Bunting Banner.

Stick doilies to all your color flags using glue stick.

DIY Birthday Decor. DIY Colorful Bunting Banner.

Now is the fun part. You just gotto play with arranging color flags in which ever order you like and stick letters to the flags. I really got to the point of breaking my head with arranging a perfect order of colors to make it look good. But frankly it doesn't matter, the final banner is still going to look pretty with random colors. 

DIY Birthday Decor. DIY Colorful Bunting Banner.

Here is my banner coming together. "HAPPY"

DIY Birthday Decor. DIY Colorful Bunting Banner.

"BIRTHDAY"

DIY Birthday Decor. DIY Colorful Bunting Banner.

"SAKETH". 

DIY Birthday Decor. DIY Colorful Bunting Banner.

Punch holes at upper corners. 

DIY Birthday Decor. DIY Colorful Bunting Banner.

Tie the alphabet flags together using a thread and making sure you keep alphabets in correct order. Often when you punch holes at corners and try to tie them together with a thread, the paper will be ripped in the process of tightening the knot. Here is a little trick I invented. Get the thread through the holes, place a pen (or anything similar) and knot the thread tight. Once you are done knotting, remove the pen. Try it! 
Finish knotting all the flags together. And that's it! It's that simple to make handmade birthday decor.

DIY Birthday Decor. DIY Colorful Bunting Banner.

Here is a picture from the birthday party. More DIY posts from this party to follow. Hope you like this simple and fun DIY Birthday Banner. Thanks for stopping by. I love hearing your comments. Have a happy weekend :) 

Tuesday, September 1, 2015

DIY Butterfly Themed Birthday Party

I love everything about birthday parties. All the fun, Joy and Happiness. After all its one of the ways way to celebrate life and thank almighty for greatest blessings. This story is about 1st Birthday party celebration of my friend's pretty baby girl. My friend and I did little internet search for themes and she fell in love with butterfly theme. We stuck to 3 colors white, green and pink shades, so that we don't make it very busy for eyes. Here is how party decor turned out. And I am telling you it was way under our estimated budget ;)

DIY Butterfly birthday party on budget

         The venue was their apartment community hall. We weren't allowed to make any big changes to the hall or stick anything to walls. So we went ahead and used existing curtain rod to hold our background which is white tulle fabric (tulle fabric roll ordered on amazon).

          Happy Birthday banner, table cover, cupcake stand, helium balloons, cups, plates and kids blow out play treats were all from dollar store. Isn't it awesome??? They were all butterfly themed too. We saw kind of similar ones in party city and they were way too expensive compared to dollar store. I am a great fan of dollar store when it comes to single use items.
 
DIY Butterfly birthday party on budget

Cut and fold decorative tissue papers into fans. Join two fans together to form a circle. Mix and match to suit your taste.

DIY Butterfly birthday party on budget
Letters for banner and thank you tags designed using picmonkey.

DIY Butterfly birthday party on budget

We designed little girl's name banner using pic monkey and few color tissue papers as shown in above pictures. I love using pic monkey for the fact that its way simple for everybody to use and many features of it are free.

DIY Butterfly birthday party on budget

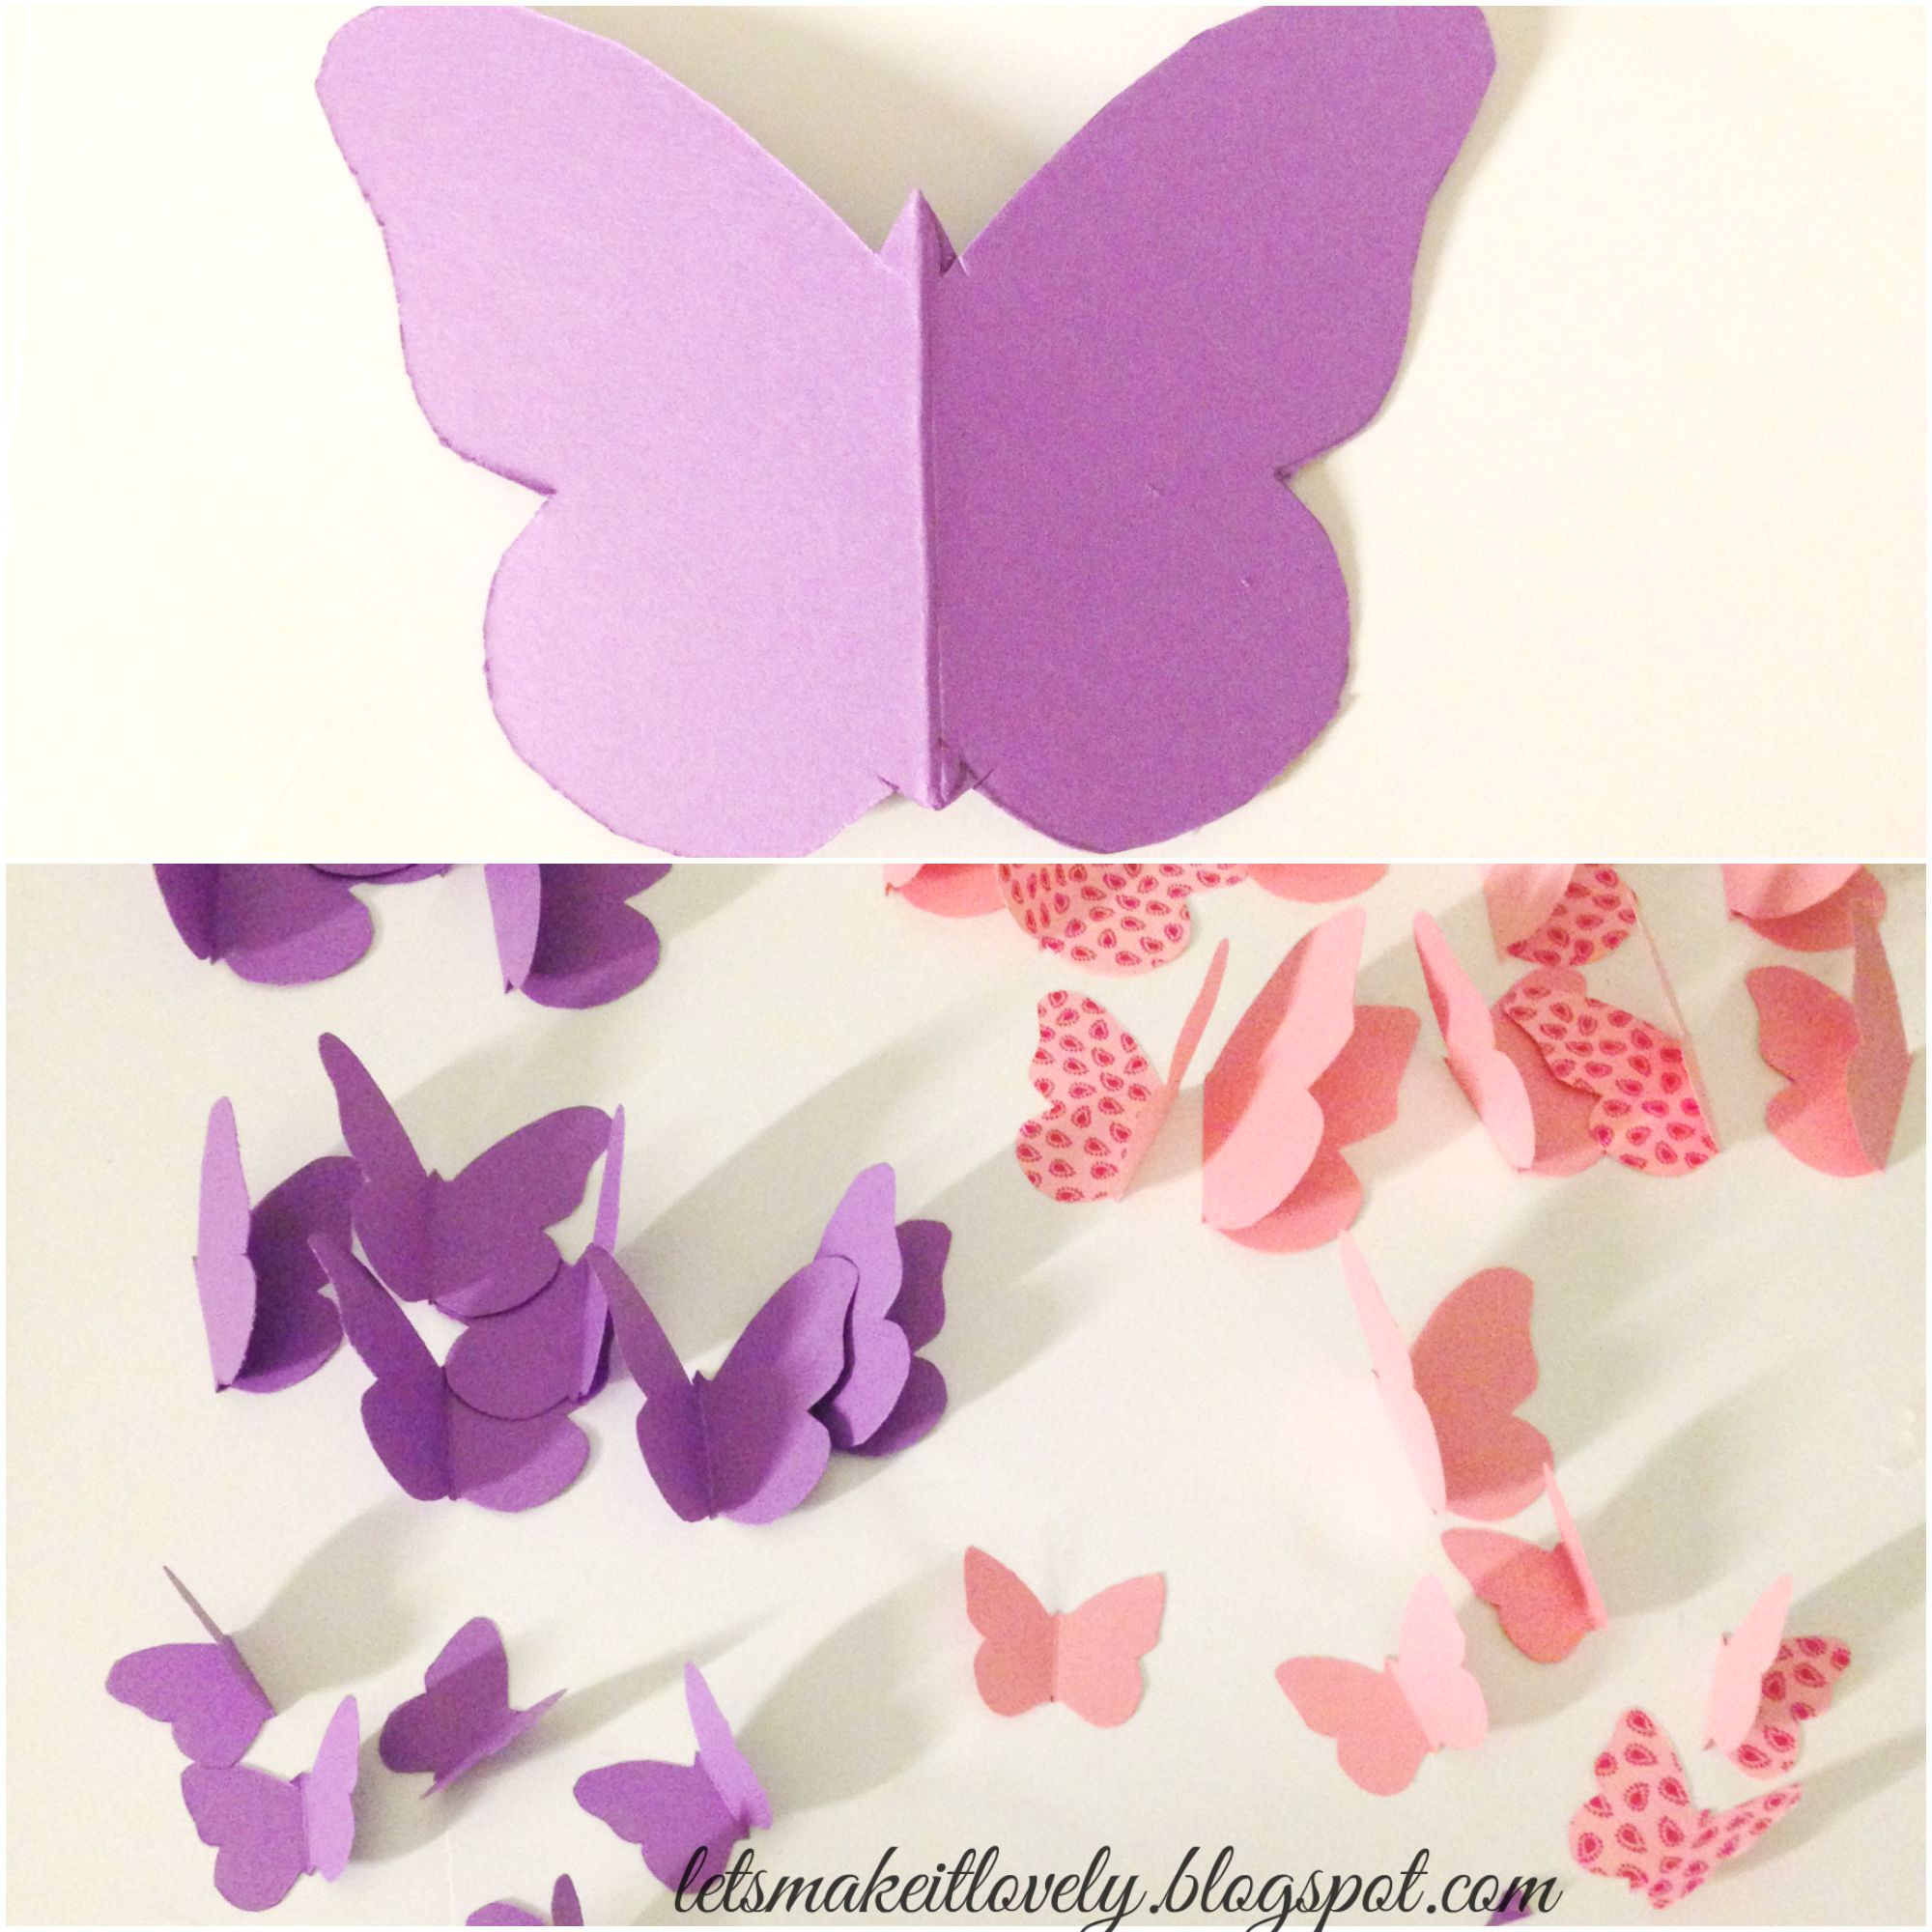
We planned to cut several butterflies out of card stock and stick randomly on background. Luckily I came across this butterfly die cut sheet at Michaels, its white with pretty pink glitter on it. We just had to cut individual butterflies out of die cut sheet and already done with 20 pretty butterflies!

DIY Butterfly birthday party on budget

Then we cut few butterflies out of card stock as planned. For an easy cut, fold card stock into half, trace one half of butterfly (1 wing and half body) on to it such that body part falls across folded edge of card stock and cut both the folded sides together along traced edge. When you unfold you have a completely symmetric butterfly. (I hope you got it. Let me know in the comments if its unclear to you. Will be happy to help.)

DIY Butterfly birthday party on budget

Tada! Yummy butterfly cupcakes with edible candy butterflies. Yes! I made them and its very easy to make. You can check my post on edible chocolate decor for details on how to melt candy.

DIY Butterfly birthday party on budget

As shown in edible chocolate decor post, melt and trace butterflies on parchment paper sheets. To make the butterfly wings stay up in V shape, fold a card stock paper into V shape as shown in the picture and carefully place traced chocolate butterflies into V shaped paper fold. Make sure the center body of butterfly falls in the center of paper fold. Now freeze the chocolate butterflies until they are set.
Once the cupcakes are frosted with your favorite frosting, (I made simple butter cream frosting) add the butterflies on frosting and you are done!

DIY Butterfly birthday party on budget

My friend picked this cutest two tier butterfly cake from local bakery. God!! isn't that cute?? Tasted yummy too!

DIY Butterfly birthday party on budget

These gorgeous butterflies are hand painted by my friend on a little canvas, personalized with birthday girl's name and date on the back to give as return gifts for the ladies who attended the party. Aren't those beautiful? She is one amazing artist I know.
Ofcourse kids got toys as return gifts.

DIY Butterfly birthday party on budget

So that's how our party went. Hope you enjoyed the party. Here is a pink and lavender banner circle template in case you want to make your own birthday banner too. By the way all the opinions stated are my own and I am not paid for any of it. Thank you for fluttering by. Have a good day :)
Thursday, August 27, 2015

Make a Rakhi for Raksha Bandhan

Hi friends, its been long since I wrote. I am back with Rakhi, right on time for coming up Raksha Bandhan. For my friends outside India, Raksha Bandhan is a festival that celebrates love and affection between brothers and sisters. On the day of Raksha Bandhan sister ties a Rakhi on brother's wrist as a symbol of love, Sisters pray for their brother's well being and brothers take a vow to protect their sisters. So here is the Rakhi I made for my brother.

Make a Rakhi for Raksha Bandhan. Gift for brother.

 I am sharing the procedure of how I made it, in case you love to make one for your brother. After all what's more special than anything handmade? 

Make a Rakhi for Raksha Bandhan. Gift for brother.

Grab yarn or embroidery floss of your color choice. You can use just a single color too. Go by your style. Here I picked red, green and gold colors for Indian elegance :)

Make a Rakhi for Raksha Bandhan. Gift for brother.

I tried an 8 strand fish tail braid for my rakhi and that is what is shown in above picture. Its very easy for beginners. (If you are familiar with any other braids you can definitely go ahead with those too.) 
1. Use tape and arrange 8 strands in a row. 
2,3,4,5. Grab the left most, right most threads and braid in the middle every time. That is move left most thread to center right and right most thread to center left.
6. Tighten the braid as you move and keep repeating.
Its quite easy to do than see. Trust me, once you get a hang of it you can finish it pretty fast.

Make a Rakhi for Raksha Bandhan. Gift for brother.


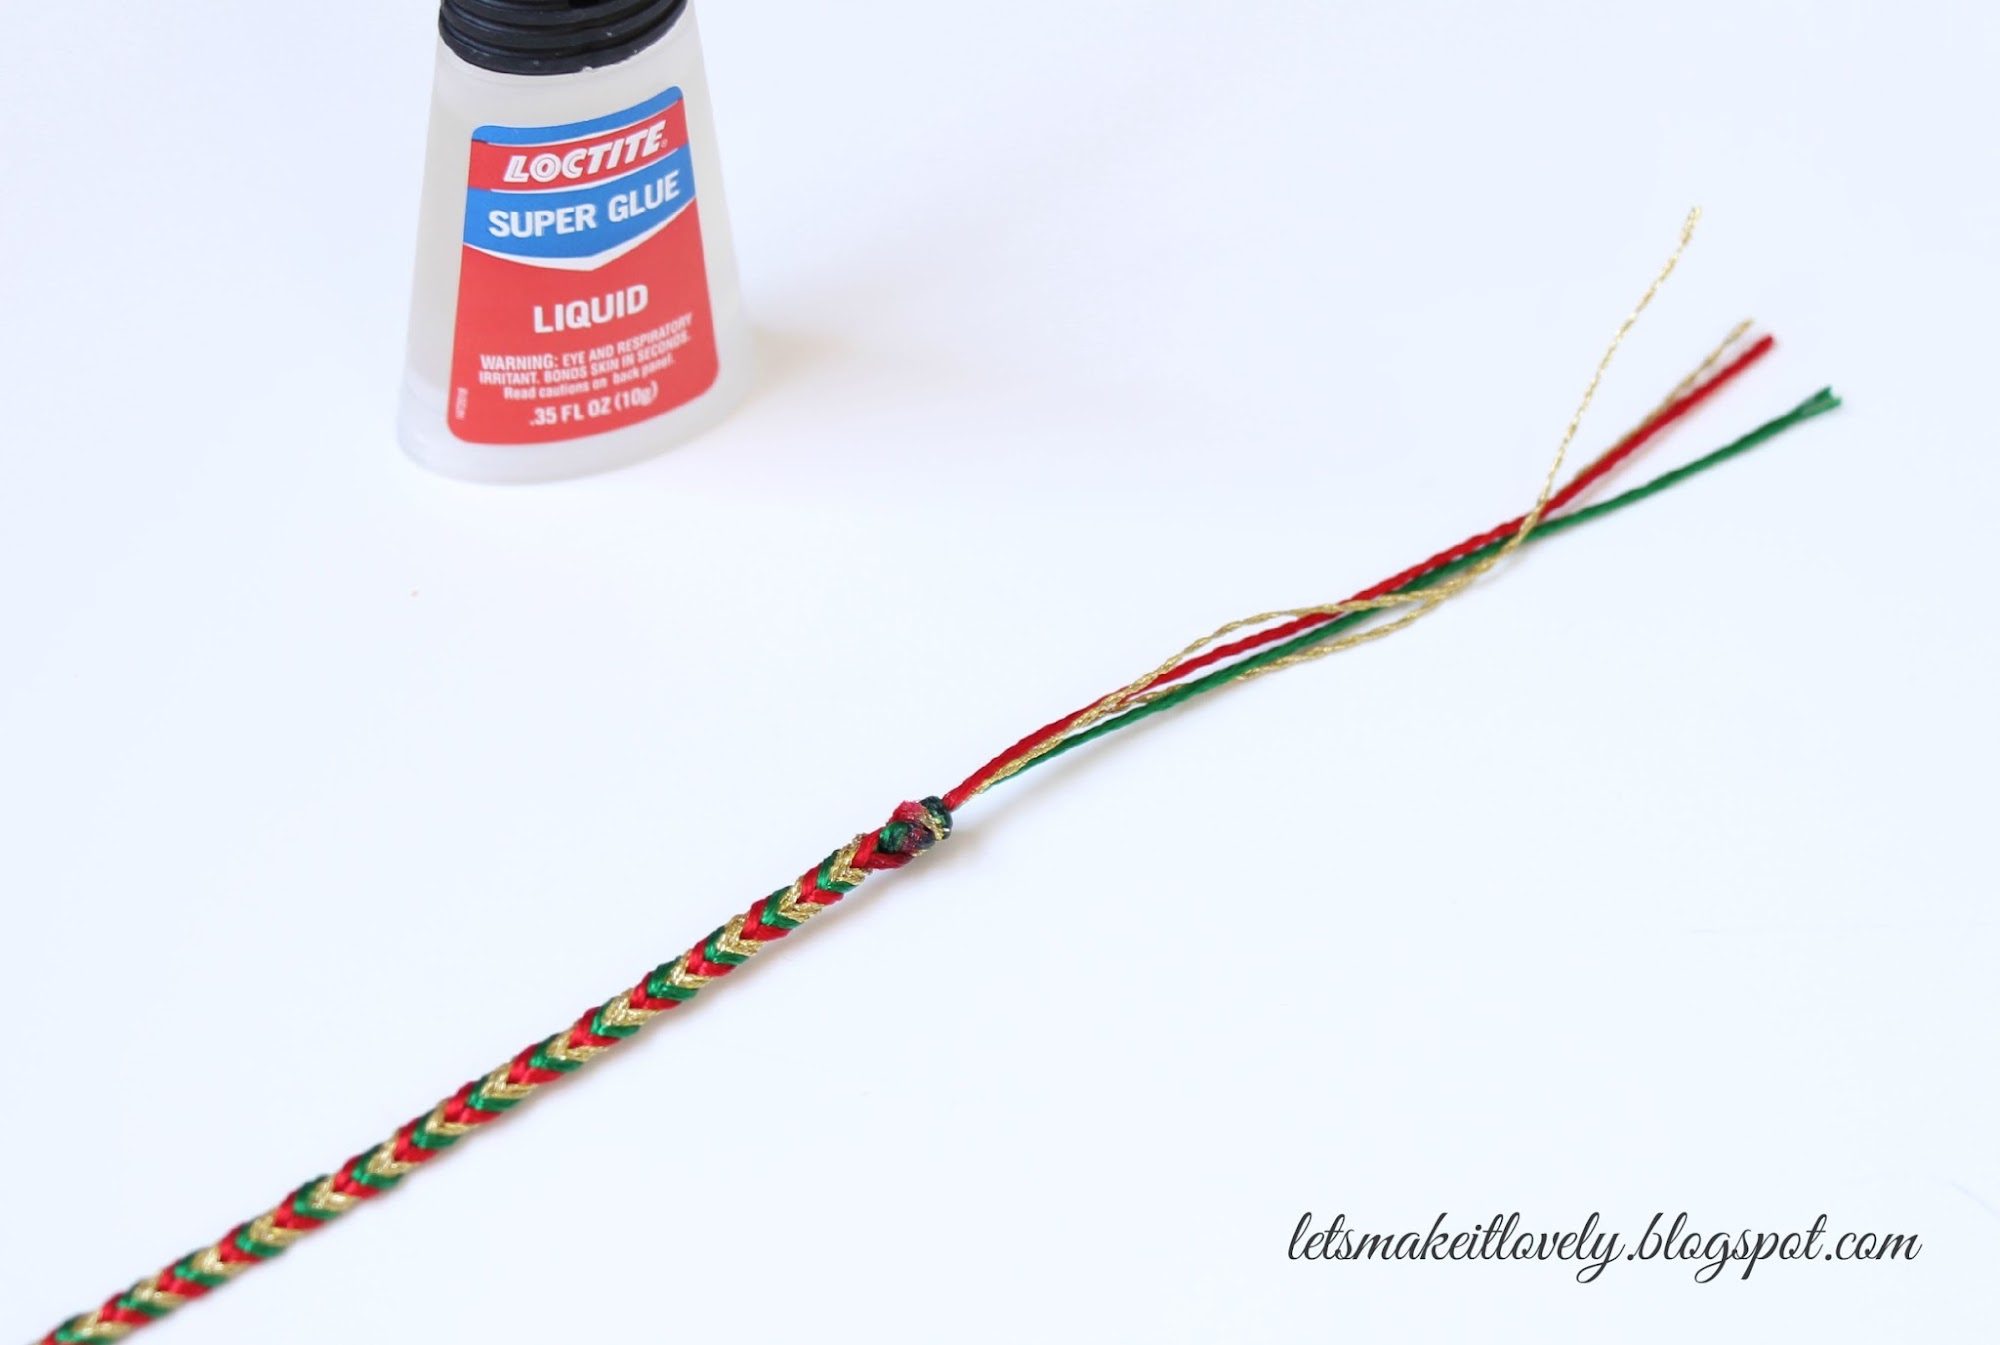
Your braid will eventually look like this. Once you reach sufficient length for your rakhi stop braiding and finish with a knot (general overhand knot). Remove the tape, used to stick the other end and finish it with a knot too.

Make a Rakhi for Raksha Bandhan. Gift for brother.

Use super glue to secure the knot and trim extra threads. I left 4 threads out of 8 on either side.

Make a Rakhi for Raksha Bandhan. Gift for brother.
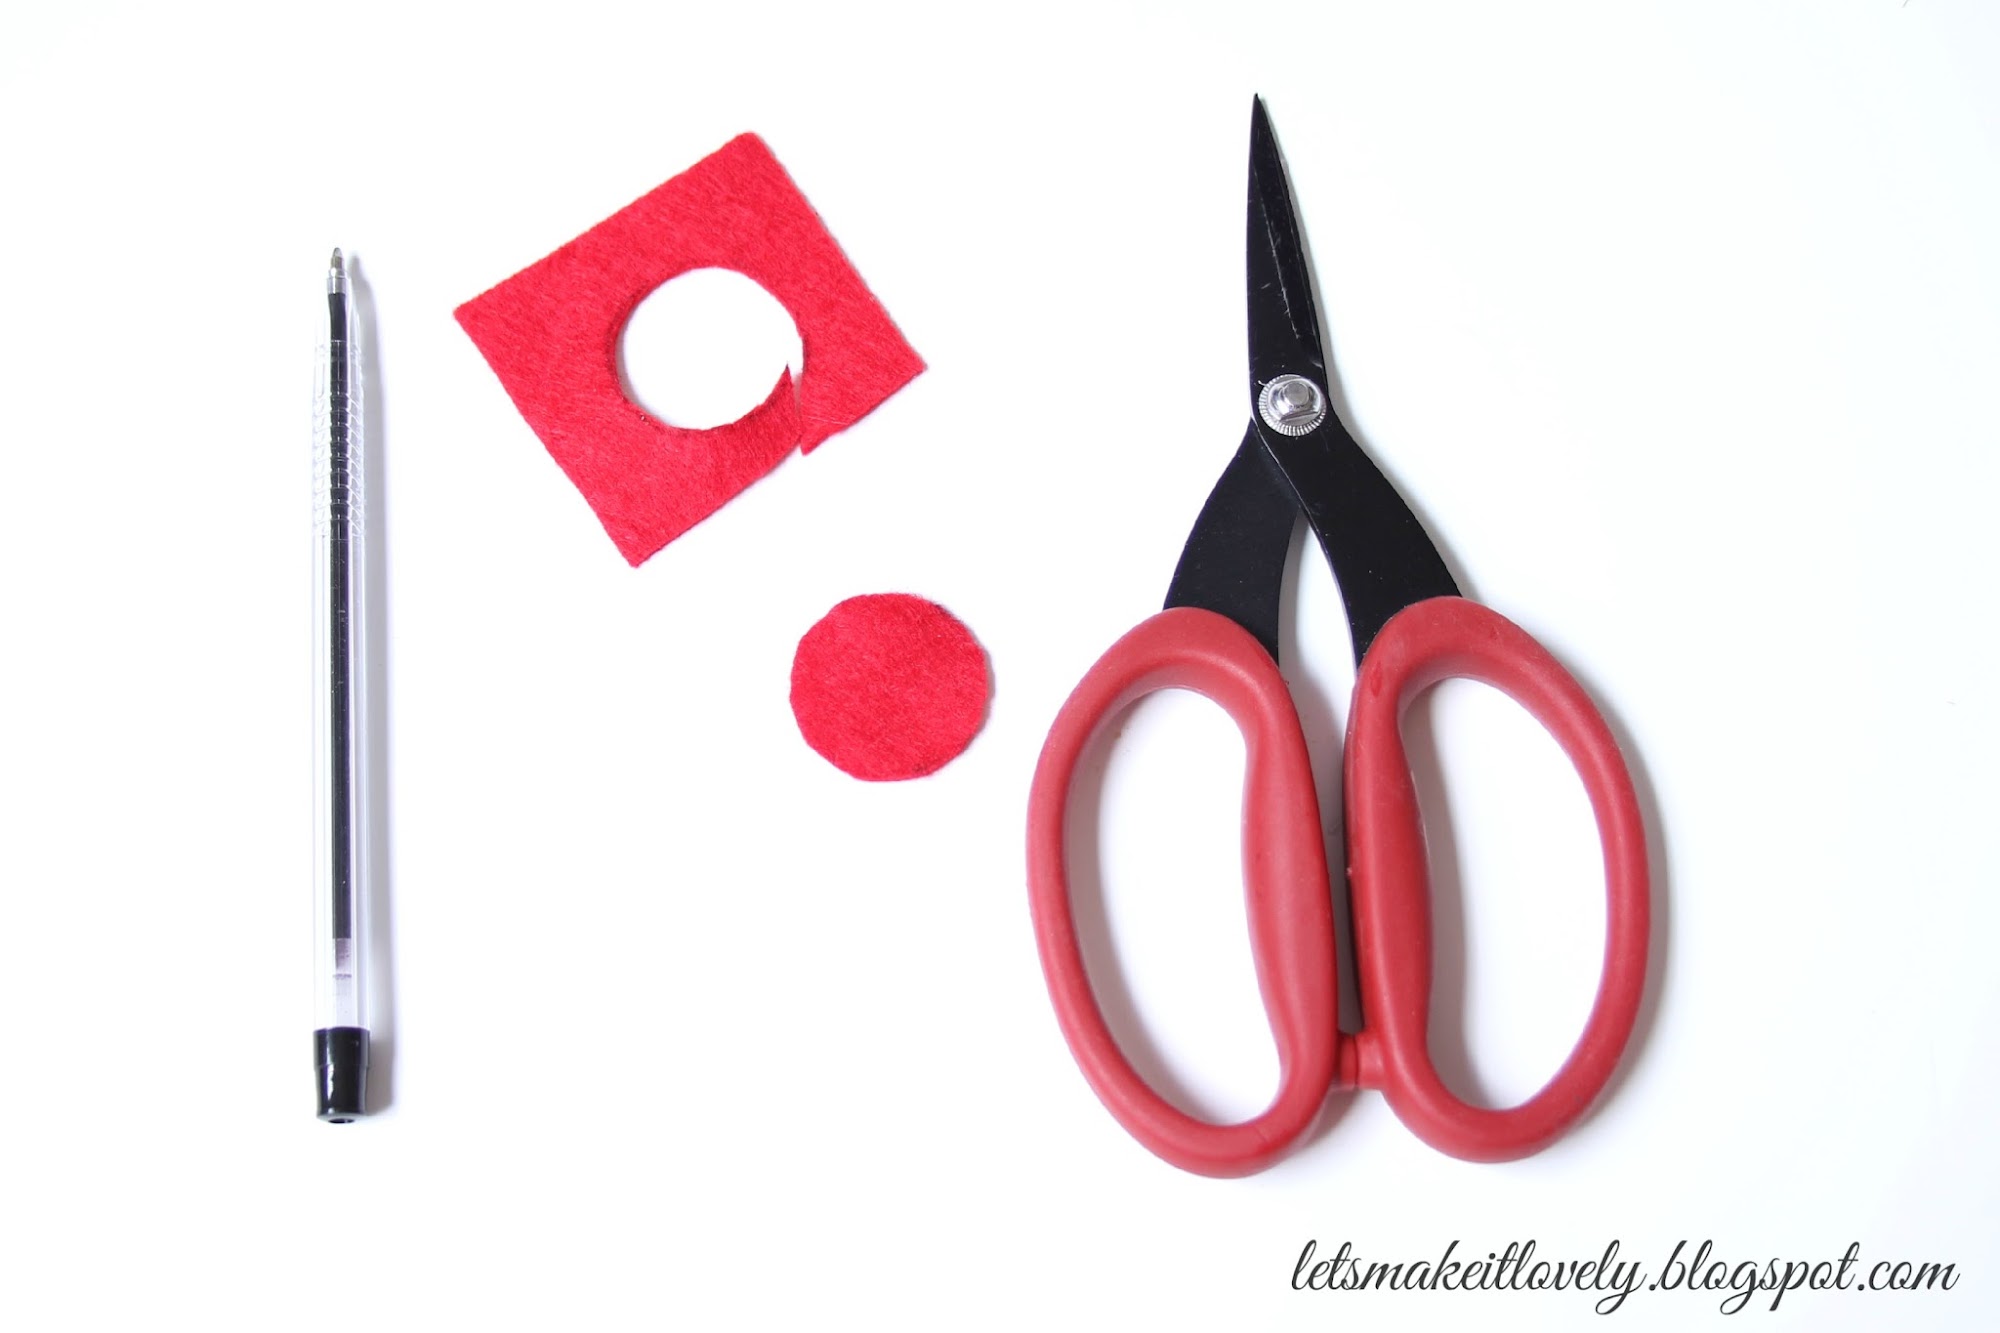
Draw and cut a circle piece out of felt cloth.
Make a Rakhi for Raksha Bandhan. Gift for brother.


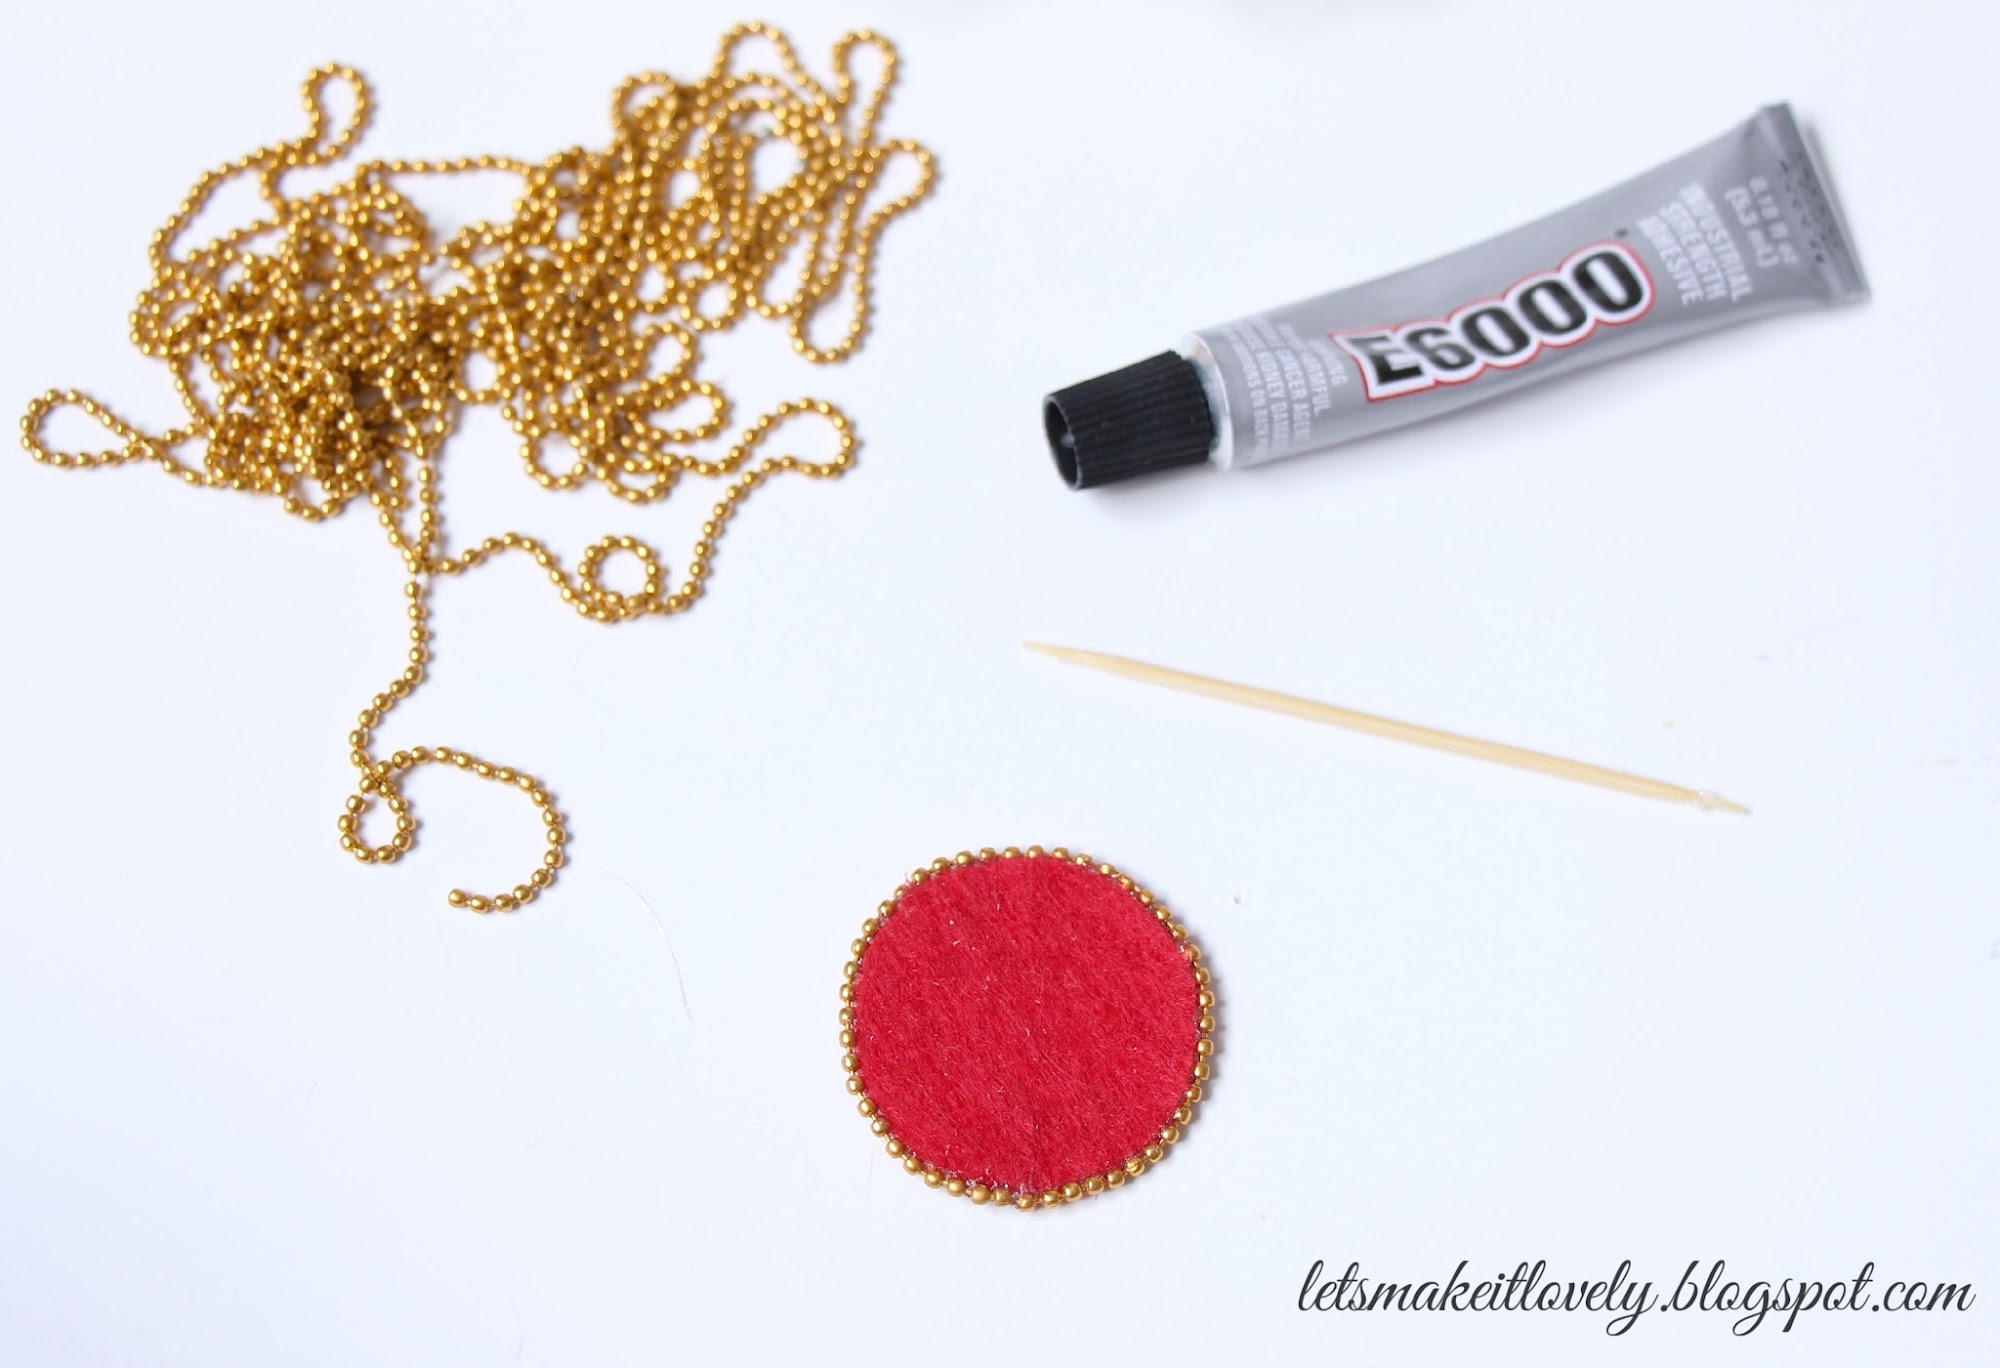
Grab few rhinestones, beads and glue to embellish the felt circle.

Make a Rakhi for Raksha Bandhan. Gift for brother.

Use a toothpick for precised glue application. I added a thin bead lace around the circle.

Make a Rakhi for Raksha Bandhan. Gift for brother.

Get creative and embellish the circle piece to your liking.

Make a Rakhi for Raksha Bandhan. Gift for brother.

Add little glue to center of the braid and stick the embellished circle piece. Cut and attach a smaller felt circle piece to its back so that it feels comfortable against wrist for when you tie rakhi.

Make a Rakhi for Raksha Bandhan. Gift for brother.

That's it! Tie handmade lovely rakhi to your brother and celebrate Raksha Bandhan. If you live far from your brother like me, then send him your handmade Rakhi and it will surely brighten his day. Atleast I hope so :)

Once again Happy Raksha Bandhan to you. Thank you for stopping by. Celebrate your day :)