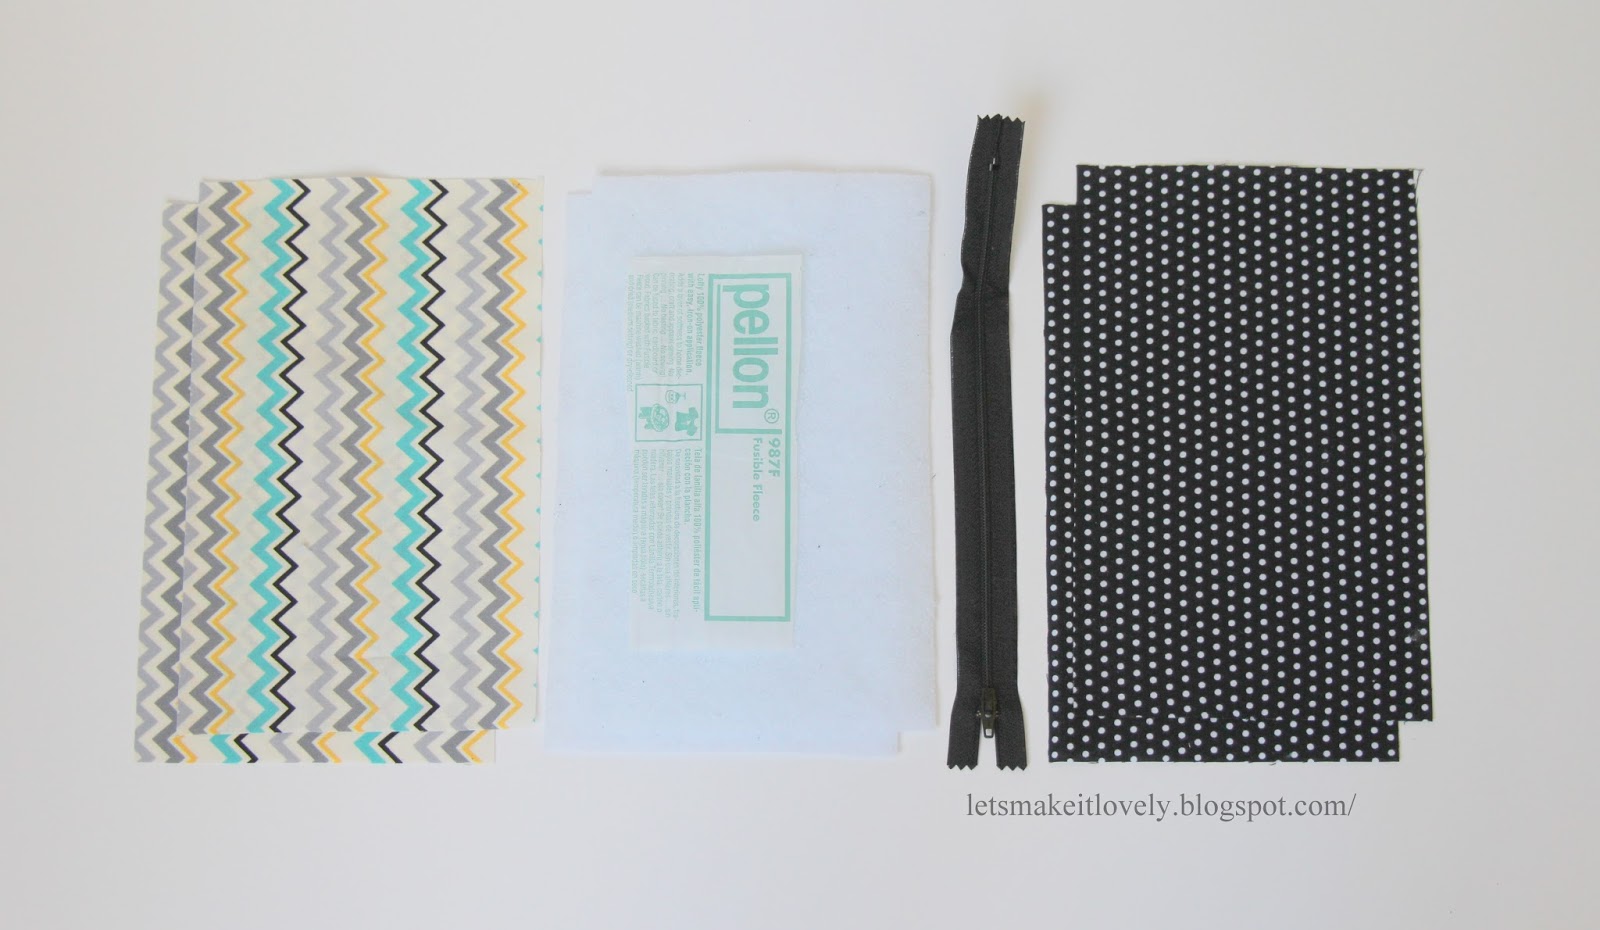
Confession: This is my first sewing tutorial. If you think something should be improved in this tutorial, just let me know in your comments and I will improve in my upcoming posts. Thank you.
Fuse the interface fabric with outer fabric using iron. (Follow the instructions that come with your interface fabric)
Let's make a zipper sandwich, place the outer fabric with right side facing up, on this place zipper with puller side down and then place lining fabric wrong side facing up. Line up the edges and pin along as shown in the above picture. Sew along the edge you pinned using zipper foot on your machine. (If you are a beginner in sewing, don't forget to back stitch where ever you start and end your stitches.)
After finishing the above step, open up the zipper in middle and make next sandwich with the other open edge of zipper.
Make the next zipper sandwich. Place the second outer fabric with right side facing
up, on this place zipper with puller side down (now you should be aligning the second edge of zipper, with the first edge you already sew a set of fabrics) and then place second lining
fabric wrong side facing up. Line up the edges and pin along as shown in
the above picture. Sew along the edge you pinned using zipper foot on
your machine.
Hopefully your piece looks something like this.
Bring lining pieces together ( right sides together) and outer fabric pieces together (right sides together) and then pin all around leaving 3 inches gap in the middle of lining fabrics. Before pinning make sure you unzip the zipper completely, otherwise you cannot turn your pouch right side out. Now sew along the edges you pinned. (Make sure you leave that 3 inches gap in the middle of lining fabrics.)
Crease along the lines drawn, fold and pin from one line edge to the nearest opposite line edge. Repeat on all four corners (This is hard to put in words, I guess the picture above can explain better. )
Sew along the pinned lines and trim the edges.
Using the 3 inches opening, turn the pouch right side out.
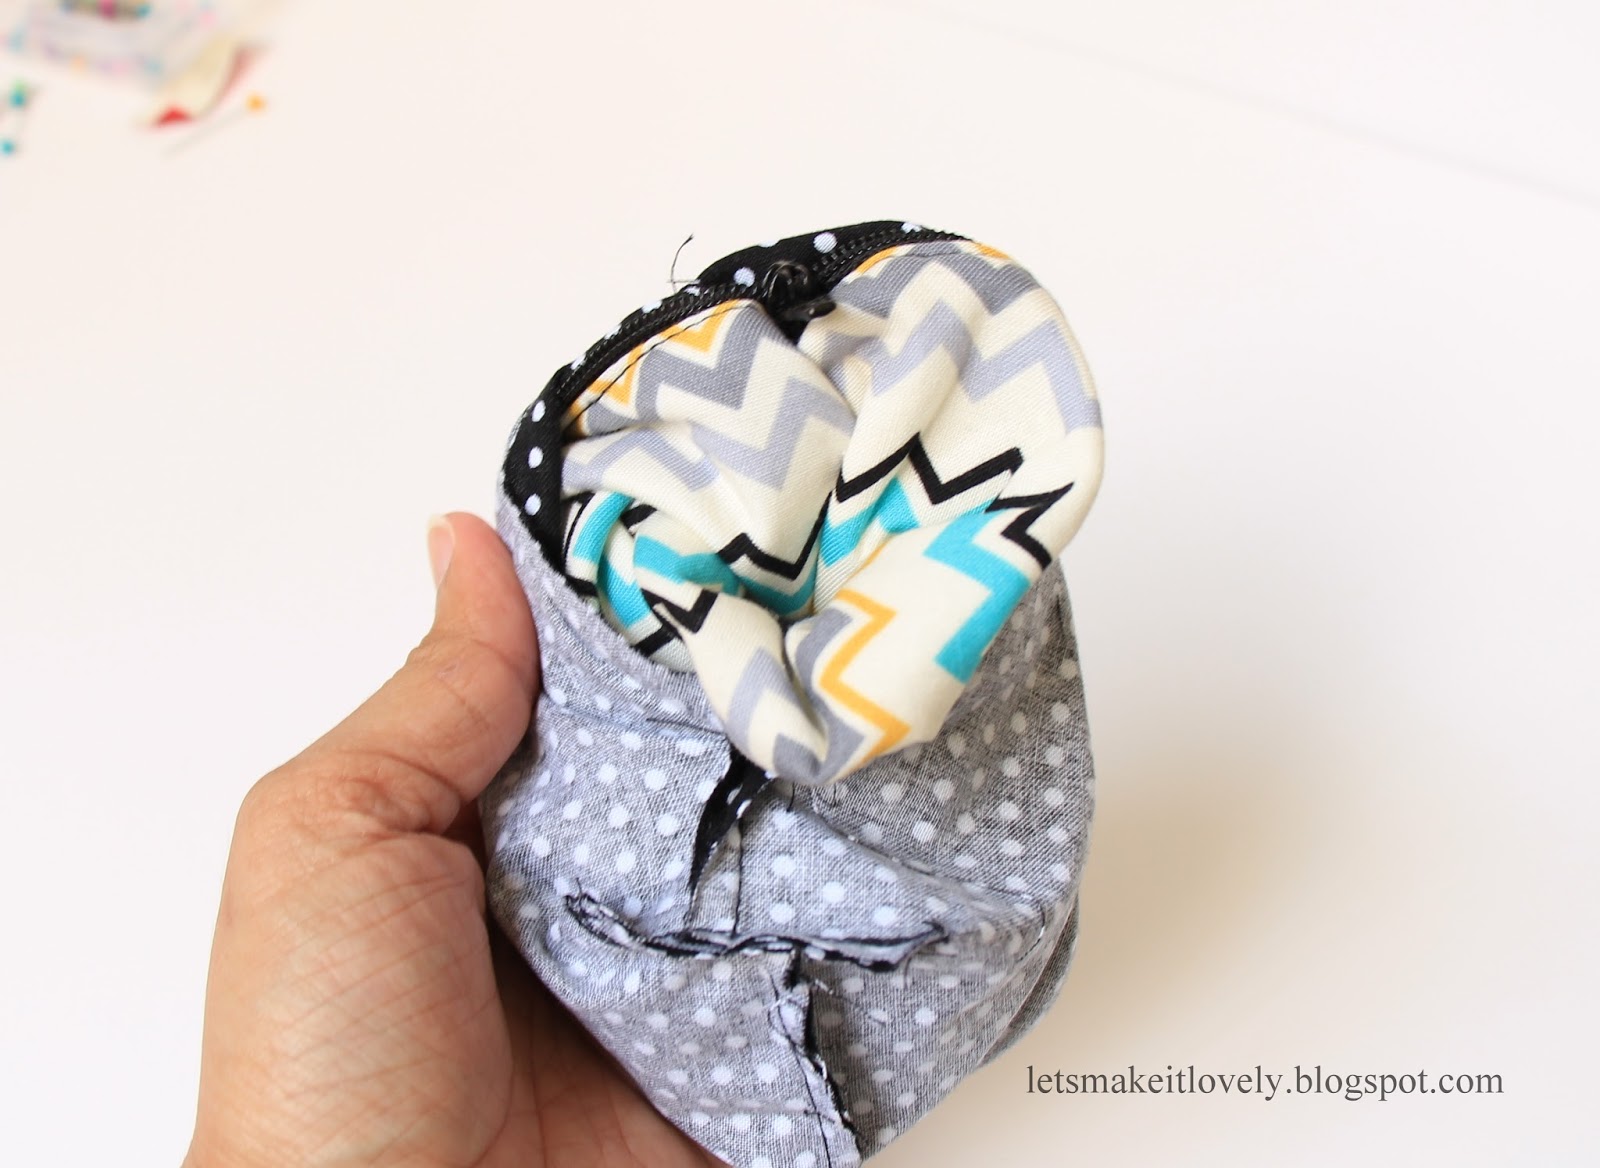
One final step, slightly pull out the lining fabric. Pin the opening in the middle and sew it close.
That's it :) There you have it, your own hand sewed zipper pouch.
What are you going to fill your pouch with? I am using mine to carry my make up stuff on travel.
Hope this tutorial was helpful. Please leave your comments.
Thank you for stopping by.


I was going to Google search for one of these tutes today. This is perfect. Thanks for sharing on Inspire Us Thursday!
ReplyDeleteGreat Tutorial. Thanks for sharing. Beautiful colors too.
ReplyDeleteThank you Gayle :)
Delete